Nov 03 16
Choosing Quilting Designs
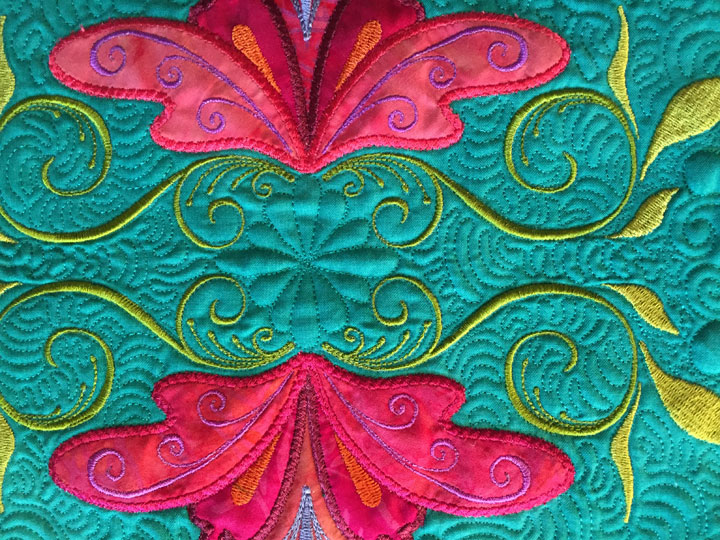
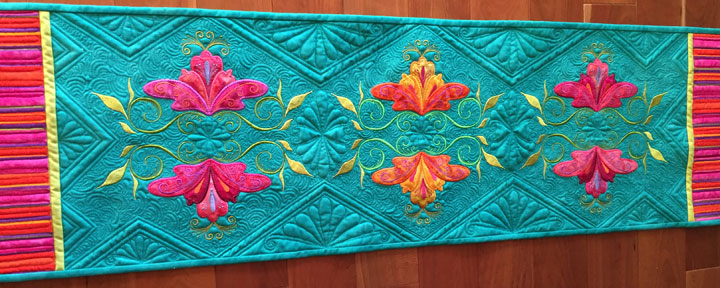
 I finally finished binding this table runner and I thought it might be a good example of how I often choose my quilting designs. This is a machine embroidery applique table runner that uses the swirly flower design I’ve been experimenting with lately. I don’t do a whole lot of straight line ruler work but I have to say that I think the straight line ruler work is what makes this piece cool, so I may need to start doing more of it. The way it frames the center section, in such a bold and graphic way, is very striking to me. The first thing I do when I’m quilting something like this is all SID work and then I outline all of the applique shapes with invisible thread. Once that was done, I figured I should fill in the small spaces created by neighboring embroideries with something, so I opted for a tiny featherette between each mirrored pair of flowers, like what you see between these 2 red flowers:
 and the slightly larger featherette with swirls at the base in the larger space formed by leaves from neighboring featherettes coming together:
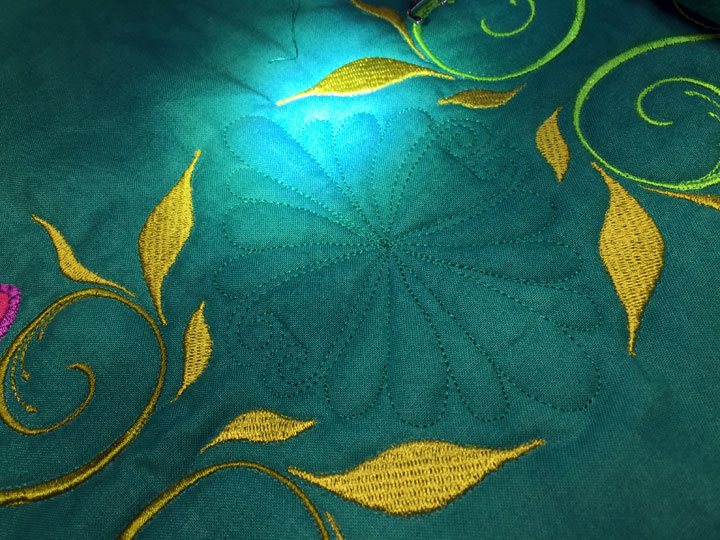 Notice that this latter photo shows nothing surrounding the featherette, and that’s more accurate because I don’t add in any background quilting until all my “anchoring” design work is done. Next up was the most important anchoring part, and that was doing the ruler work that surrounded the flowers. That blank space (or negative space, as modern quilters oft call it), is the machine quilters playground. It’s our “raison d’etre,” if you will. Most of my quilting challenges these days are exactly like this project, where my challenge is to develop a design that works around the various “players” in an applique scene. I don’t know why, but it’s extremely easy to do this using ruler work to create a framework, and then going back in w/free motion quilting as “fill-in” work. If you haven’t tried this yet, you are missing out on a lot of fun.
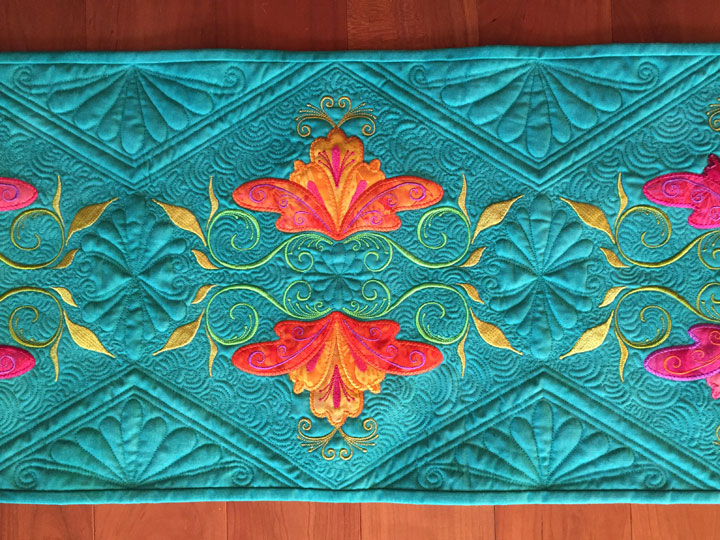 Using a straight line ruler, I created the series of channels that make up these triangles and then filled in the center zones with featherettes, yet again. I’ve found that you can get a ton of mileage out of featherettes, so it’s worth it to learn how to create them. Once all the traingles along all 4 sides had been filled in, I needed to do something for background quilting. I used the igloos design:
 …and as you can see, it has a bit of a vermiform character when done in odd, tight confining spaces, but this design is always a good background fill. By this time, I was thinking about stopping, but I decided to go back in and stitch a small stipple just around all of the featherettes that were along the center line, as this made their edges more distinct and recognizable:
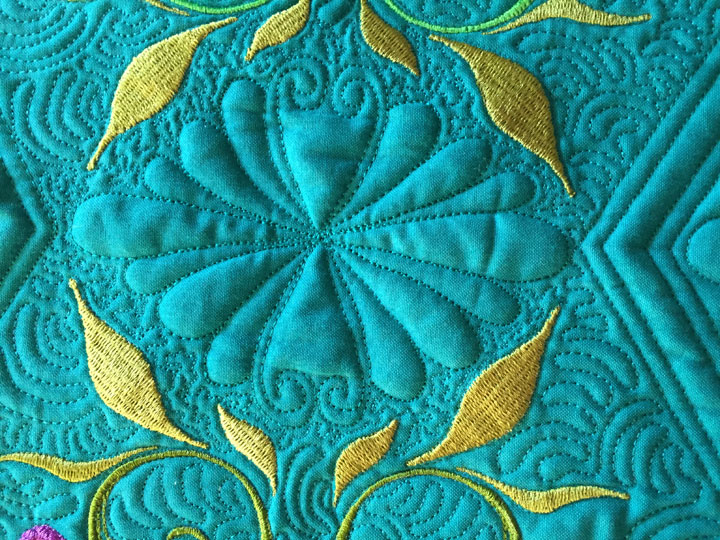 That really made things look much least in my book. It really gives the piece such incredible texture:
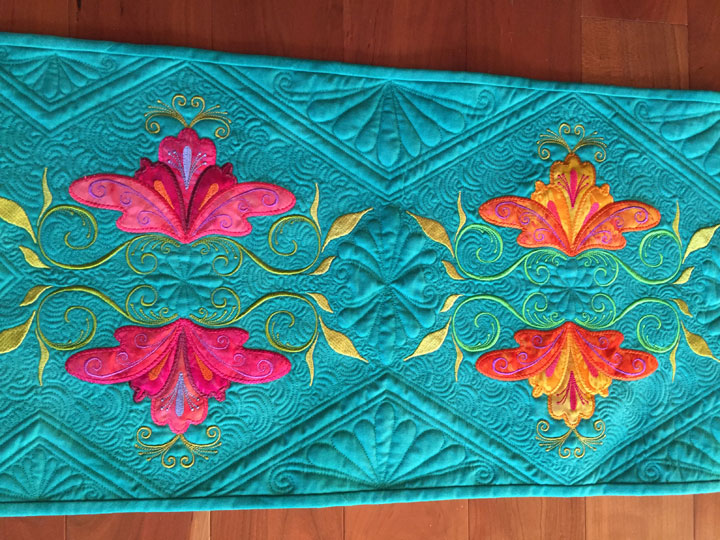 This was really just SO MUCH fun to quilt; I’m tempted to make another one just so I can quilt it again!
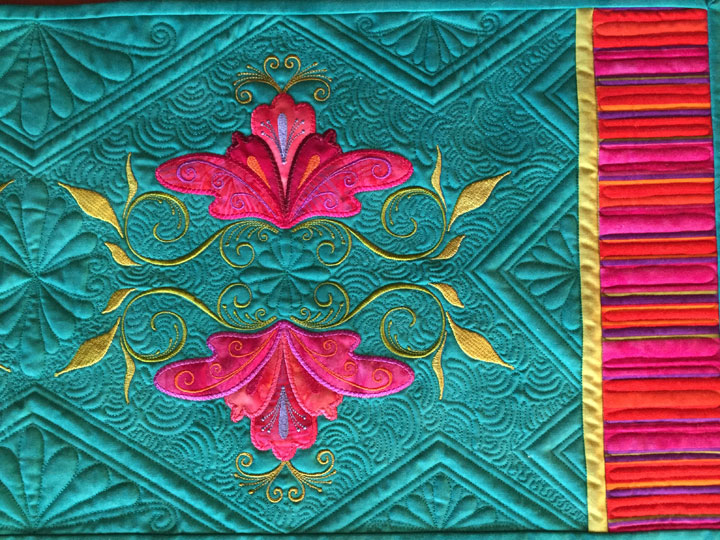 I think I may be getting sucked into straight line designs, at least for a little while…


Patsy…your new work is scrumptious. Love your work, your colours amaze me. Keep up the lovely designs, you are a winner!
Beautiful! What applique design did you use?