Jul 15 17
Trapuntoed Dresden Plate Wall Hanging
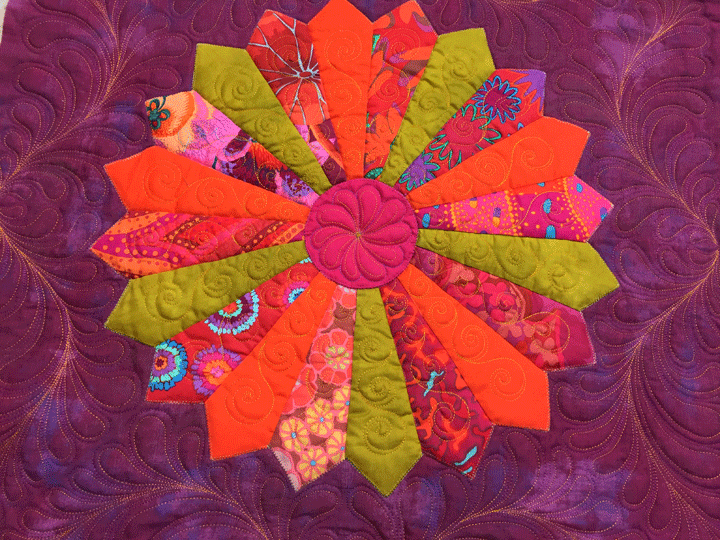 I outlined the steps to creating a trapunto layer in my last post. That means I began this next phase by quilting curvy swirl chains inside each blade of the Dreden plate as you can see below:
 I then quilted a feather inside the center circle and in the photo below you can see that I hyperquilted it:
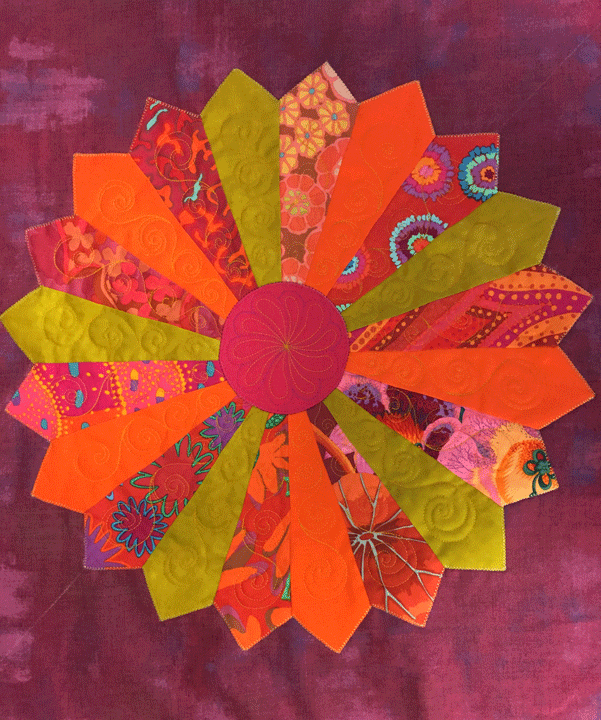
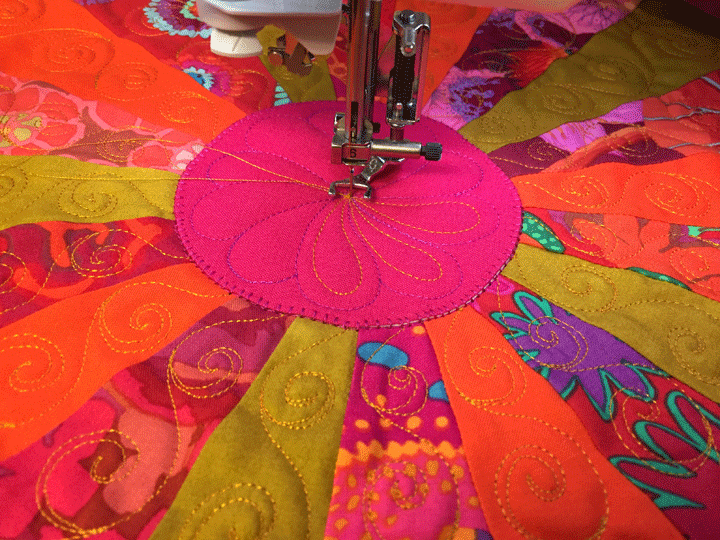 Here’s what things looked like once the trapuntoed Dresden plate had all its decorative FMQing completed:
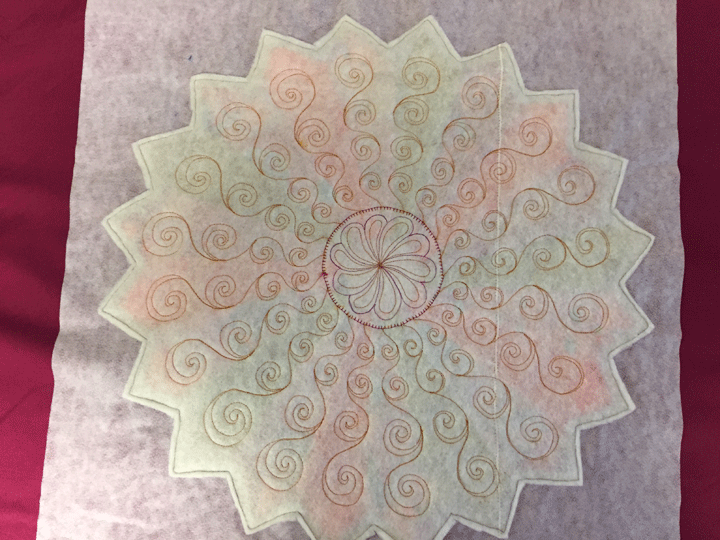
 It’s actually much easier to see all the quilting from the backside:
 I placed it into the final quilt sandwich and then began by outlining all the applique pieces with invisible thread. You can just barely start to see the texture developing in this next shot:
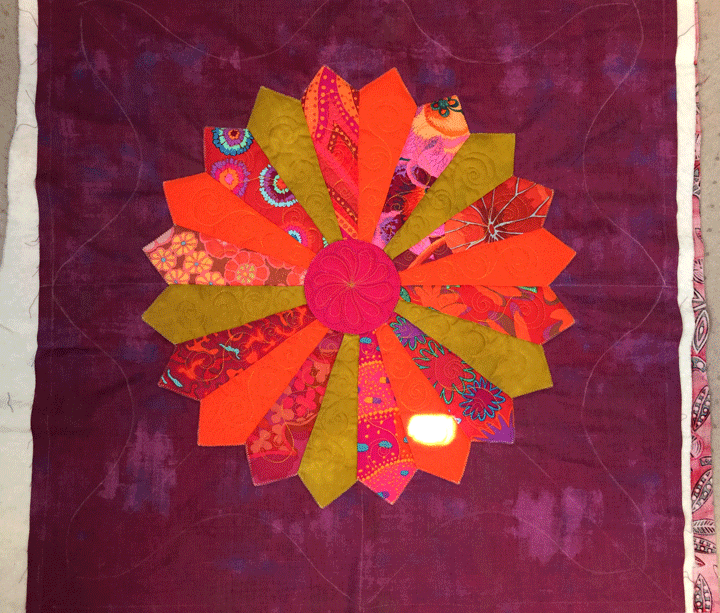
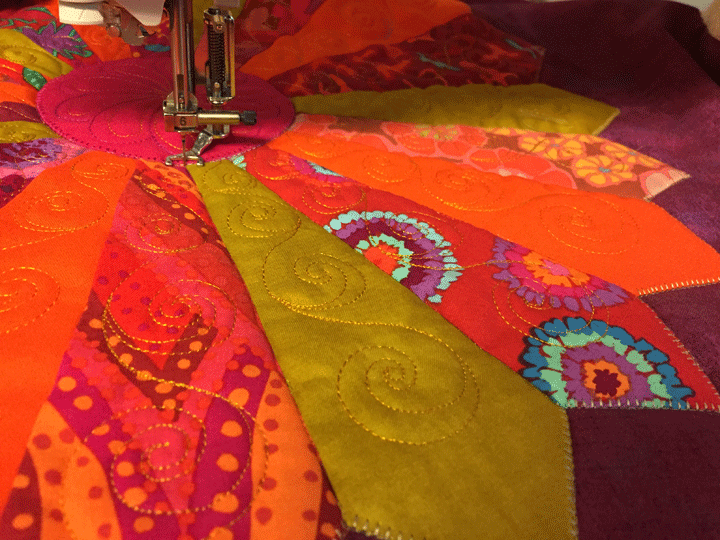 …and here all the pieces have been outlined with invisible thread and I’ve marked soap lines that will be my guides for stitching a feather frame surrounding the Dresden plate:
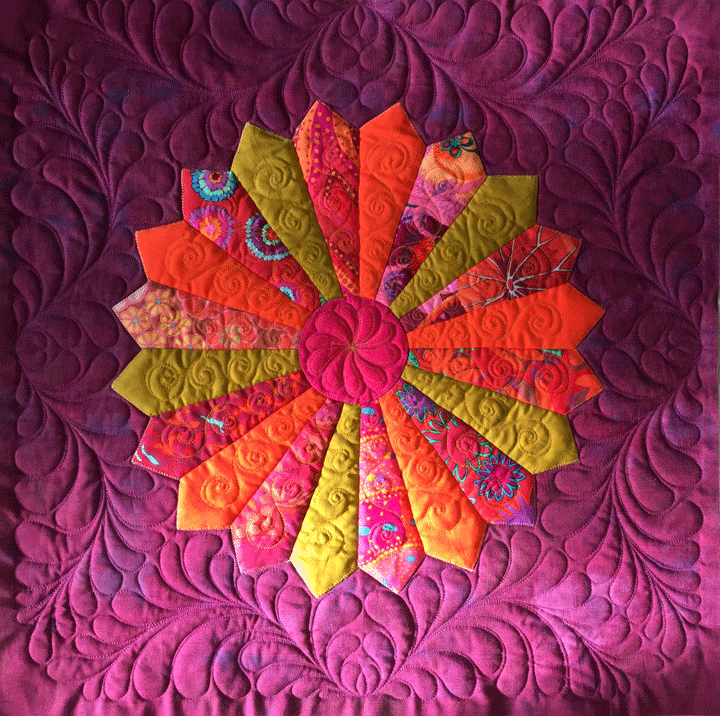
 This next shot shows the feathers once they’ve been stitched:
 And this last shot shows the feathers after hyperquilting:
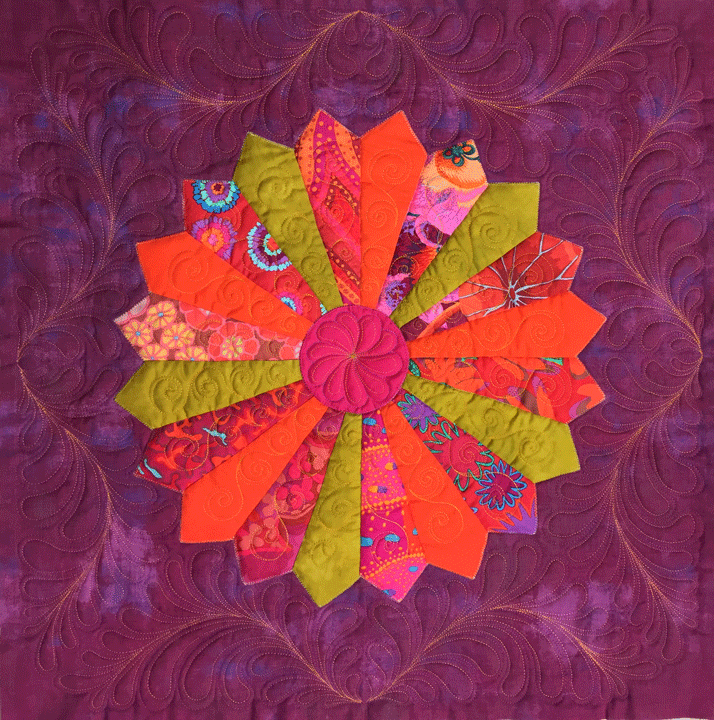 Wonder how long it will take me to get around to adding that binding…


That turned out really nice, Patsy. Thanks for sharing.