Aug 06 17
Back to the Drawing Board
 I made this table runner last week. It is actually made from a border design I made about a year ago and I’ve meant to adapt it into a table runner all these months but never got around to it. It’s a machine embroidery applique design and it’s nice because it takes about 35 minutes to stitch each fern so you can get a fair amount of other sewing work done while it’s stitching out. I’m not sure that the layout is quite right, though. I normally verify that my applique shape placement is aesthetically pleasing by stitching a mock-up of the placement outlines of applique shapes onto muslin, but I skipped that step. This is another one of those “don’t do it” moments when you have to painfully re-learn that there’s a good reason for most of one’s “double-checking” routines! I am in the process of making a revised version of this with a slight variation in the placement of the ferns. I’ll post a side-by-side comparison in a couple weeks once it’s done.
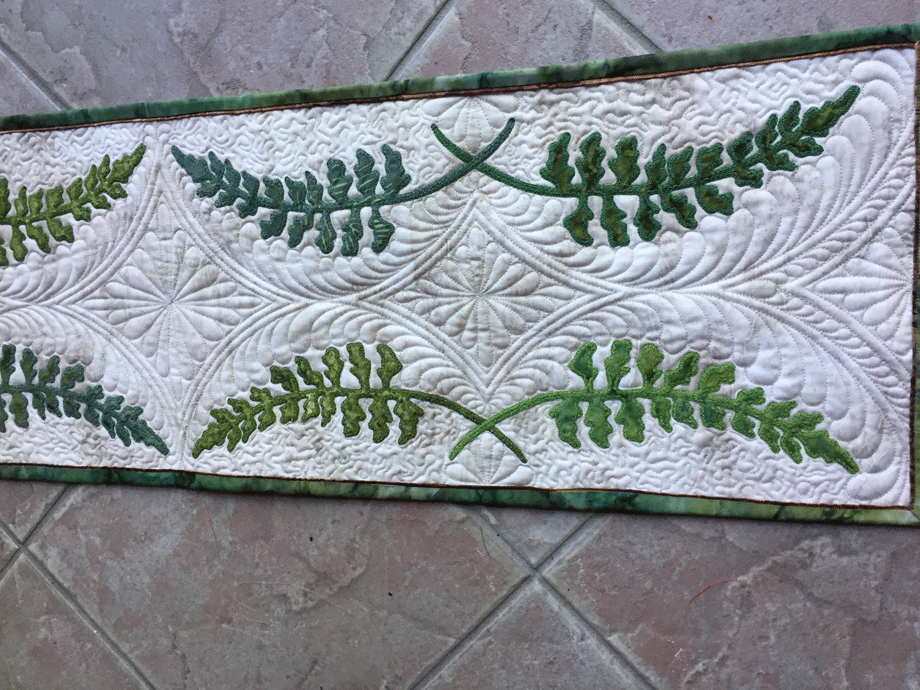 This was very fun to quilt and that part was very quick. I used my PTD12 arc ruler to do the ruler work framing. The fill-in is featherettes and the goal is to completely “use up” the available space within the ruler work framework. The photos below show my strategy for doing this. In this next shot, you can see that I have horizontal/vertical lines denoting my center point and axes. Here is the first “quadrant” of the featherette being stitched using those guidelines:
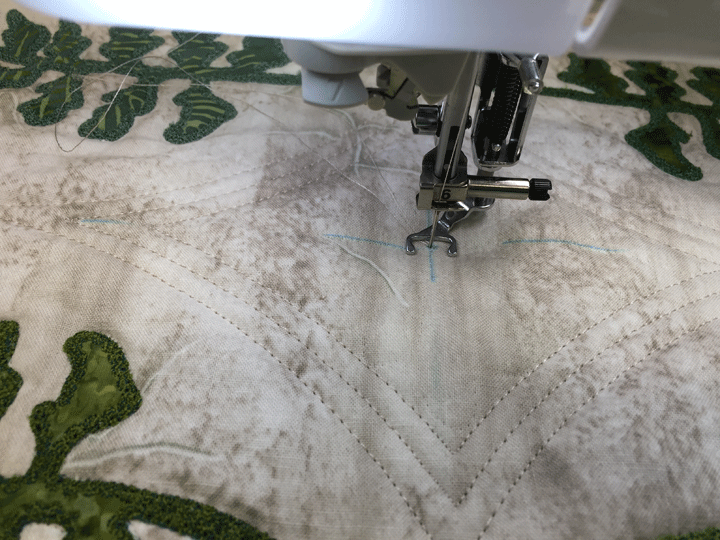 …and here the first “quadrant” of the featherette has been stitched and I’m moving on the the adjacent “quadrant” of the featherette:
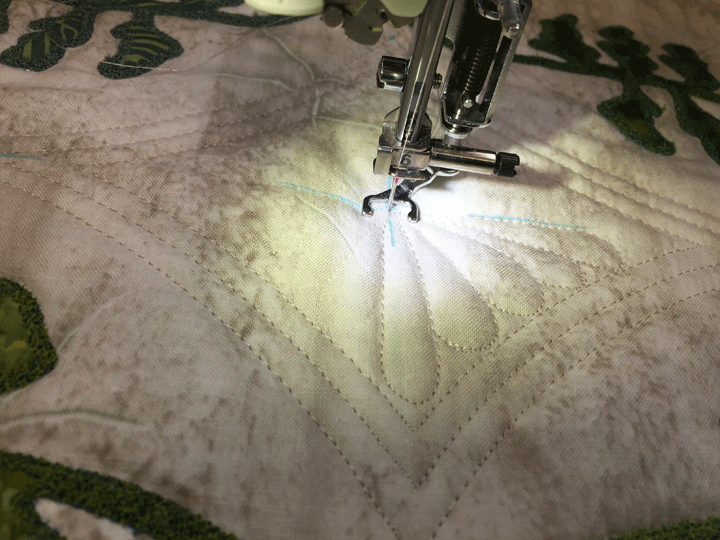 Here’s an example of the center featherette once it’s been stitched:
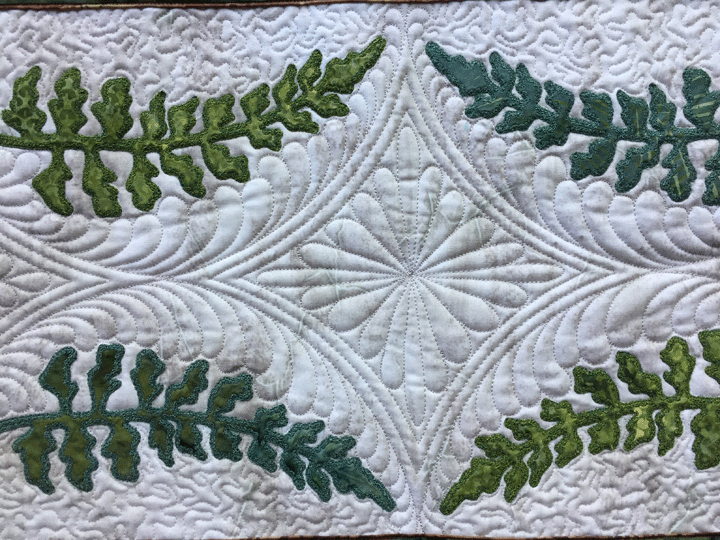 The space between the ruler work design and the fern appliques is filled by stitching plumes that stretch from the ruler work to just next to the applique shapes. Even though these plumes keep changing size/proportion, it works visually and you “believe” the end design:
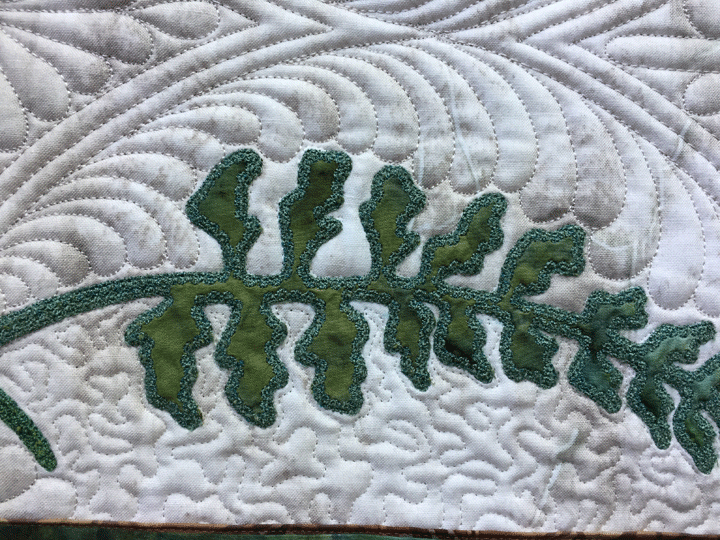 I use that same “bump-back” method to fill the 1/2 inch channel by the edges of the table runner with a long, skinny featherette:
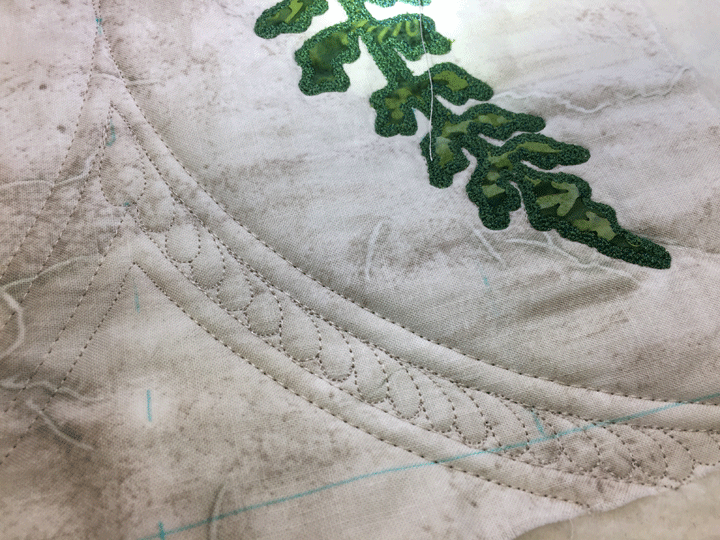 These featherettes are all made using the bump-back feather method. If you’re interested in how to create featherettes, I wrote a nice blog post explaining it awhile back and you can find it by clicking here. Alternately, you can learn about how to quilt featherettes in my Craftsy class. We are now selling the DVD for my Craftsy class called “Ultimate Free Motion Feathers:”
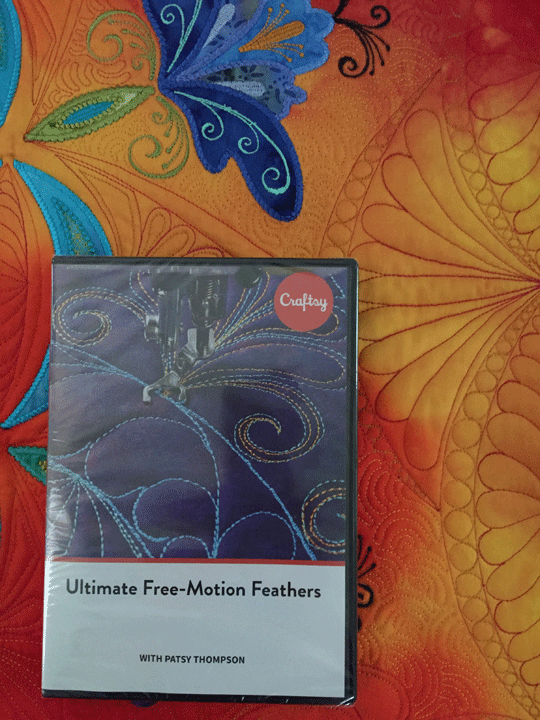 …and you can find it in our online store by clicking here. There’s a lot of feather info on this DVD that is not on any of my Free Motion Fun With Feathers DVD, so it’s worth it to check it out.


Looking good Patsy!
Love your instructional blogs. I’ve taken your craftsy class, too. They have made a difference in my fmq on my domestic machine. Thank you!