

Dec 05 19
A Not Very “Patsy” Quilt
I am on a mission to finish up old projects as I’m no spring chicken anymore. I keep meeting quilters who’ve developed joint issues, etc that have impaired their ability to quilt or make quilts. This has me thinking that if I don’t get focused on getting some of these projects finished and out the door, they might never get done. Below is a perfect example:
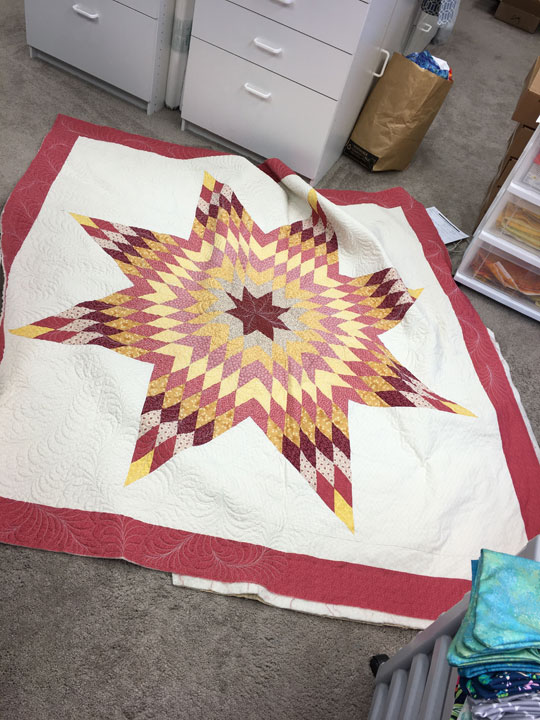
If you are thinking that this quilt doesn’t look anything like my normal work, you would be 100% correct. The colors, fabrics, and style are not me at all; that may be why this project has not been touched in so long. I started quilting this 15 years ago with the goal of it being an example of flowing feathers with elongated, thin plumes. I remember picking it back up to finish it, but it’s been at least another 10 years since the last time I laid my hands on it. I’ve been plugging away on it the past couple of days and am committed to handing it in as a hospice donation quilt by the end of January at the latest. For the time being, that seems very do-able to me.
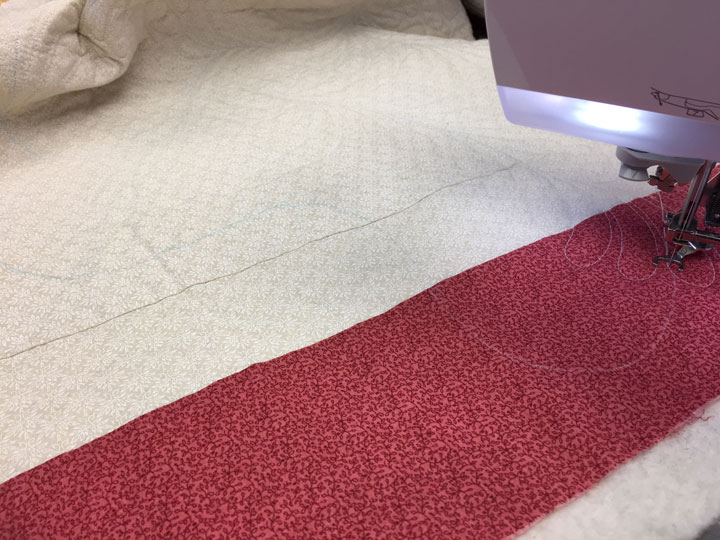
These feathers are made by “springing” a feather from between 2 plumes of an already stitched feather. The photo above shows the curve that will determine the curve of the spine of the next feather. (The line is white on the red fabric and blue on the cream fabric.) If you can’t see it well, this next shot might show it better:

You will notice that the plumes are deliberately stretched out to come close to nearby feathers. By taking up most of the available space with more plumes, it adds to the drama of the swirling feathers. I have to “honor” the way I started quilting this quilt, and that’s kind of weird. For reasons unknown to me, I did not do any stitch-in-the-ditch quilting before I started throwing in feathers. (I know, I am aghast at myself!) There isn’t even any stitching around the perimeter of the whole star! What was I thinking…who knows?! It all begins with a feather that springs from the very center of each of the 8 diamonds that make up the star:
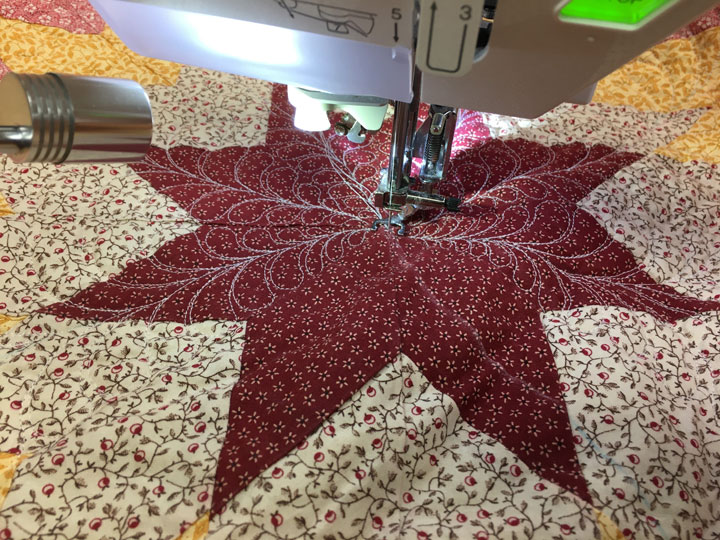
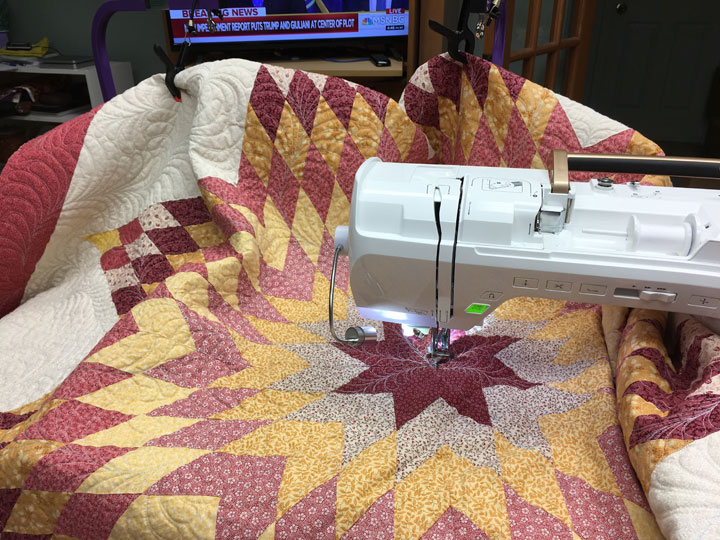
(If you look closely, you can see a white soap line that is the curve this new feather will follow.) I start stitching from that center, and then fill each individual diamond with 2 feathers. Once done, I move to the outlying cream colored fabric zones. For now, tough, this is my vantage point:
Patsy,
Good for you for trying to get this project finished! It’s really difficult to work on something your heart just isn’t into. You do such beautiful work that I’m sure someone will love the quilt. BTW, I just finished your Missouri Star ruler class and loved it. I’m an experienced free motion quilter and love working with rulers but learned so much from this class.
You are putting some beautiful quilting on this quilt for a donation piece. I finished an old lone star quilt top that belonged to a family friend. I had to get some of the puffiness out and add borders. I did free motion lines in the star and meandering in the areas that were still a bit puffy. It turned out nice (not my colors either) and the lady was thrilled with it. Now, like you, I need to get some of my old UFO’s done.