Borders and Ruler Work
April 18th, 2016
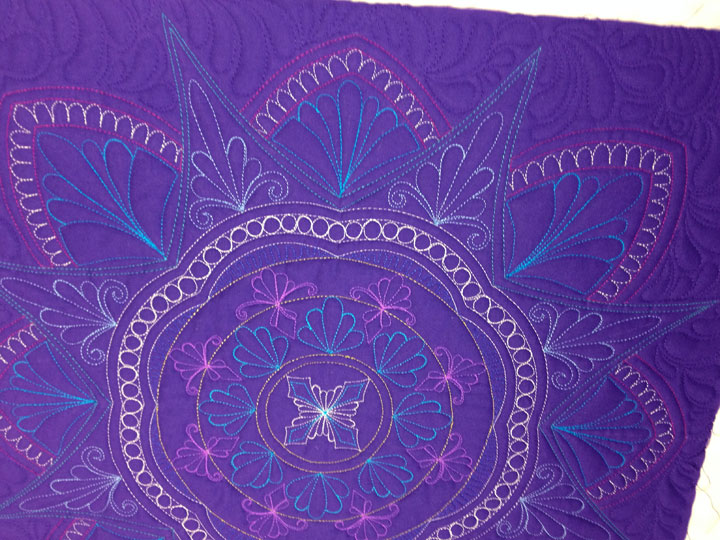
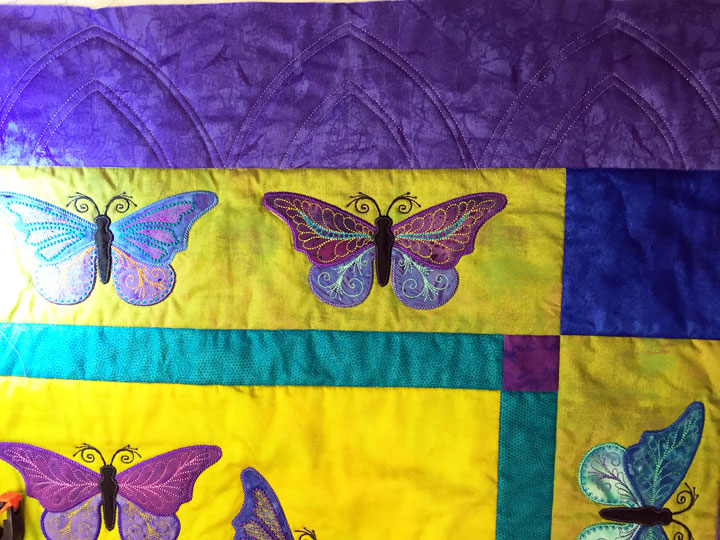
 I just couldn’t seem to take any good photos today, so “sorry,” right off the bat! I think I could spend my whole life playing around quilting different border designs using ruler work. The shot above shows a border I stitched this afternoon and all you need to make a border like this is a plain old every day arc ruler. I started off by creating an arched swag border and then added a scant 1/4 inch channel inside:
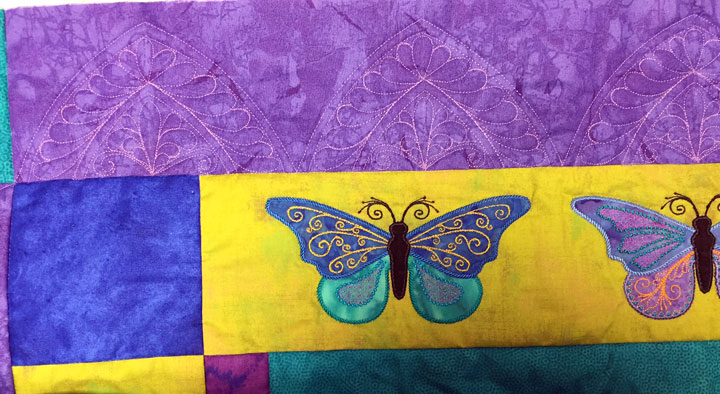
 I needed my next channel to be super wide because I knew I wanted to stitch a curved featherette inside it. None of my rulers had markings that would allow me to make a channel wide enough, but it was easy to come up with a work-around. In this next shot, you can see that there are 3 markings (see the tiny white lines by the 3 arrows):
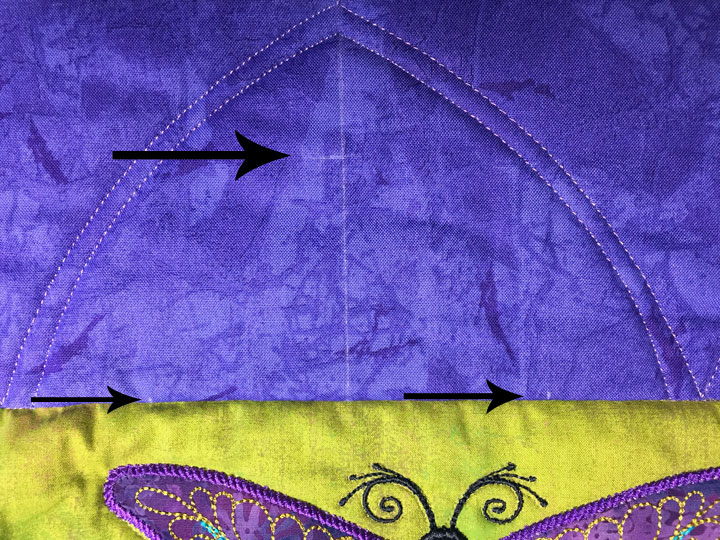 Using these as my starting and stopping points, I was able to stitch out a 1 1/4 inch wide channel. Once it was done, I added another scant 1/4 inch channel below it:
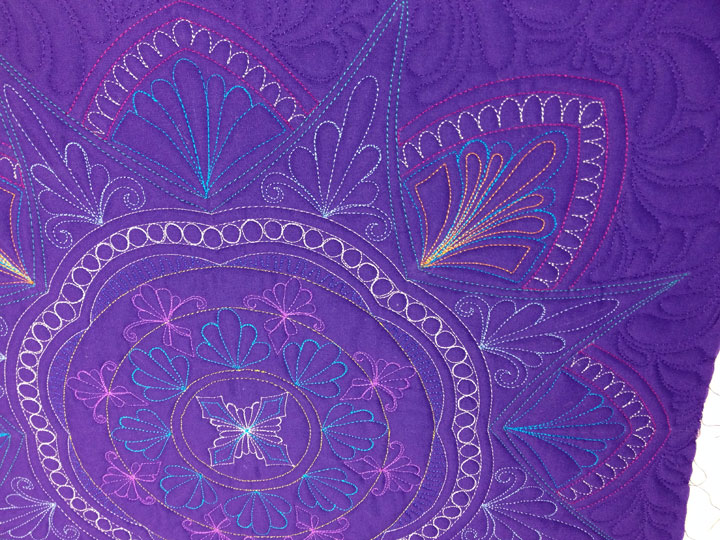
 Voila! My ruler work framework is completely stitched! Next up, I stitched an elongated featherette inside my extra wide channel. I do this using the bumpback method for stitching a feather and my goal is to fill the channel completely with my plumes. Here’s what my arched swag border looked like at this point:
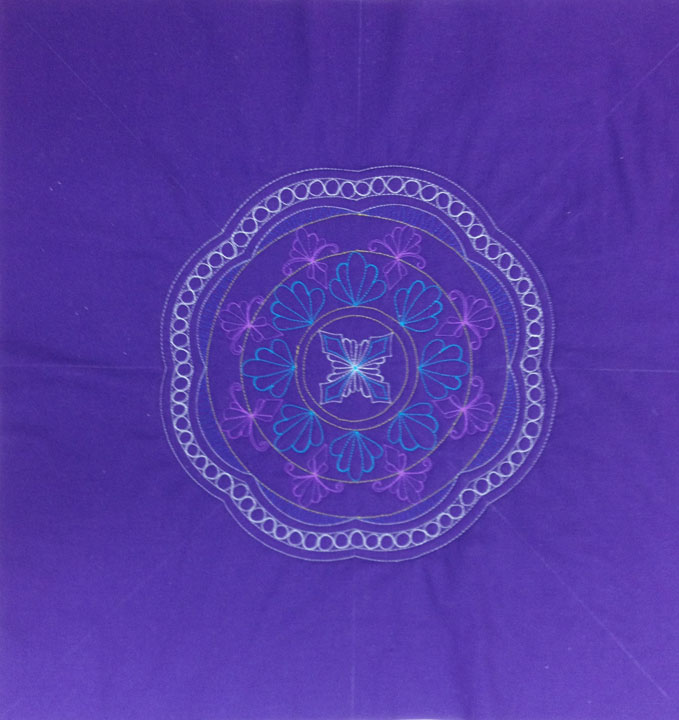
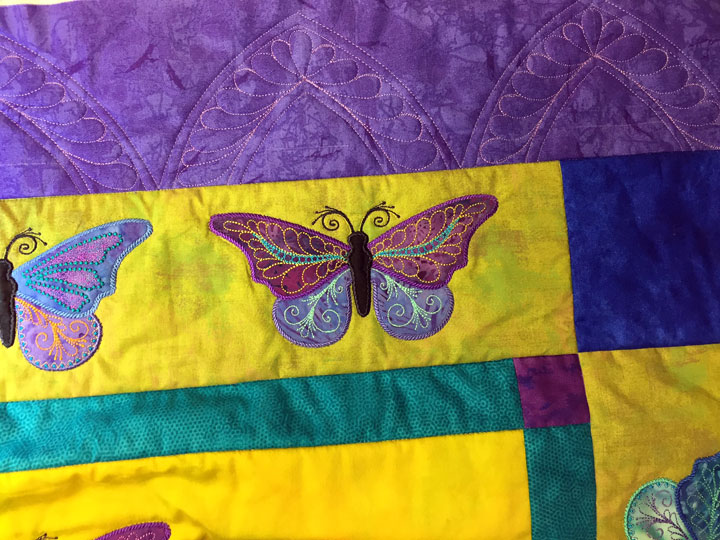 If you look closely inside those swags, you will see a vertical center line and a horizontal soap line that’s 3/4 inches from the seam line. The center line will help keep my lower design centered and the horizontal line tells me how high up to stitch the tips of my swirls. Here is what they look like once completely done:
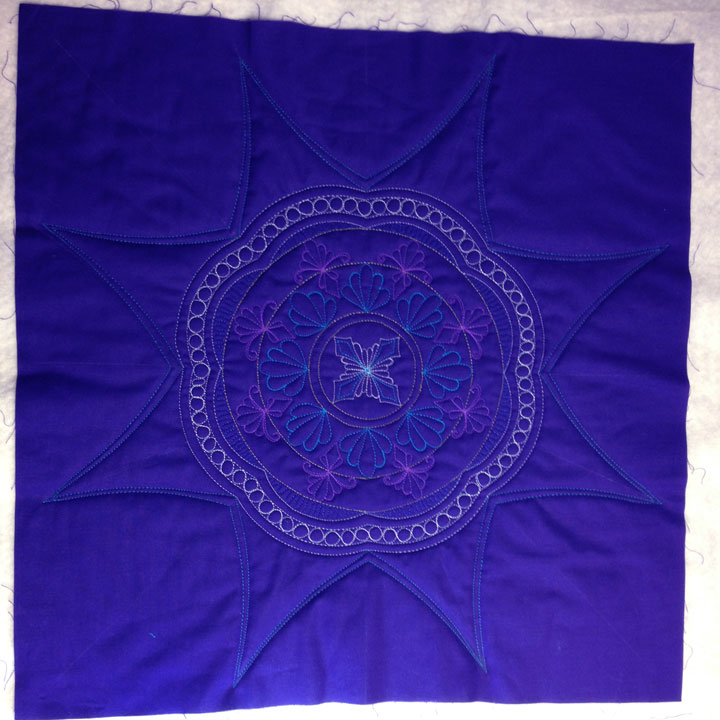
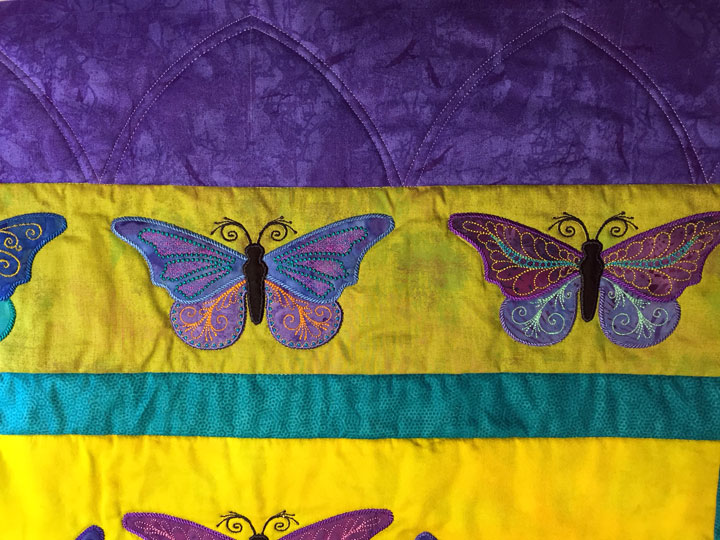
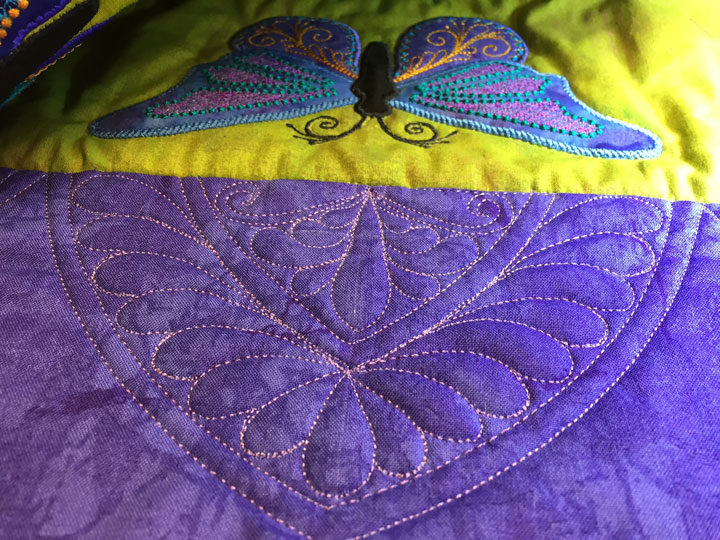 Gosh, it felt good to have some quilting time again! Here’s one last shot of a few of them, although the photo’s not so great:
 If you don’t know how to make bumpback feathers, it’s a really, really useful skill to have. I go over it a lot in my Craftsy class on feathers called Ultimate Feather Quilting, (click here for a discount link to that class), but here is a short video where I explain it while drawing one out: