June 11th, 2010
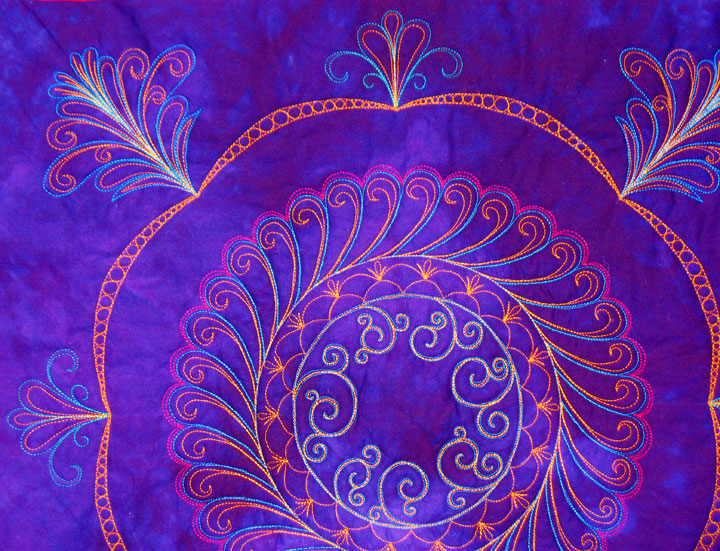
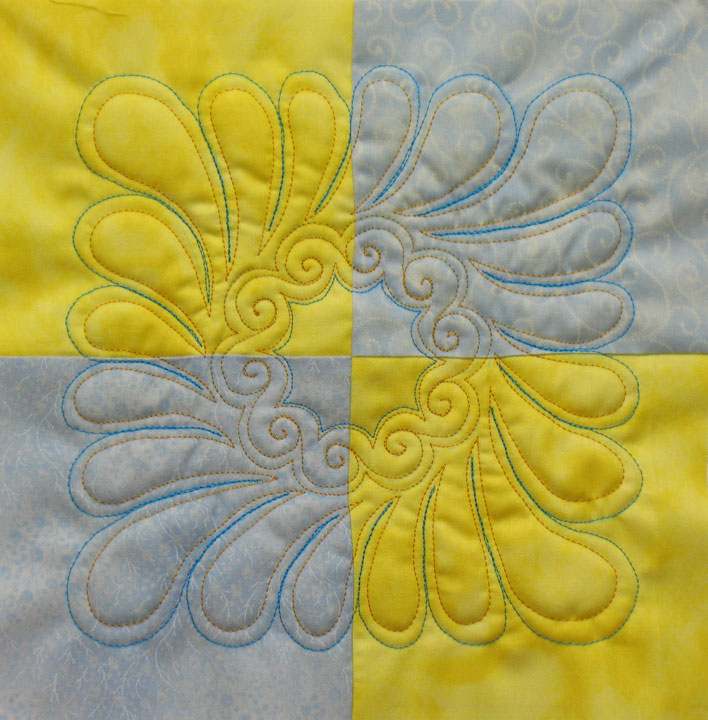
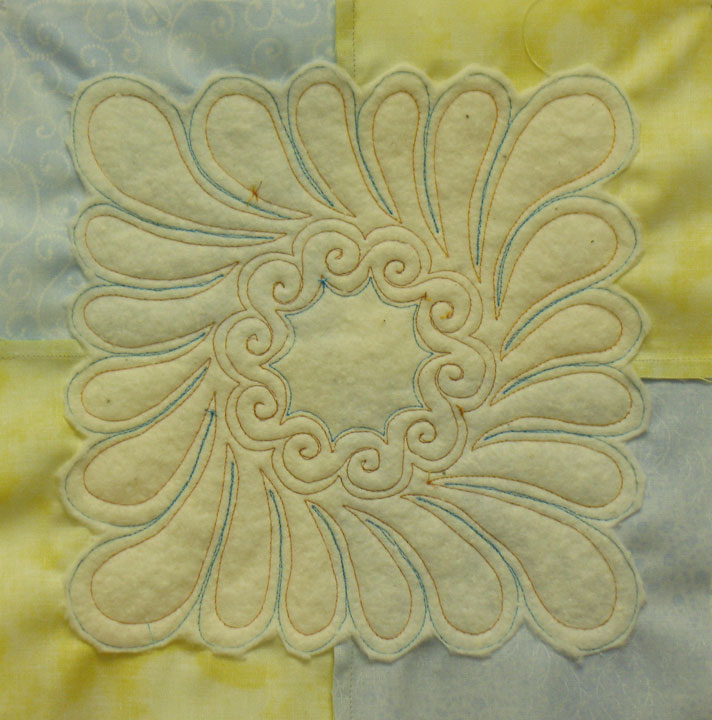
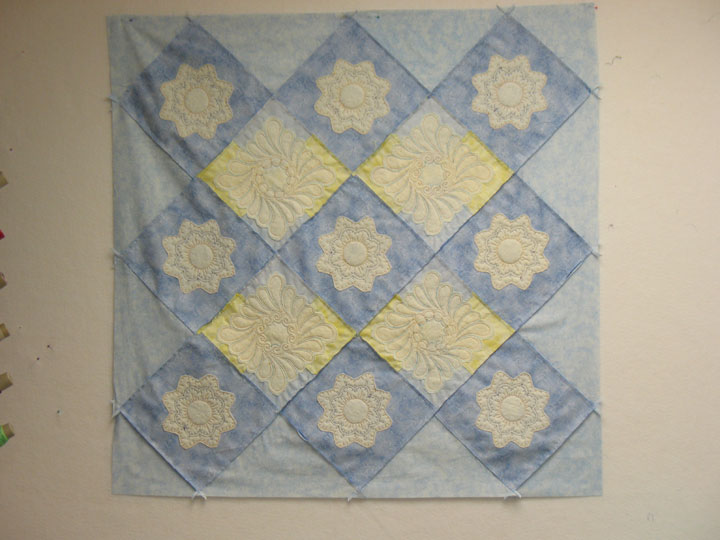
This is a quadrant of another feathered frame design. (Don’t worry, I’m gonna show you a picture of the whole thing, but I want to walk you through the steps first so you’ll know that you can do this!) For the past few months, I’ve been walking around with many neat ideas in my head about different ways to frame designs using feathers, but I just haven’t had the time to stitch them out. I finally got that chance a couple days ago and stitched out the first frame that is based on the notion of framing a wreath (or whatever else you’d want to frame) with a design that is based on circles.  This is in contrast to the feathered frame designs on the most recent DVD as they dealt with rectangular frame designs.
You start out by tracing a large circle around your wreath (or whatever you’re framing) and of course, you do this with a temporary marker. Then you take your scallop ruler and mark the swags that will actually make up the skeleton of your frame. I divided my circle into 8 equal swags and I did this by placing a protractor in the center of my wreath and dividing 360 degrees by 8. This told me I needed to place a mark on my circle every 45 degrees-these were the spots where one swag would begin and another swag would end. Here’s step one after I’d actually stitched the skeleton for my frame:
If you look at the places where the swags intersect, you see right away that there’s much more space in the 4 corners to stitch a design than there is in the centers of the block, so I started in the corners with a large design. Does this design look familiar? I just traced the corner design from stencil PT24 and this is also one of the designs on stencil PT35, so it wasn’t a big deal to come up with these corner designs. I stitched them out in turquoise rayon thread and here’s what the initial design looked like:
 I used a 40 wt rayon thread by Wonderfil for those corner motifs and this was my very first experience with Wonderfil thread. I have to say it was a very positive experience! This is very heavy thread, so it shows up quite nicely! There is no correlation between one thread company’s 40 wt thread and another thread company’s 40 wt thread, and this comparison of 40 wt turquoise thread by Sulky and by Wonderfil really illustrates that difference:
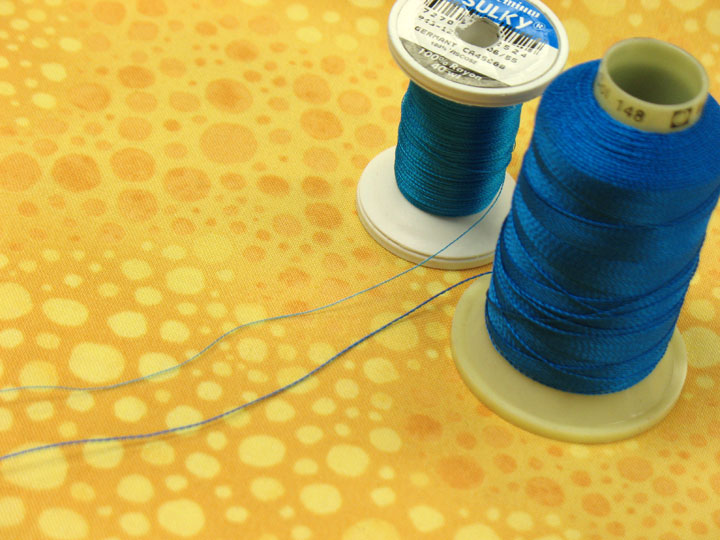 Doesn’t that Wonderfil look like it’s at least twice the size of the Sulky? Wow! Wonderfil is a Canadian company and I’m looking forward to trying out some of their other lines of thread as well. Anyway, back to our story…I was getting jazzed up about hyperquilting those corner motifs and I couldn’t wait, so that was my next move. Here’s a shot of the quilt on my machine bed. (These are the moments when you’re all alone in your sewing room and you’re heart beat is starting to race with excitement as you see this first unfolding! Isn’t it nice that we can now share these moments of solitude electronically?!)
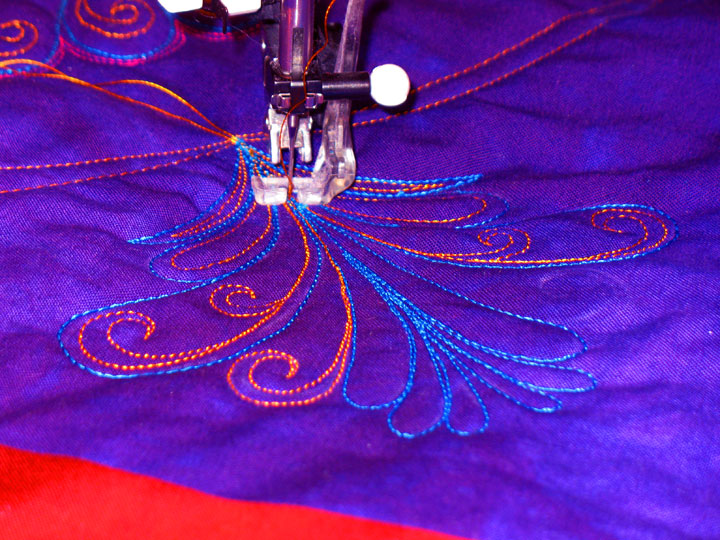
(I should have also mentioned that I didn’t stitch the swirls when I made that first pass with turquoise thread and I added them at this stage when I did the hyperquilting-just another way to jazz things up a bit!) Next up, I added the motifs in the block centers. These were lifted from a portion of stencil PT27:
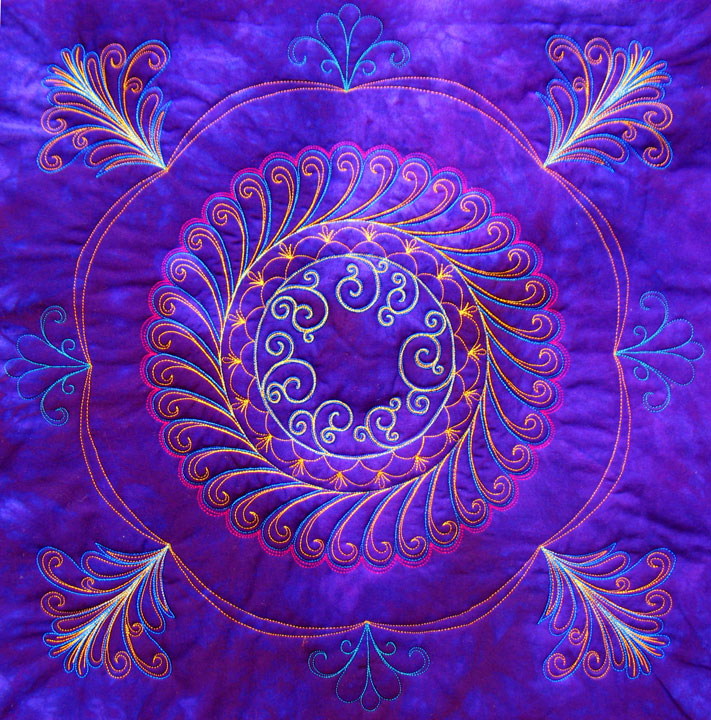
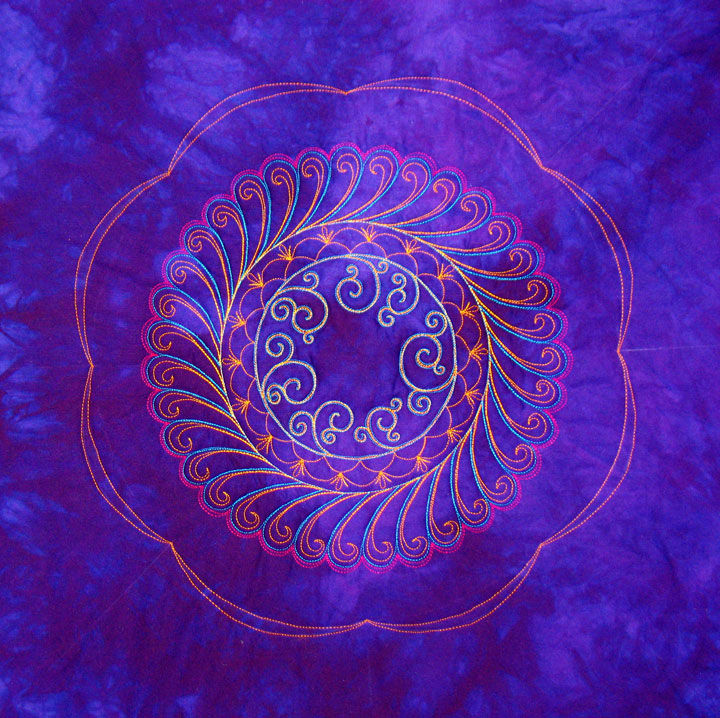
And in my last step, I hyperquilted the small motifs in gold thread and added the pearls inside the swags. Here is the end product:
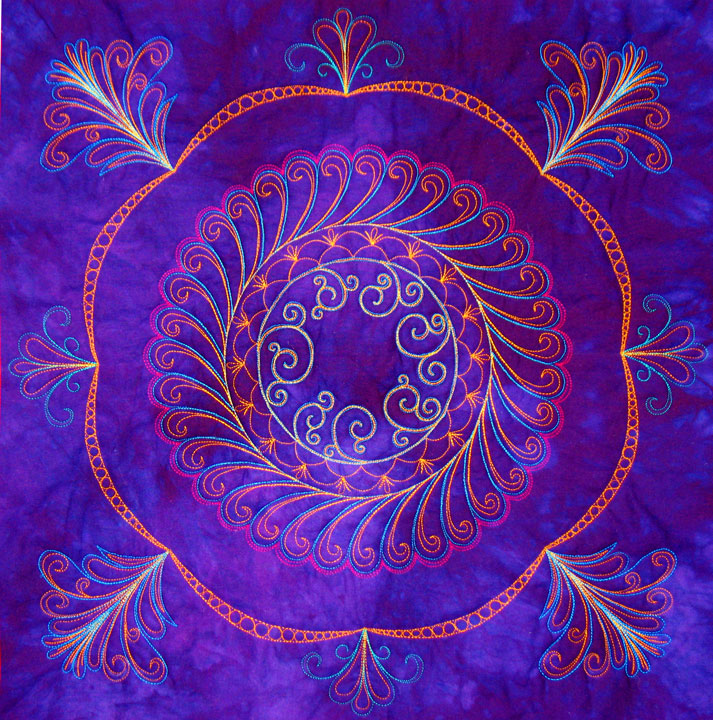 Boy, those pearls inside the swags really dress this baby up, don’t they?! Now I am debating whether or not to stitch some design between the wreath and the frame. My instinct is not to do it, but it’ll be something that I’ll mull through in my thinking over the next several weeks.
And before I forget, the winners of the Star Thread give away were Ray Janikowski and Donna Adams. The spools of thread are in the mail, winging their ways to their new homes! Congratulations!
Filed under
Site Updates.


