Repeat Block Tulip Quilt and a Sale

May 31st, 2012

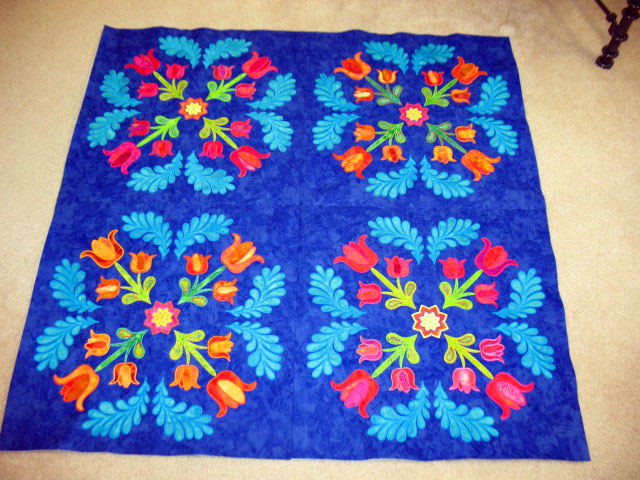
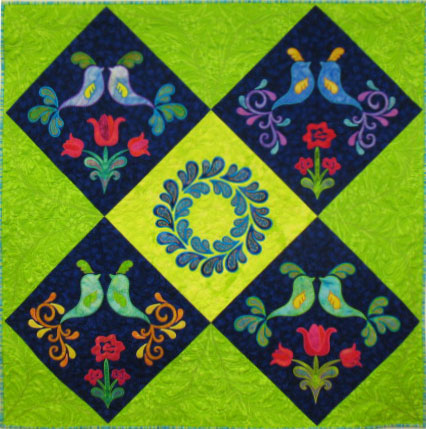
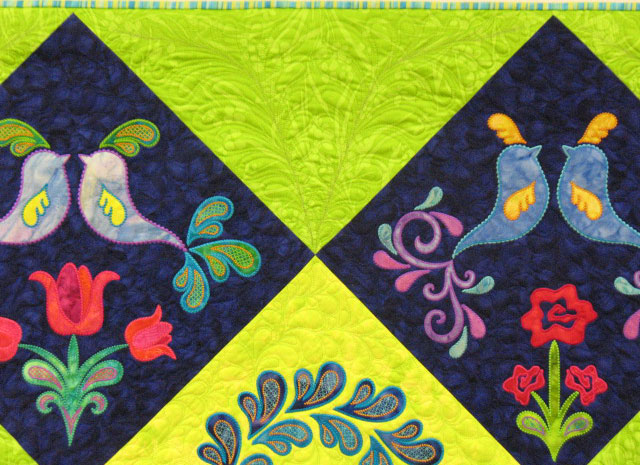
I finally pieced together my 4 large tulip blocks to make  a wall hanging.  Over 50 embroidered quilt blocks stolen from my car, but these 4 blocks survived because they were so large that they had been rolled onto a long cardboard tube and they weren’t in any of my suitcases that were stolen.  I’d been reluctant to finish the wall hanging just because it was kind of a bittersweet memory for me.  Anyway, here’s what they looked  like once I’d pieced them together and they were placed on the floor:


These blocks may look familiar as this is the same tulip block that had been set on point in this other quilt that was stolen:


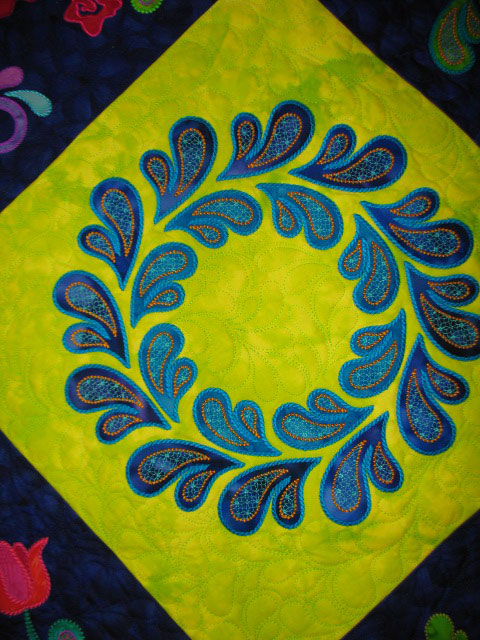
I really like how this block works well in both settings.  In this “on square” setting, there are large”empty” spaces that are formed where the blocks join, and I think that center space might be a good spot to quilt a pretty feathered wreath.  Not sure yet, but I think half wreaths will work in the 4 side empty spots where the blocks join up.

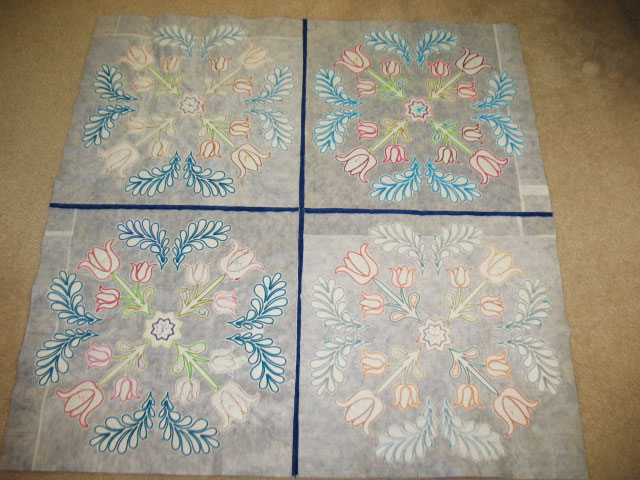
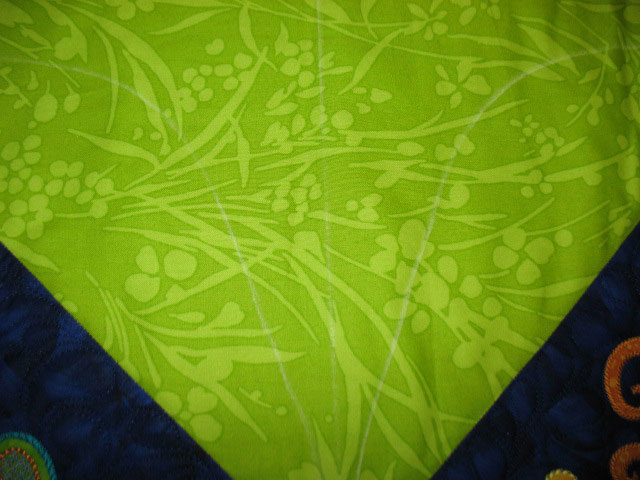
Here’s a shot of what the backside of this top looks like:


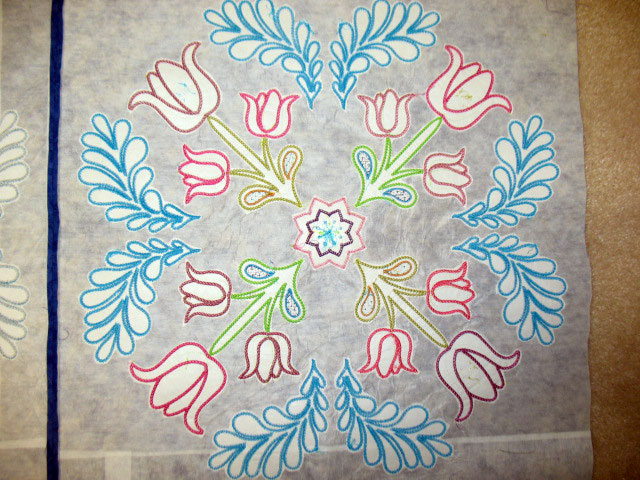
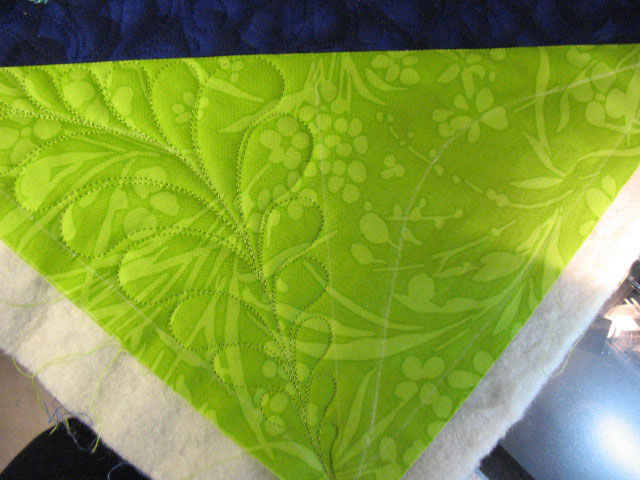
There are a lot of extra “layers” of stuff on these machine embroidered quilt blocks.  This closeup of the backside of one block will probably make this  a bit clearer:


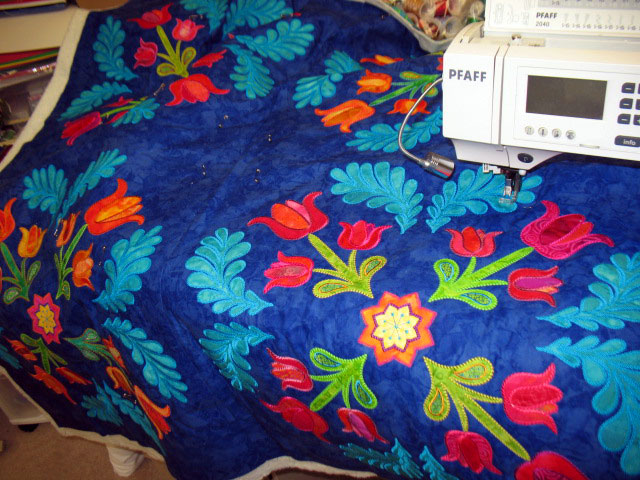
The greyish-white layer that extends over the backside of the entire block is a layer of fusible interfacing.  The reason you see “seams” is because the block is so large that the width of the interfacing doesn’t cover it, so what appears to be a seam is really a point of overlap.  The other areas of a whiter-white are a medium weight cut away stabilizer.  This is a blend of polyester and cellulose and it has a fabric-like drape to it. You’ve got to have a good stabilizer on board when you’re doing this kind of dense stitching.  I’ve stitched a number of machine embroidered applique quilts now, and most of them are larger than this one, but this quilt top weighs a ton more than any quilt top I’ve ever pieced before!  Normally, when I spray baste a quilt together, I don’t have to use any pins, but I did on this one because I thought the weight of the top might cause the layers to come apart.  I’m just at the stage of outlining all the appliques with invisible thread:


I am wondering how people quilt quilts (using sit down/push through machine quilting) who have 2 layers of batting because the weight of this one is already proving to be a nuisance with only 1 layer of batting!  This may take me awhile…

In other news, Nikki has a great sale going on right now.  All retail sales of DVDs and books made by Patsy Thompson Designs are 20% off, and here’s part 2 of her great sale:

If you make a retail purchase of $50 (excluding tax and shipping) you will receive 6 spools of Sulky Solid; three 12 wt. spools and three 30 wt. spools, colors to be chosen by us.  These 6 spools retail for $34.14! If you make a retail purchase of $100 (excluding tax and shipping) you will receive the 6 spools of thread PLUS a $15 gift certificate to our store for your next purchase! Both of these specials (free thread and free gift certificate) are available to any given retail customer only once during the sale.

These sale specials are good through 9 am eastern daylight savings time on June 8, 2012.  To receive the discount, enter “Summer” (without the quotes) in the discount code box during checkout!

viagra samples scam

Updated Cutting Table, Thread Give Away Winner, and Playing with a New Block

May 15th, 2012

I had been toying with swapping out my cutting mats for the last 2-3 years, and I finally took the plunge. My cutting table consists of 2 hollow doors that I coated with spray varnish (I think I did 3 layers, sanding between each layer) almost 20 years ago, and these lie on top of many “units” of drawers and cabinets that we bought over the years at Lowe’s. As my sewing supplies grew, we would fill in yet another space underneath with a new drawer unit. This system has worked great for me but the cutting mat part was a bit problematic. I had 2 full size mats that were attached by this screw system, and they would sometimes separate. Even when they didn’t separate, my rotary cutter would never cut through fabric that laid over the seam. Here is a shot of my table with everything removed except my pair of cutting mats:

(As you might have guessed, the table is never this empty!) I hemmed and hawed about getting a full table mat for the last few years and finally did. Part of what held me up is that I did not want a large mat with a “plasticky feel” and was hoping for a material that was quite similar to my Fiskars mats. Here is a shot of my new system:

The mat is in 1 piece and covers the entire table. When it came, I needed to unroll it and have it lay flat in the garage for a few days so it would lay flat again. It does have that plasticky feel that I didn’t want but I have to say that I no longer care. It works beautifully and it is such a luxury to have this huge cutting surface. I love my new cutting system! You can get it with a grid on it, but I never used those markings before so I didn’t figure it was worth the extra $. If you’re interested in getting one, here’s where I bought it; they will custom-size it to your table’s specifications and they worked with me to have it arrive in a narrow window of time.

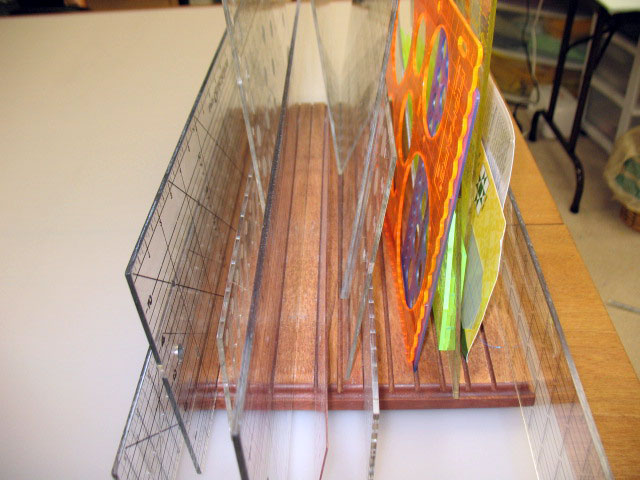
I have lots of cr-p on one end of the table; it’s all stuff I use constantly. Like this group of rulers:

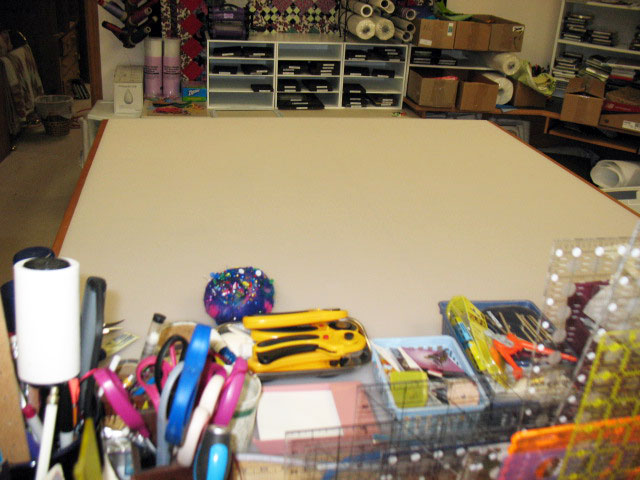
That ruler holder was an old piece of extra plywood that Ernie routed for me so it would hold rulers. He is really great about making stuff that helps me sew more efficiently. Here’s a shot of the table with all my cr-p back on it…I lost a bit of cutting room but it’s still a dream cutting table for me:

I haven’t gotten to sew much lately but I wanted some sewing pics to post so I’ll show you a couple variations of a block I played with a couple weeks ago. Remember this block from before…

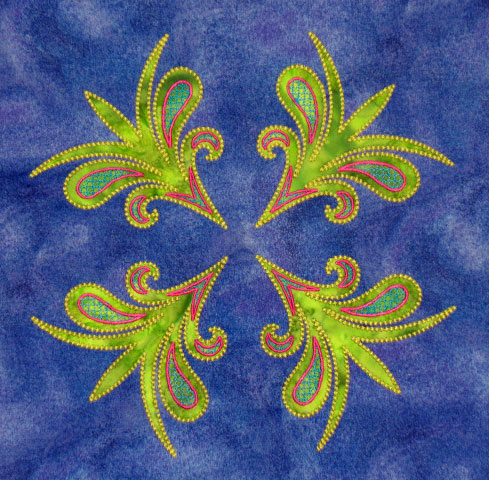
Here is the machine embroidered version of it:

…and here’s a closeup:

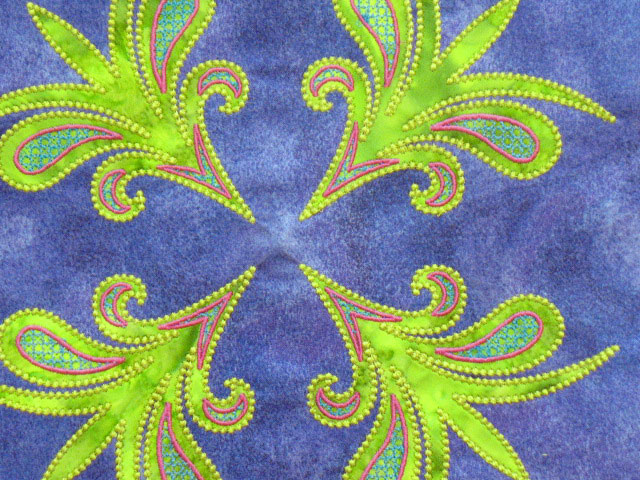
I did another one but varied the threads so it was really 2 pairs of stems that were alike:

…and the closeup of the second option:

And now for the winner of the thread give away…it’s Louisa Lawson! Congratulations, Louisa, and I hope you enjoy the thread!

certified viagra

April Finishes

May 2nd, 2012

I spent a lot of time re-making samples of some of the stuff that was stolen. This table runner is an example:

Here’s a closeup of one of the centers:

I also finished that sampler wallhanging for bird blocks #1 and #2:

If you are making any of the bird block or wreath designs in 15 inch blocks, I began with 23 inch squares (cut into 4 pieces) for the side setting triangles and 12 1/2 inch squares (cut into 2 pieces) for the corner setting triangles. These will be slightly oversized but once the entire quilt has been pieced, I trim my edges so I have a 1/2 inch seam allowance beyond all my block “points.” (I use a wider binding, so you may want to trim yours even closer.) Here’s the center:

…and here’s one of the side setting triangles that are quilted with feathers:

If you ever have a large triangle to fill with feathers but it seems too large for you, it’s always an easy fix to divide and conquer. Here’s a corner triangle that’s been divided in half and then had spine guidelines marked to guide the placement of feathers (soap sliver is the marking tool here):

…and here’s the same triangle with the first feather stitched. You can see there’s also a soap marking about 1/2 inch from the outer edge of the quilt; that’s to remind me to keep my plume tips outside of the binding zone:

And this next table runner shouldn’t really make it into April Finishes,” but I was so darn close! It was totally quilted but not yet trimmed and bound:

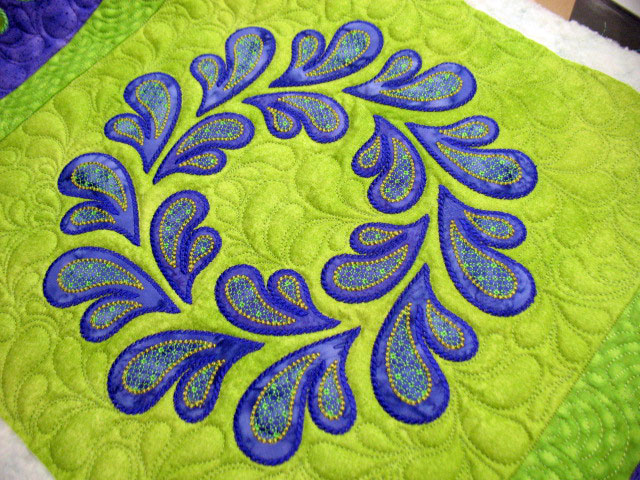
The colors aren’t coming out well in the photos. It’s green and purple. Here’s a closeup of the green block wreath:

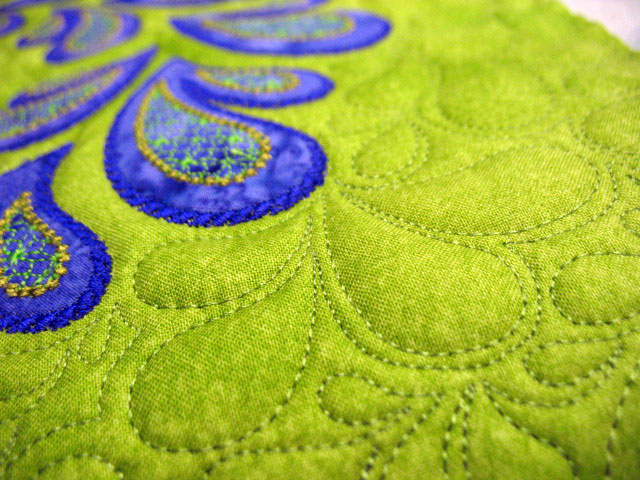
The background quilting is the rudimentary version of “Plumify It:”

…and I stitched the “Igloos” pattern in the narrow divider/end blocks:

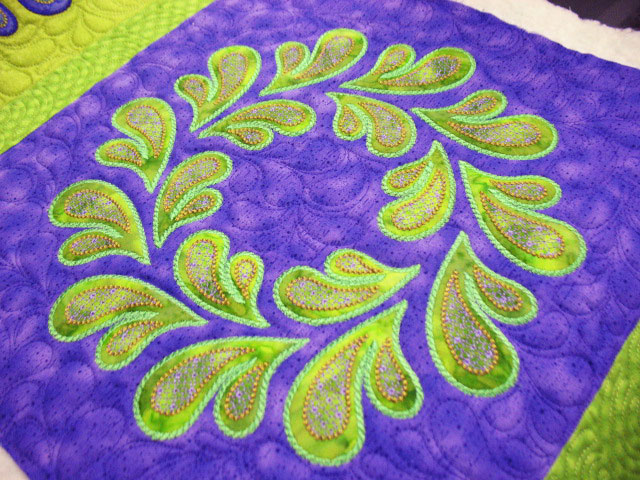
..and here’s a shot of one of the purple wreath blocks:

I could quilt these tablerunners every day! They are such a small quilt that it’s very gratifying to finish the project quickly and it’s very stimulating to see all the texture come to life so quickly as it’s being quilted. On to May projects…cialis endurance