Finito!
March 31st, 2016
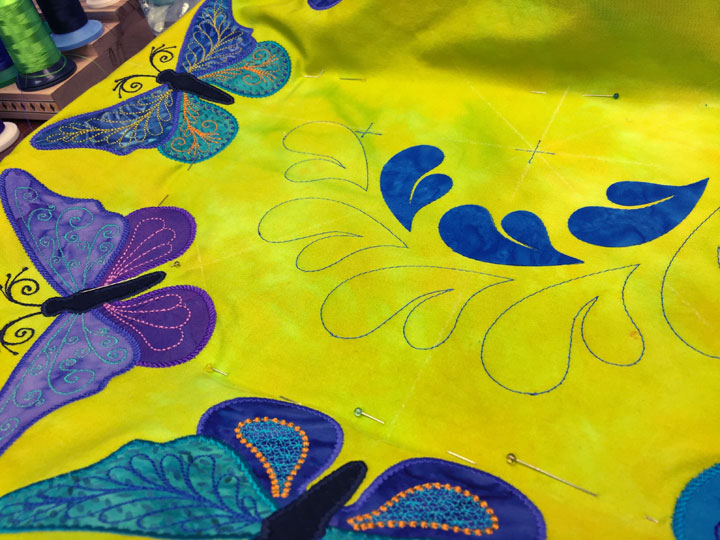
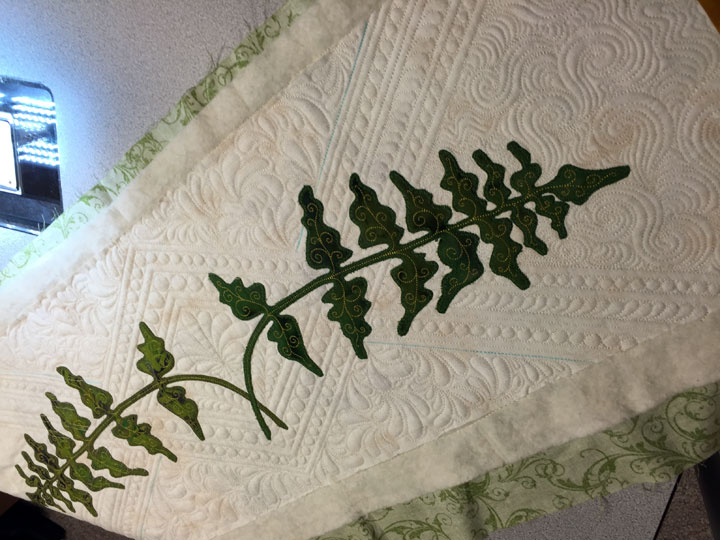
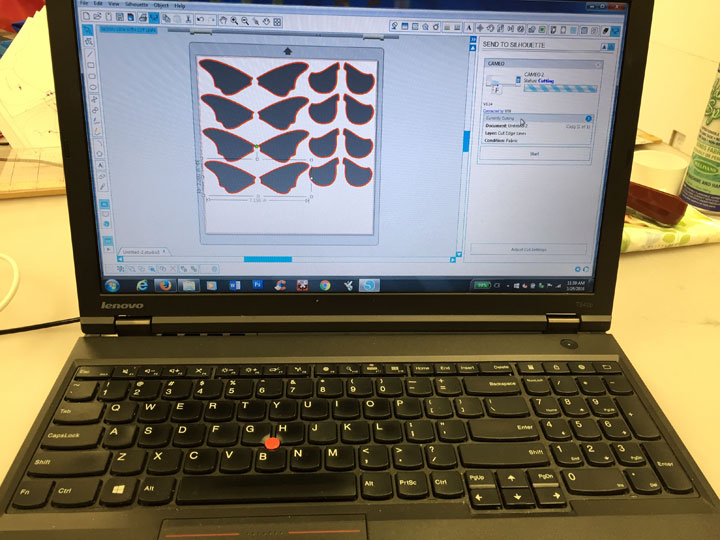
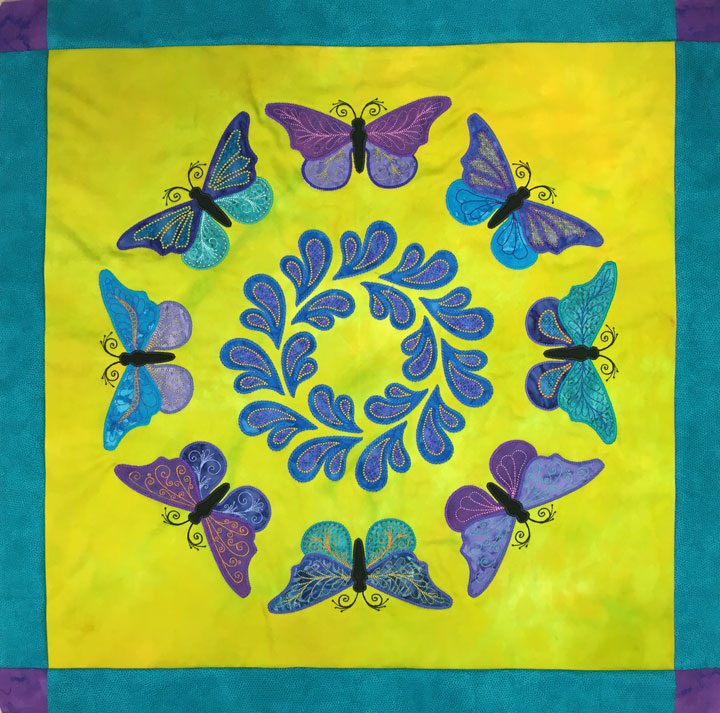 I ended up throwing a feathered wreath inside the butterfly wreath. My original plan was to leave that space as a big blank area that I could fill with quilted ruler work, but I caved in and added the wreath. I cut the 5 shapes that make up the butterfly on a Silhouette Cameo cutter. I was cutting 4 pairs of upper and lower wings from each piece of fabric; here’s a shot of how I laid it out on my computer screen:
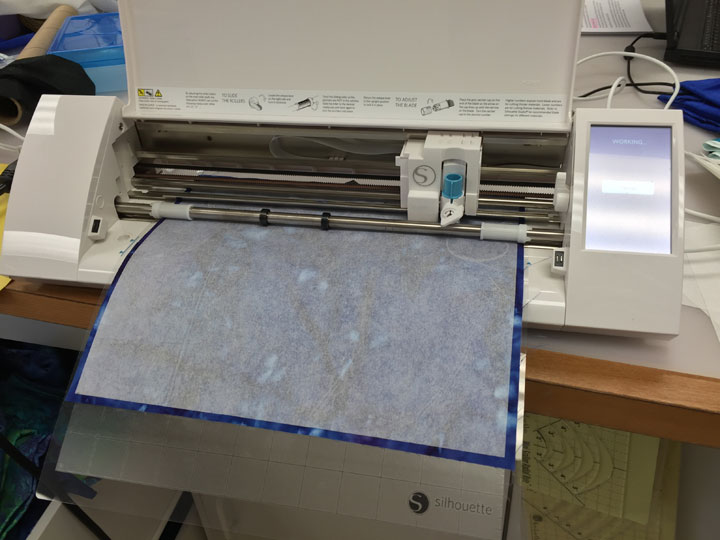
 If you haven’t seen one of these cutters, here’s a shot of it cutting a piece of fabric with Wonder Under on one side:
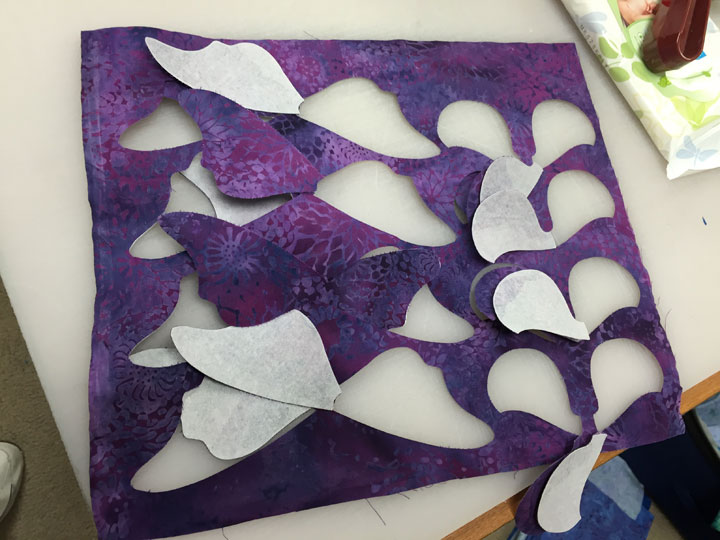
 …and here’s a shot of that piece of fabric after the cutting has happened. You can see that I’ve removed some of the shapes but not all:
 I will be using this cutter a lot in the future. Don’t get me wrong…my number one first choice is cutting fabric with steel rule dies using my Sizzix cutter, but I just can’t have dies for all the shapes I want to cut.
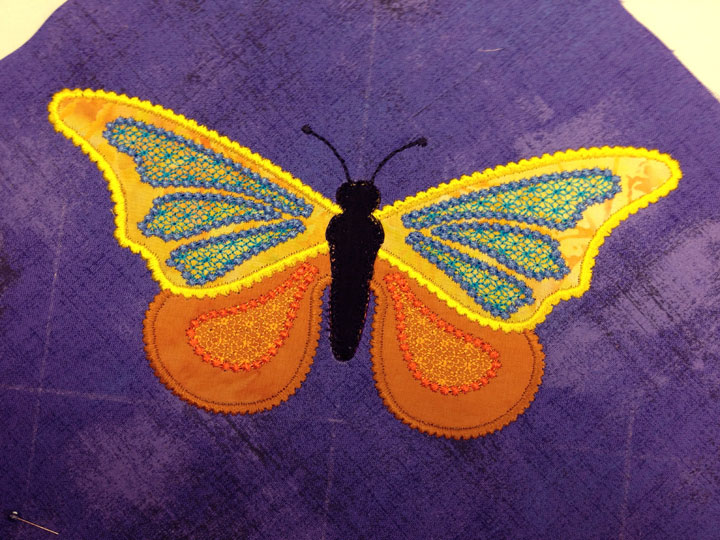
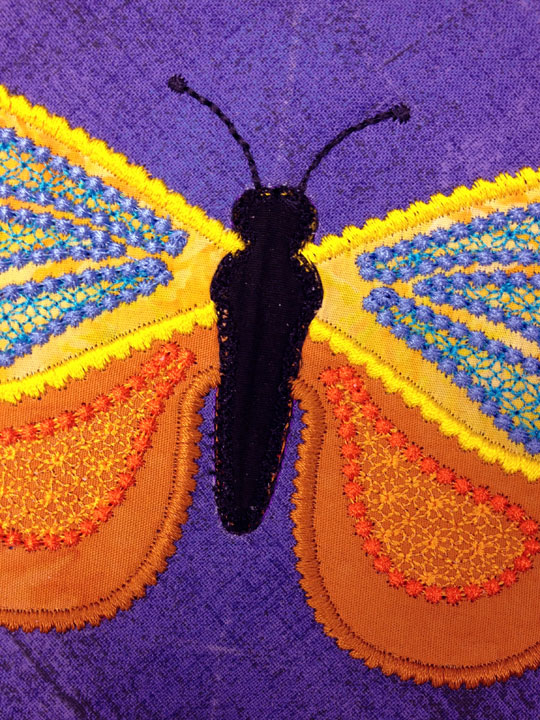
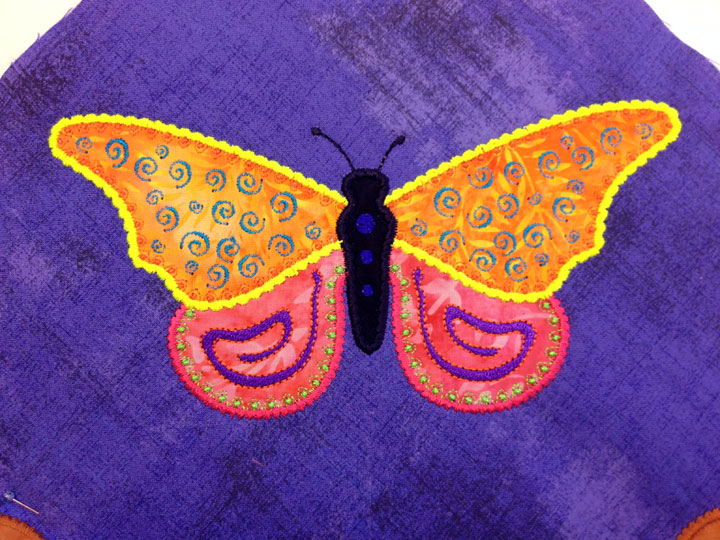
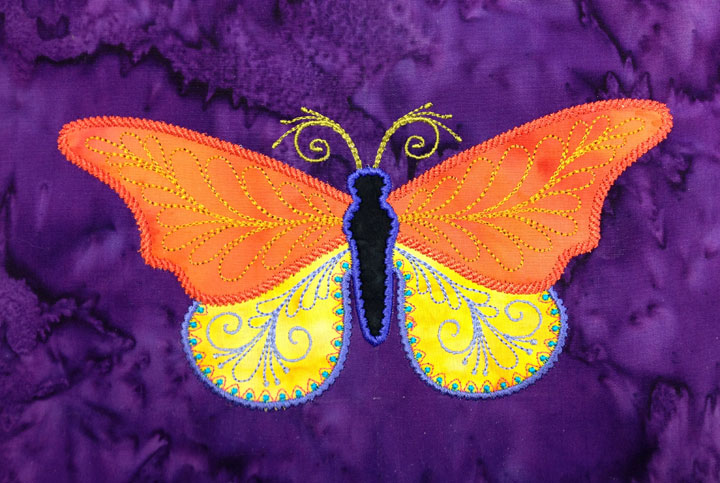
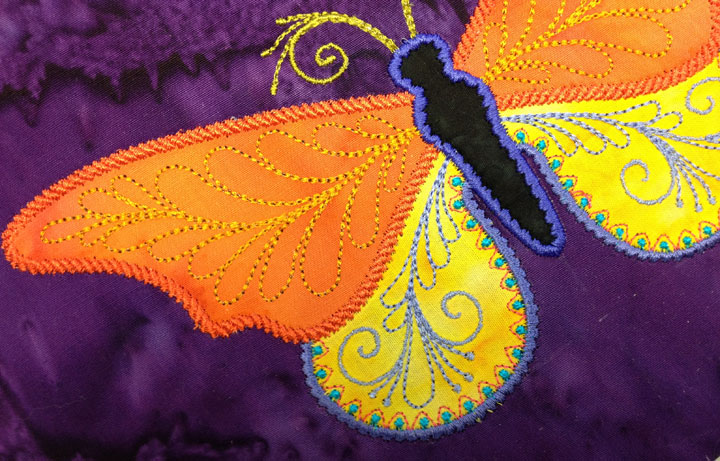
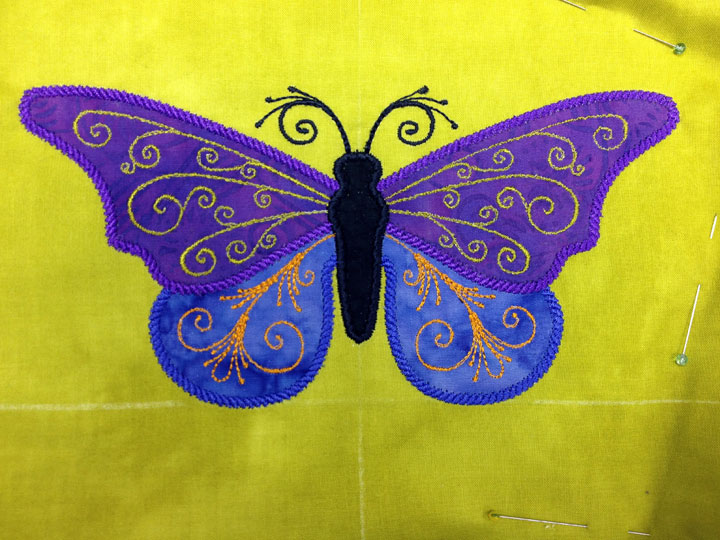
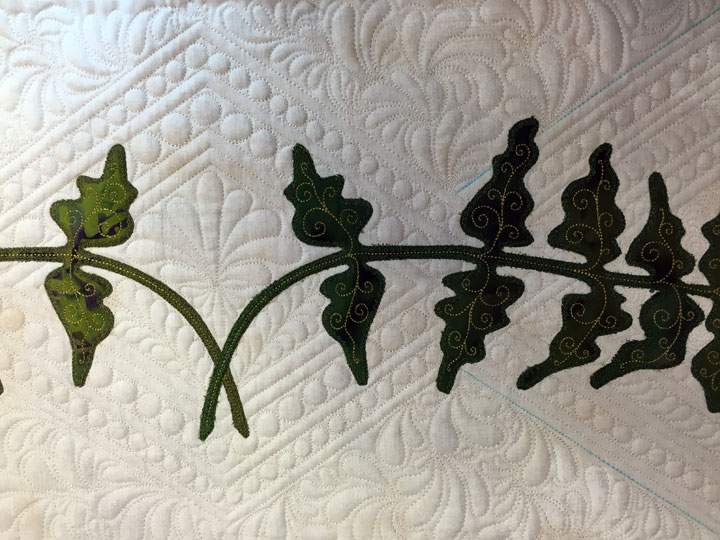
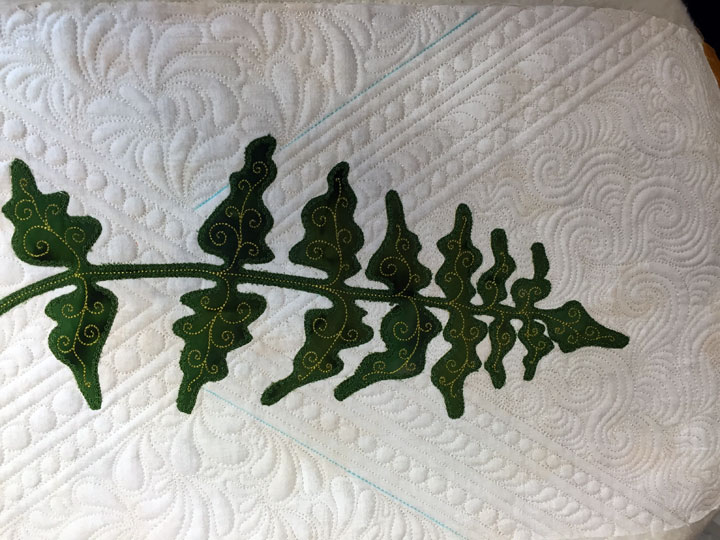
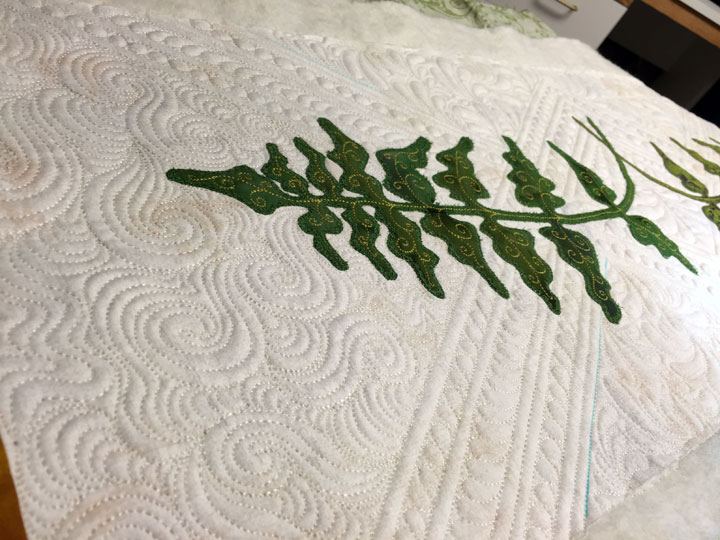
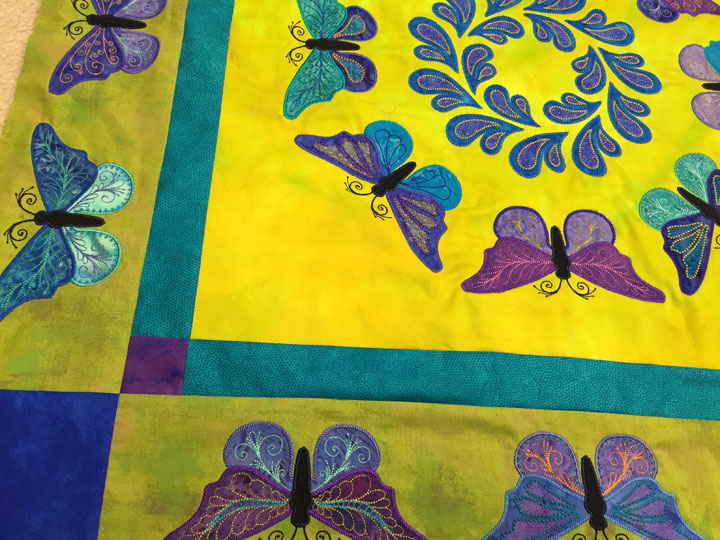
Once I’d cut about a million butterfly shapes, I embroidered 4 borders and this is where the top stands now:
I will be using this cutter a lot in the future. Don’t get me wrong…my number one first choice is cutting fabric with steel rule dies using my Sizzix cutter, but I just can’t have dies for all the shapes I want to cut.
Once I’d cut about a million butterfly shapes, I embroidered 4 borders and this is where the top stands now:
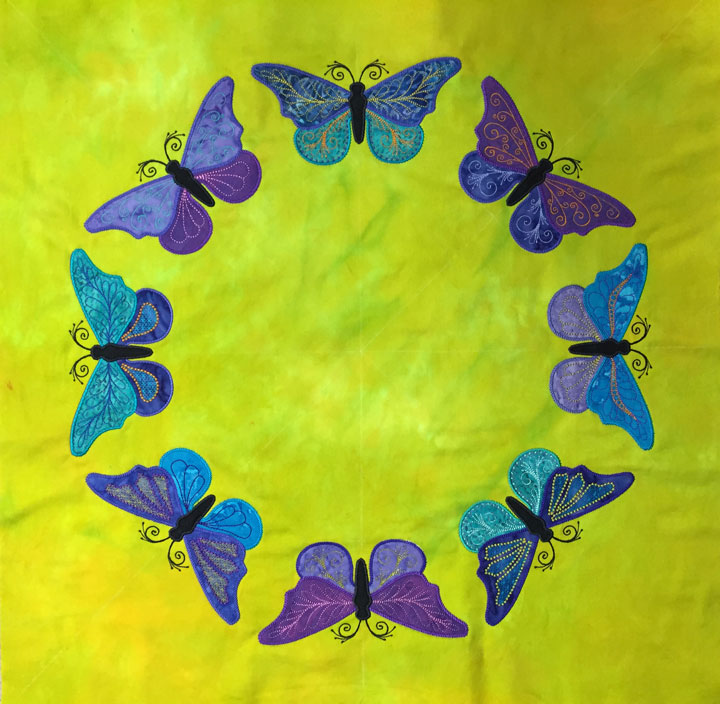
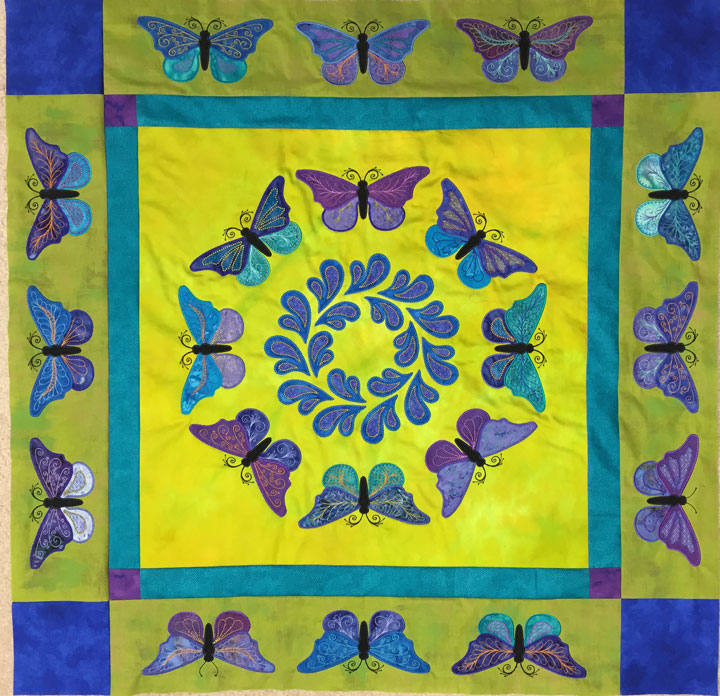 I really just love how this is coming out. The center block is bright, but it’s more of a yellowy-green than it looks here. I honestly think I like it just as it is now, but I’m toying with the idea of throwing on a 4inch wide border, ONLY because I need a 4 in border to stitch out a cool ruler work design I came up with. A part of me knows this is a terrible reason to add a border, so I’m just marinating with this option for a couple days. What would you do?!!
 I have had so, so, so MUCH FUN this week playing around in my sewing room. I just can’t put into words how much this feeds my soul. I hope you’ve been finding time to indulge your creative muse as well!
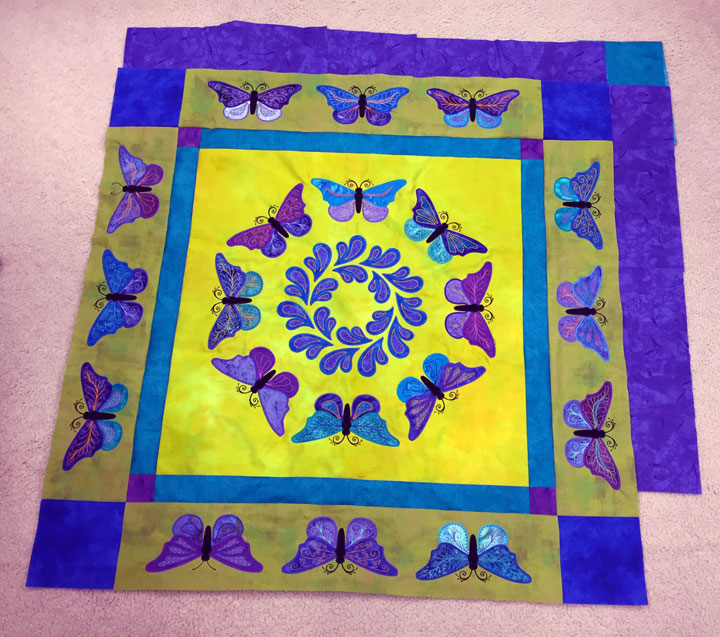
8:00 PM Addendum: I laid the top out on the carpet with some border fabric options surrounding it, then began my workout on my ski machine. 45 minutes later, my decision was made…I’m going with the purple border and teal cornerstone block. The colors here are not quite right, but it honestly looks great, so I’ll get to play with my ruler work border design after all!!