Flanged Binding
July 25th, 2017
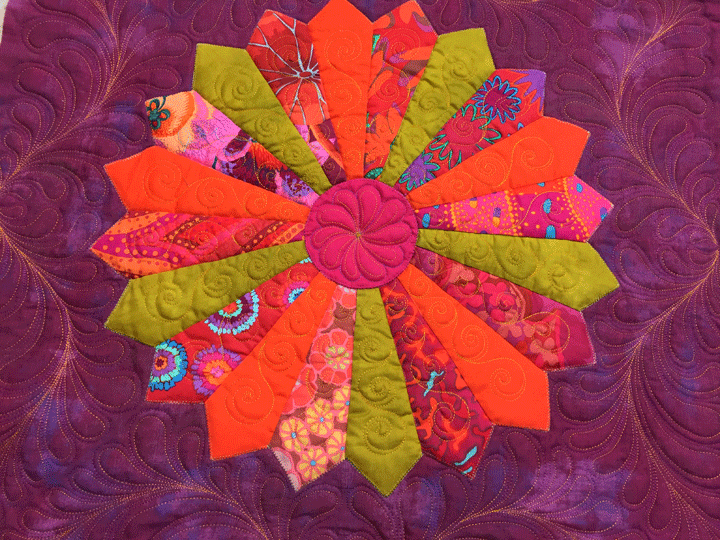
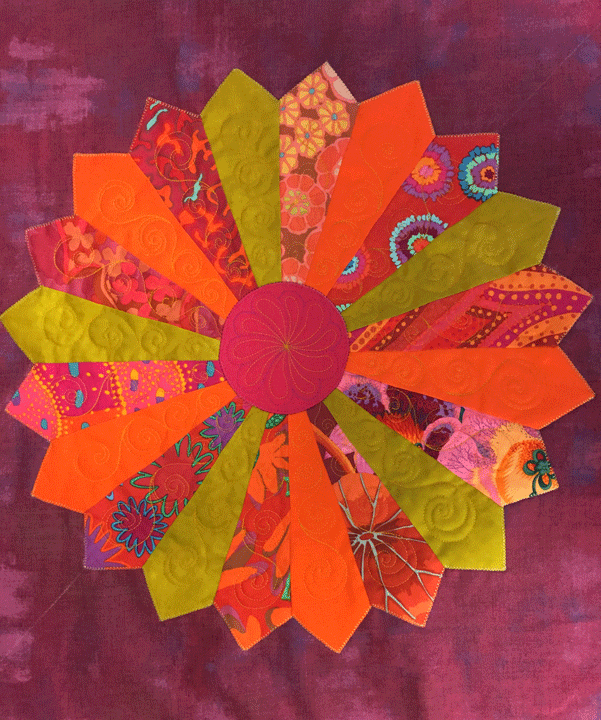
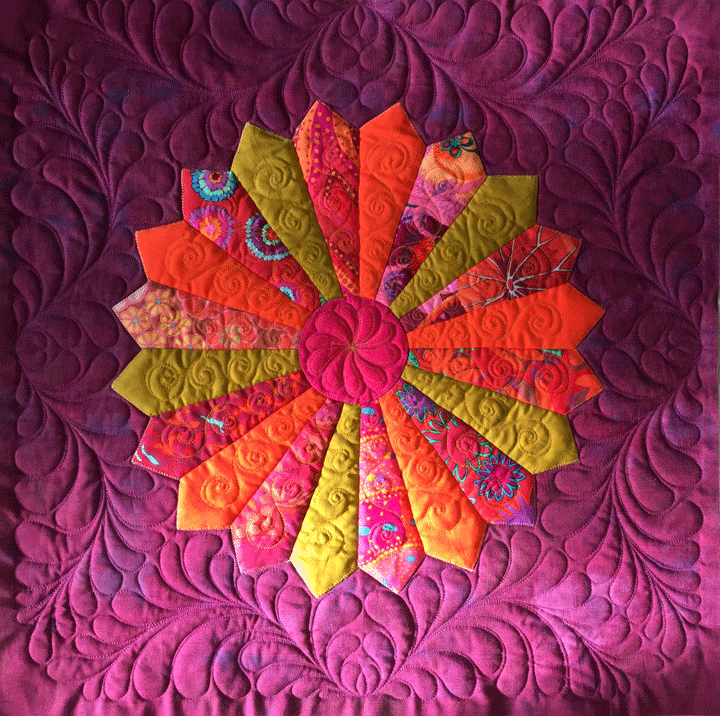
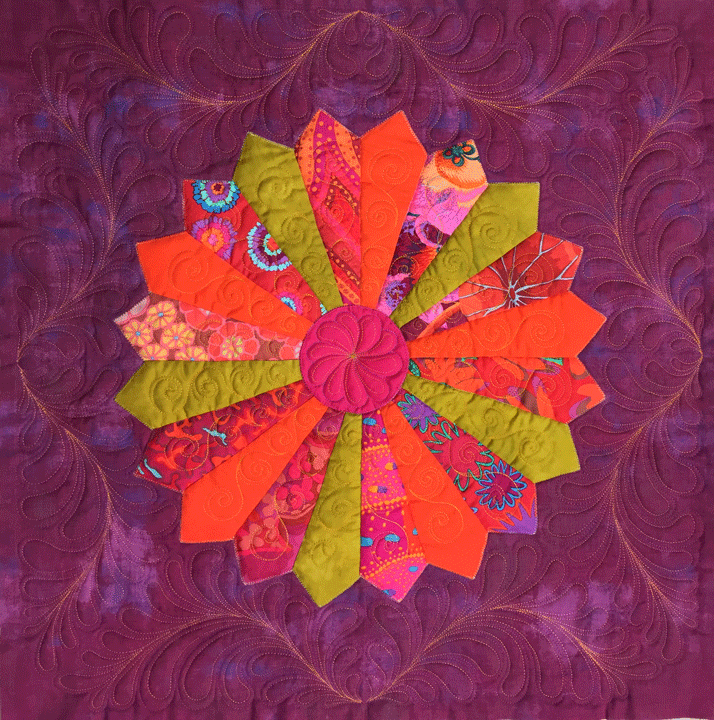
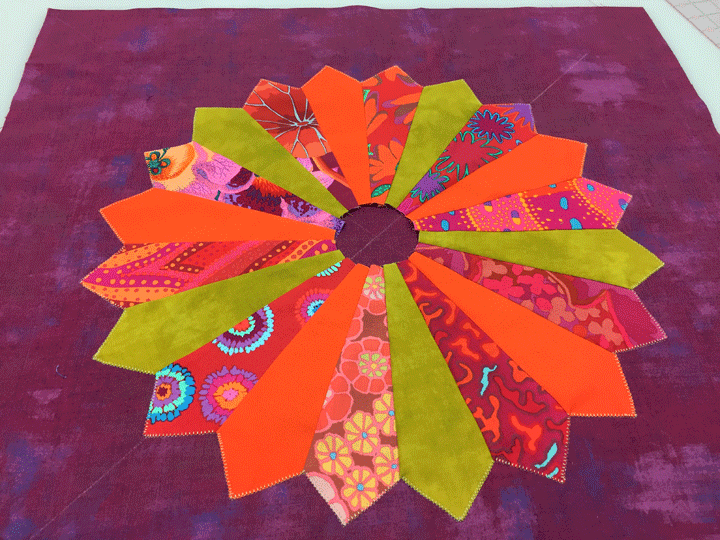
I bound my small donation quilt last week, it measures 25 in x 25 inches:
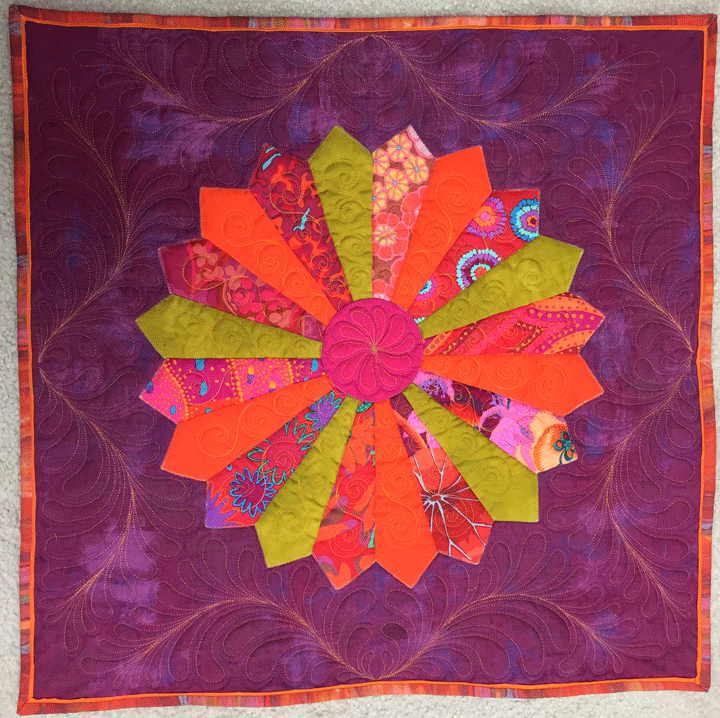 I used a binding technique I’ve never tried before. This is a binding that has a flange that’s actually part of the binding itself. I followed a tutorial that can be found by clicking here.
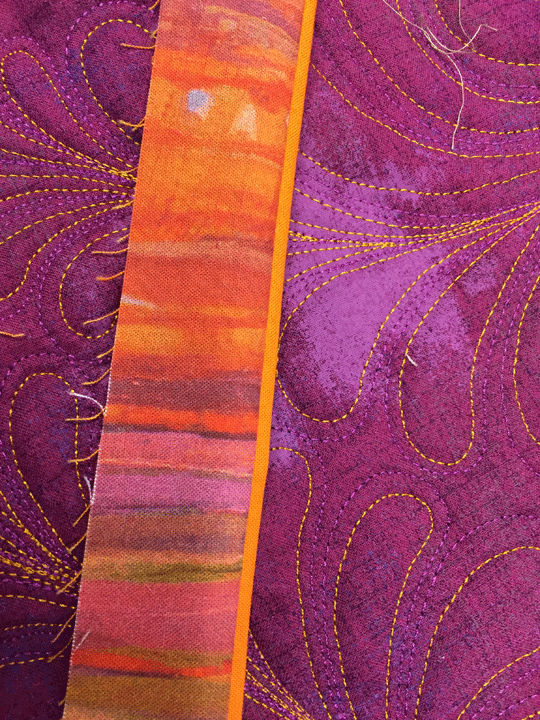
My highlight fabric, or flange fabric (solid orange) was cut at 1.75 inches wide and my “regular” binding fabric was cut at 1.5 inches wide. They were sewn together with a 1/4 inch seam:
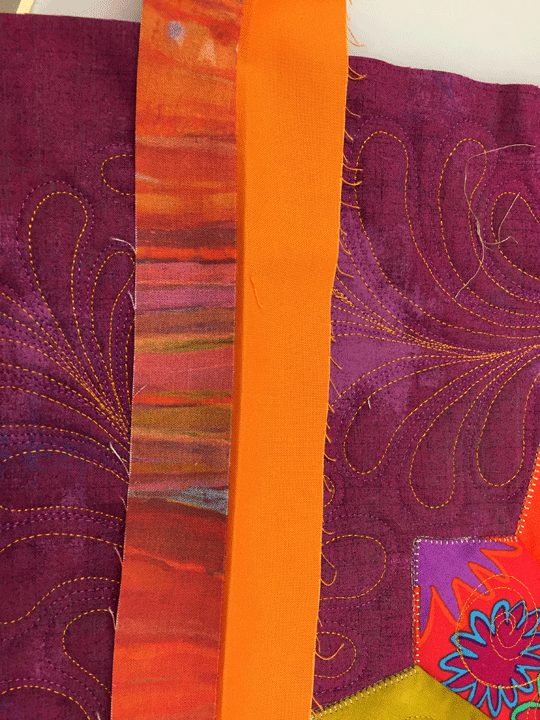 …and once they are pressed with good sides facing outward, you can get a sense of how the binding will actually appear:
 The binding is then sewn to the wrong side of the quilt:
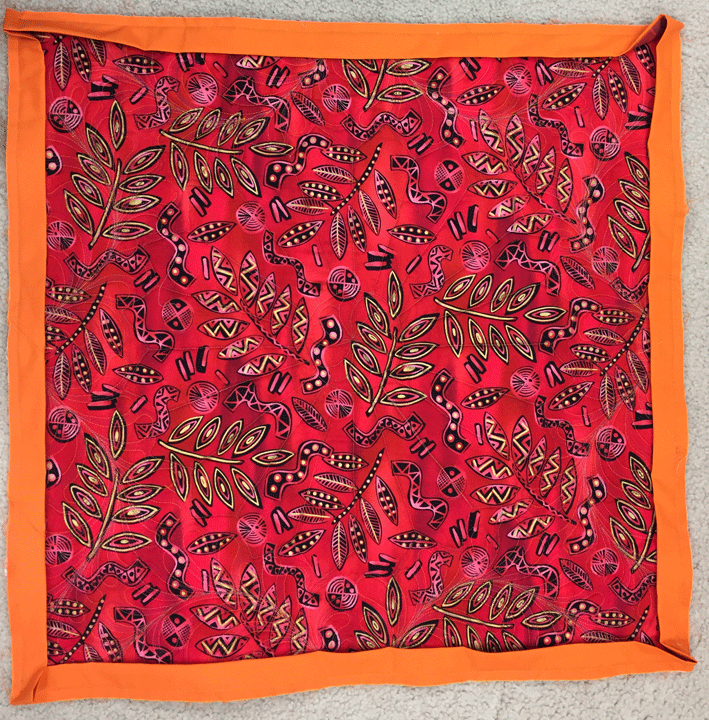 …and then it’s turned around and stitched down to the good side of the quilt. My only regret is that I was on a hurry, so I left pins in place. You can see in the photo below that this results in a not so even width of flange:
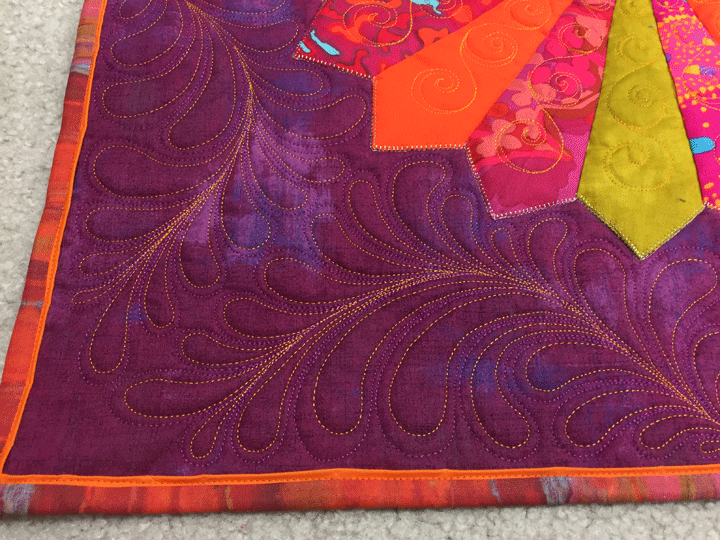 Next time, I will remove all pins before I stitch and I’ll slow down and make a better effort to stitch right at the ditch. Still, for my first attempt, this was a good experience.


