December 12th, 2018
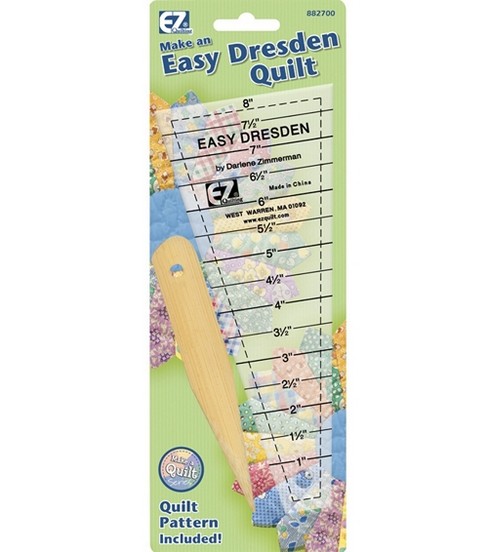
I don’t know about you, but the hardest part of the holiday season for me is that it’s stressful not to be able to work on some sewing/quilting for all the days spent visiting with relatives. I love seeing family, but I still need some kind of quilting “fix” everyday. There is no denying that being about to touch fabrics and run threads through them is part of my soul. This isn’t that big of a deal if I’m traveling somewhere by car, because it’s easy to pack a big quilt and work on sewing the binding to the backside. Traveling by air gives you less options because there just isn’t space on an airplane or at the gate to pull out a whole quilt. These are the times that I like some hand applique to soothe my soul, but this takes some prep work ahead of time. I’ve been on a roll with creating hospice donation quilts and this is a good opportunity to use some orphan “pieces” to make a hospice donation quilt. I have about a million Dresden plate fans that I cut for 2 earlier quilts. I made these using the Darlene Zimmerman plate tool shown below:
What I like about this template is that you can choose just how long you’d like your fans to be. The millions of remaining fan blades that I’d already cut are for the longest fan blade possible. Here’s a stack of them so you can see what they look like, and next door is a blade that has had its”tip” sewn together:
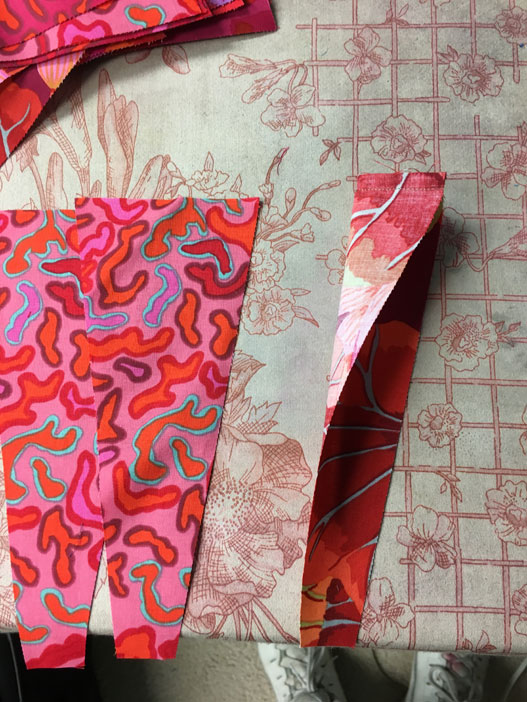
You use the wooden “turning tool” to turn the blade tip inside out with a point at the tip:

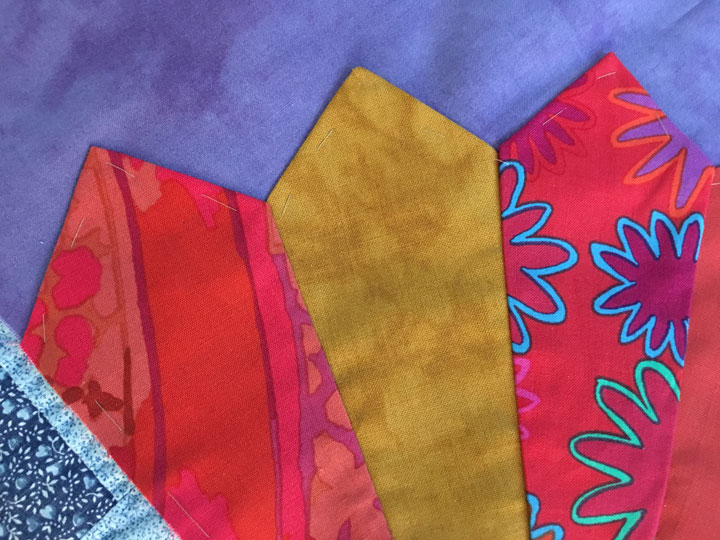
(I’m ashamed to say that yes, that is my filthy/stained giant ironing board these pieces are sitting on. I have meant to re-cover it for a few months and this post is probably going to shame me into finally taking care of that task!) The next step is easy, you just press the fan blade and they are ready to be sewn together into the circular Dresden plates:

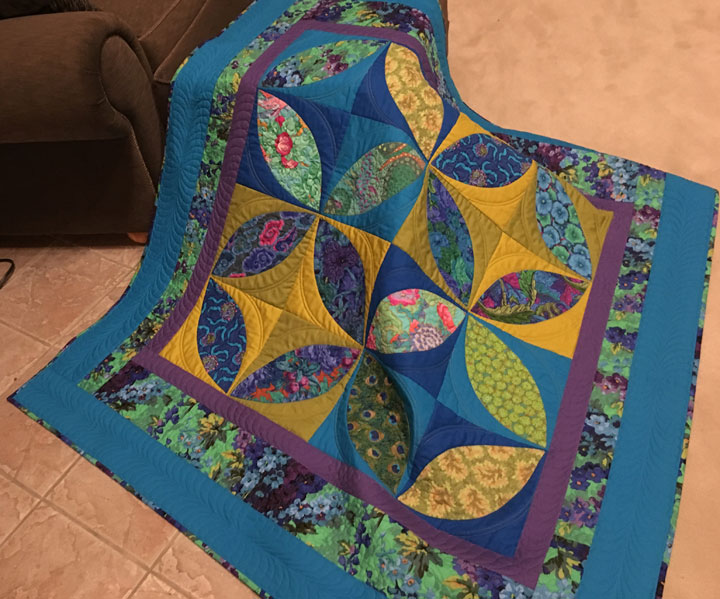
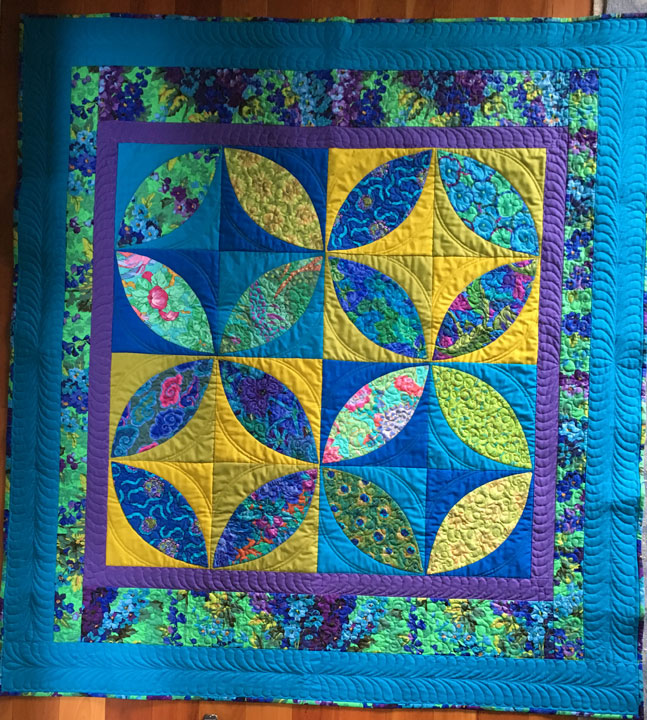
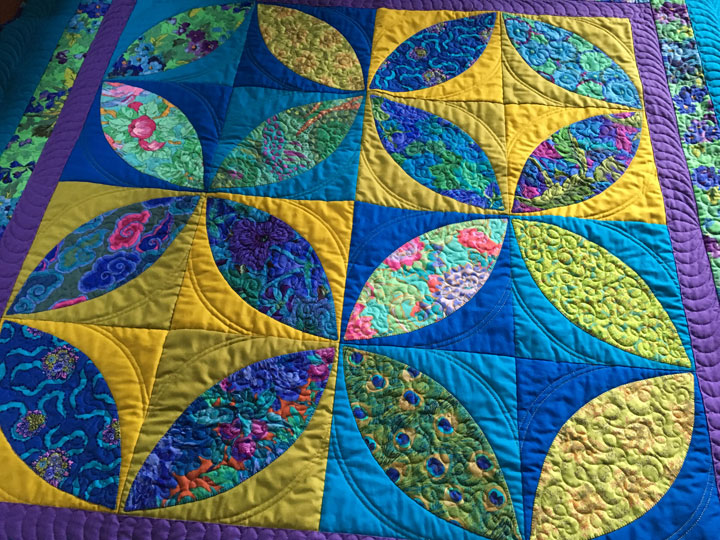
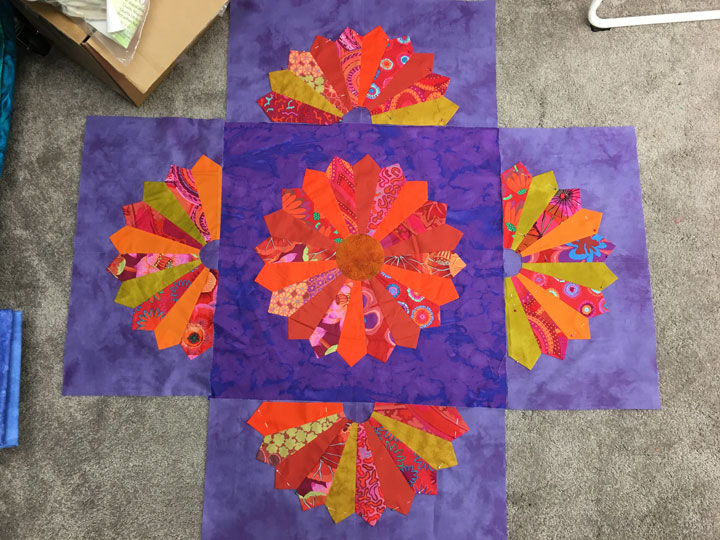
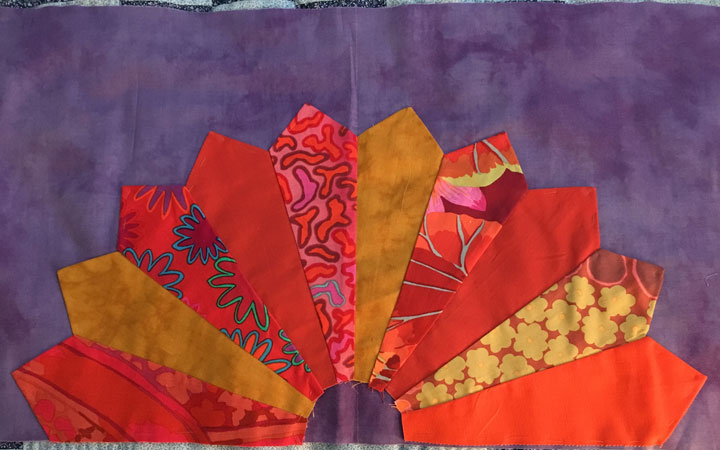
This shot shows what the center 50 in x 50 in section of this quilt will look like. I had hand appliqued that center block about a year ago, and had pieced another circular Dresden plate that I separated into 2 halves. The other 2 halves were made this week as I explained above:
So…all this is leading up to me prepping some hand sewing that can be accomplished in airplanes and on airport layovers. It’s hard to see in the photo below, but I’ve hand-basted each half Dresden onto its background fabric. This will stabilize it in place as I work, and also avoid any pins with points that will make it harder to carry this project around:
It’s hard to see on the next shot, but the basting includes the edges of the Dresden as well as just beyond the circle. This basting goes very quickly; I’m guessing that each half Dresden took about 3 minutes to baste:
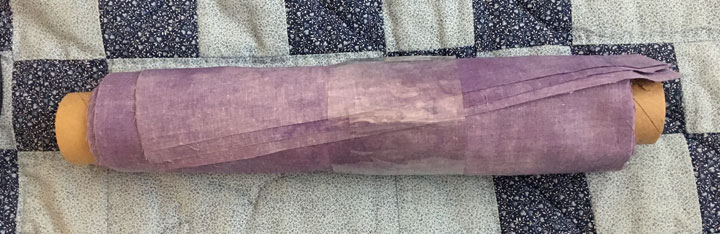
The last thing I do is to roll my blocks around an old cardboard stabilizer roll. I hold it securely with vinyl tape and I am ready for travel. It all fits easily inside my backpack that I use as my carry-on:
Are you ready for holiday travel?!
Filed under
Hospice Quilt Project.