Just For the Fun of It!
August 27th, 2014
One thing that happens when you turn your love for quilting into a business is that you find yourself spending most of your sewing/quilting time/effort at meeting deadlines for the business part of things and don’t have much time/energy left over to make things just for the fun of it. I’m talking about making something that has no goal in it other than for the pure joy of loving the process. This used to represent 100% of my sewing/quilting time, but I digress…
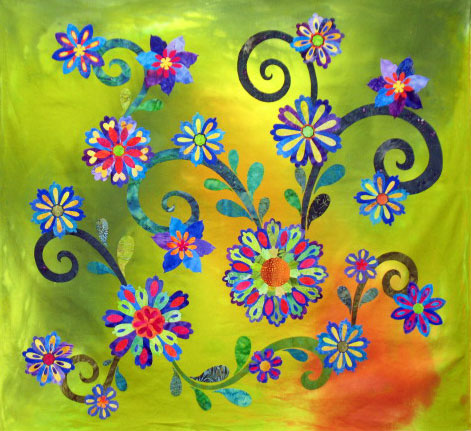
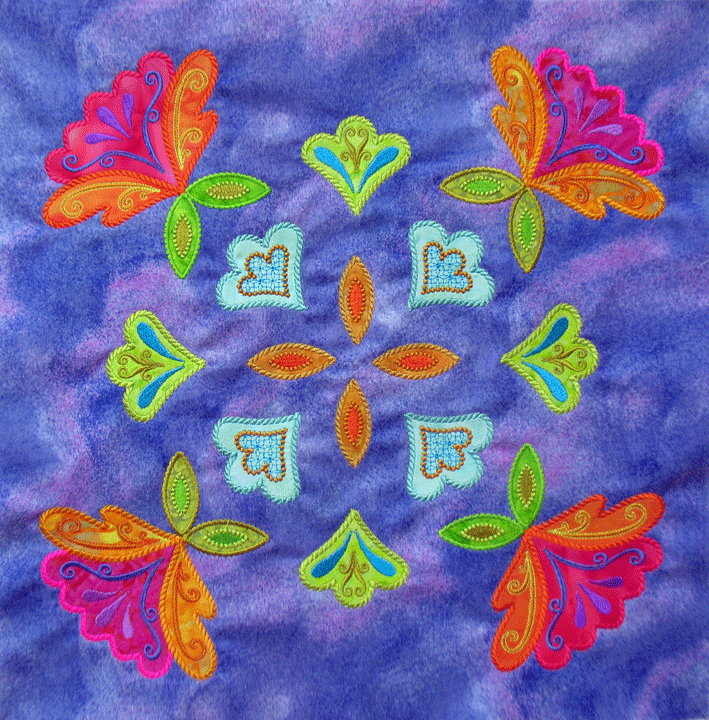
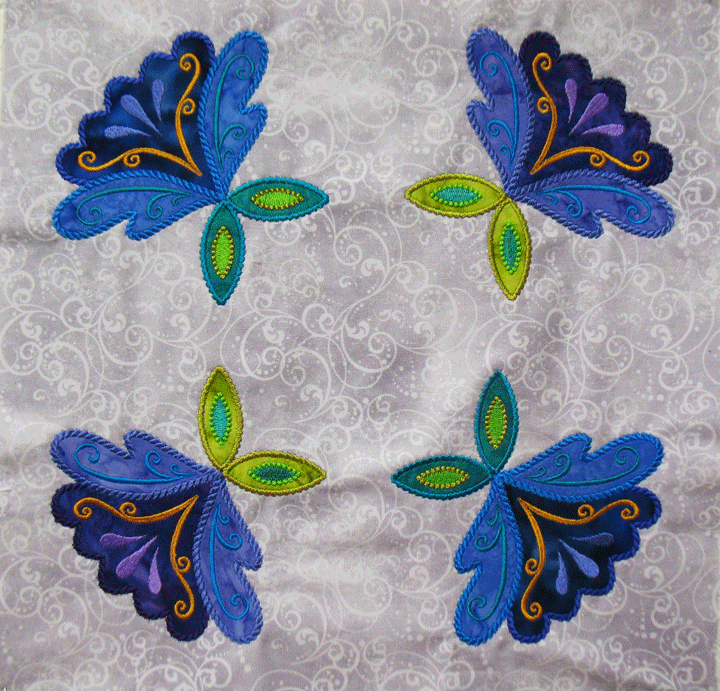
About a year ago, I made the top of this quilt pictured below that I’m calling “Just For the Fun of It.”
 The top portion is one huge MEA pattern; I think I did it in 13 hoopings but it was very easy to align everything moving from one hooping to the next. I had already stitched out that border panel, so I threw it on the bottom. Honestly, I just wanted to start quilting it so badly that I didn’t put any time into whether or not the final quilt would be aesthetically pleasing. (That’s my way of saying that I would do it over differently if I could!) Anyway, I started quilting it but then it just kept traveling back and forth in my suitcase from OH to NC to OH, etc but I never got back to it because I had so many deadlines for other projects that were being made for a specific purpose. I finally finished her up and she is bound and actually has a quilt label sewn on! Here are some shots of it:
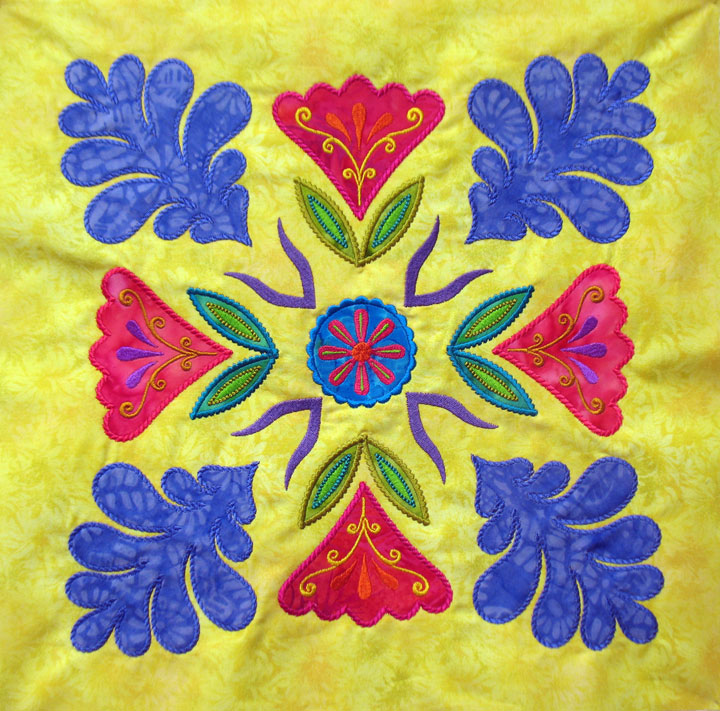
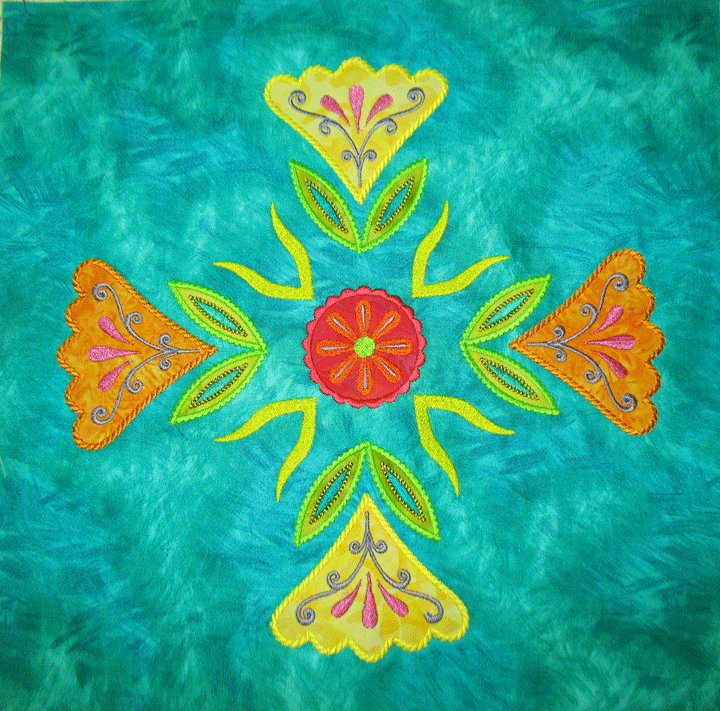
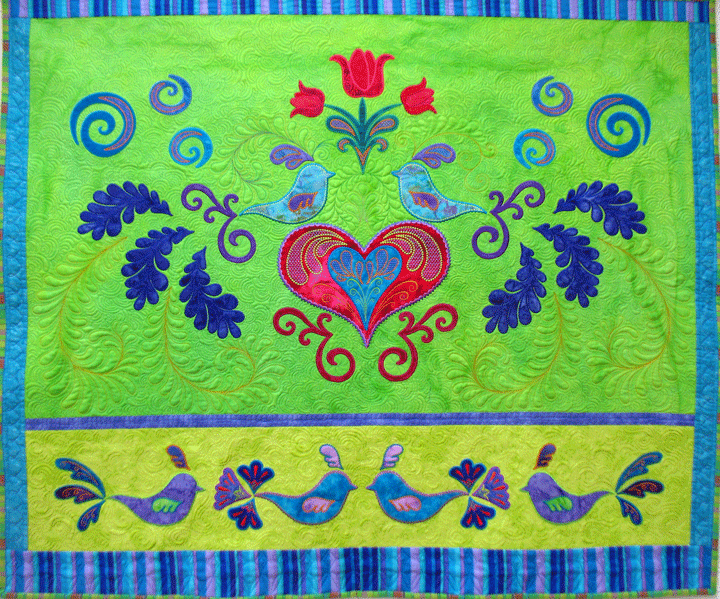
 I made each bird’s headdress a little bit different:
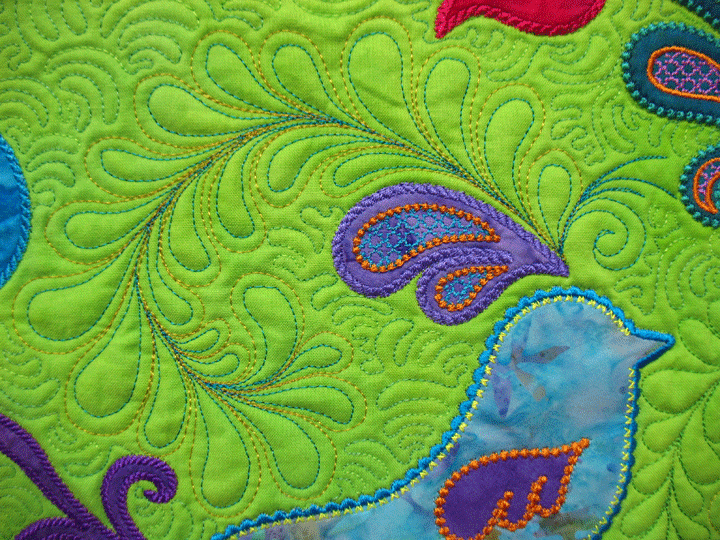
 (I’m still mulling over whether I should go back in and hyperquilt those plumes on that 2nd headdress-they look pretty plain to me.) That big heart towards the base is pretty wild:
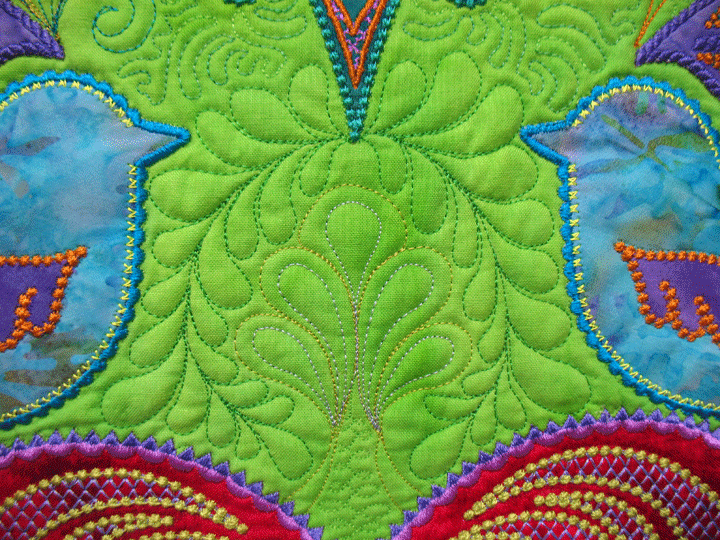
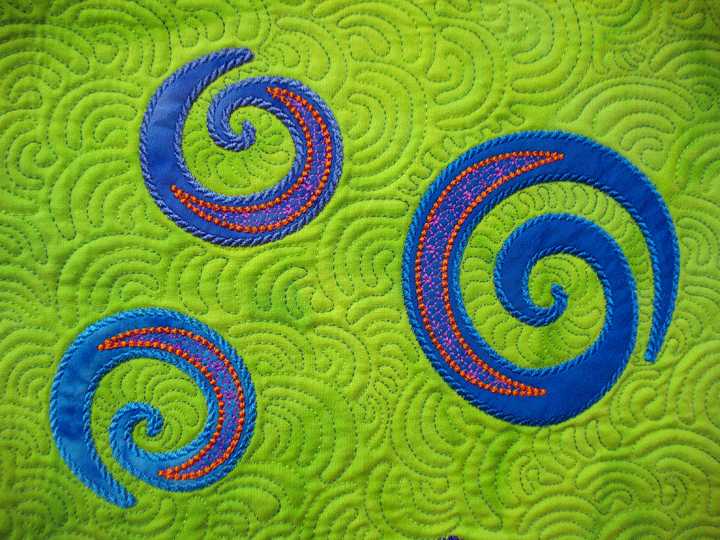
 This shot of some swirls gives you a good idea of the main background quilting in the upper section:
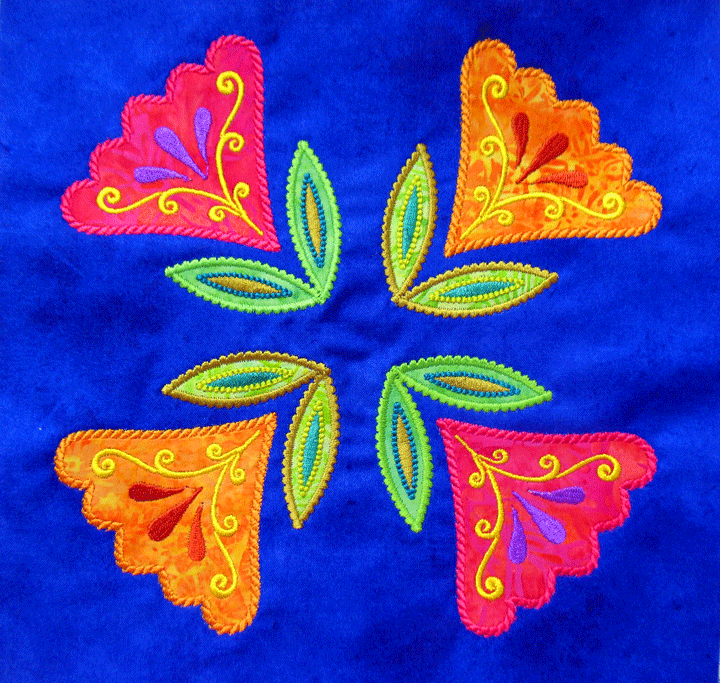
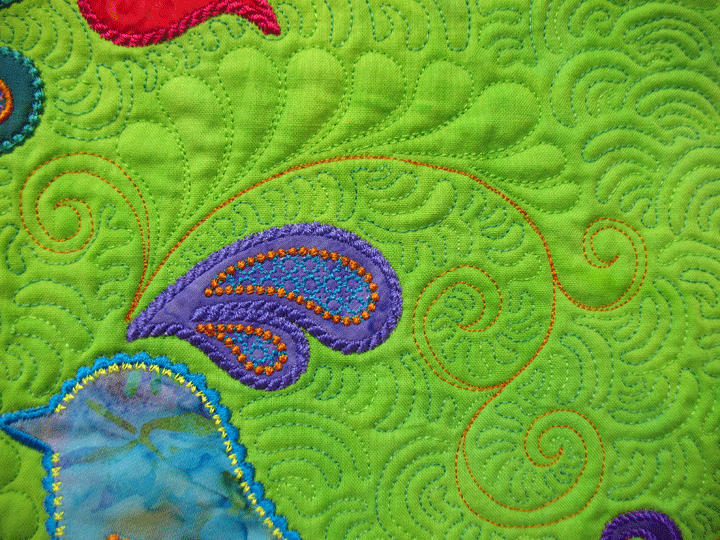
 I quilted some feathers near the appliqued tail feathers to augment that tail feather theme:
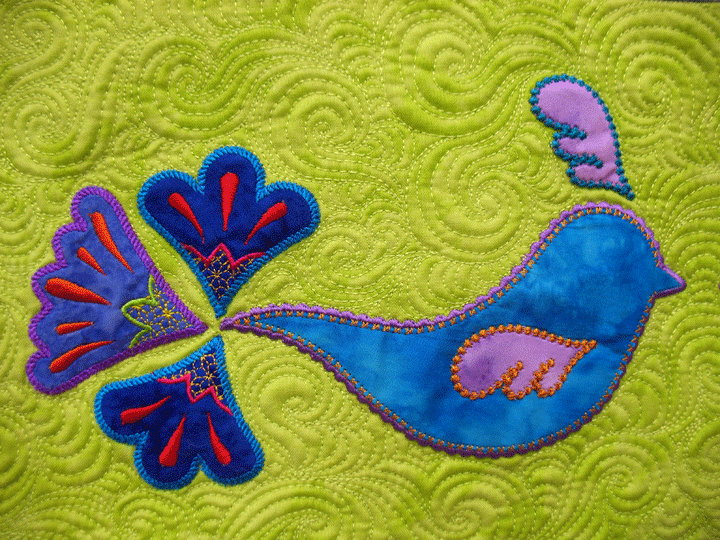
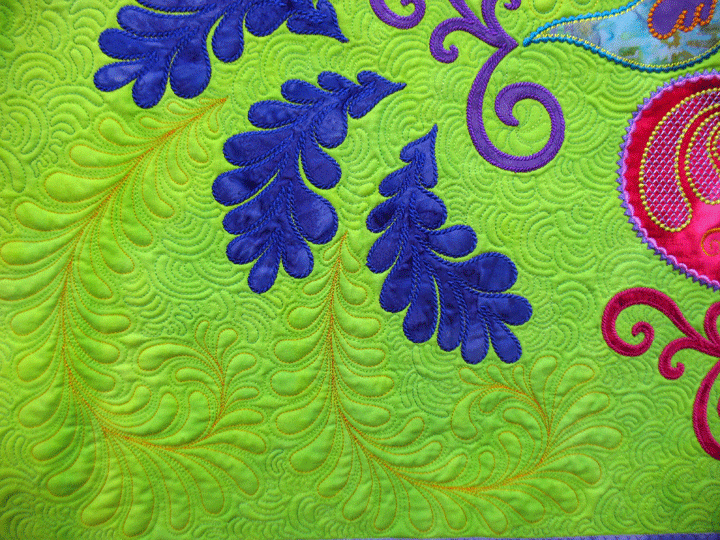 The lower section holds 2 types of birds. I like the first bird’s tail feathers best:
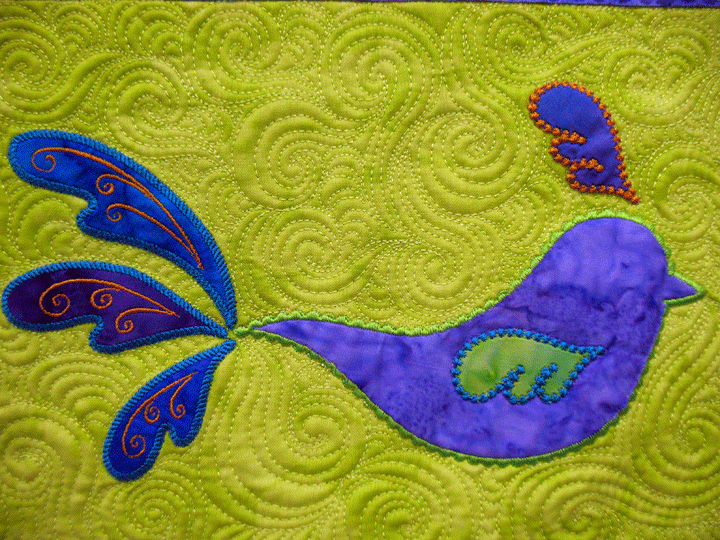
 …but I like the other bird’s tail feathers as well:
 There are 4 border or sashing areas and each one has a different quilting design in it. The first one is what I call “capsules” because it looks like a row of capsules lined up one right next to the other:
 The next one up is a basic loop-d-loop with the base made angular instead of curved:
 The next one up is in a much wider border zone; I believe it was 2 3/4 inches and I like how this one came out:
 …and the last one was simply a loopy outline of the stripes that were printed on the fabric:
 All the applique shapes were cut using Appli-K-Kutz dies (click HERE to see the dies) and the shapes were cut using my Sizzix Big Shot machine. Isn’t it the most wonderful feeling to finish a project that’s been dangling for a long time? Better yet, now I can make something else just for the fun of it!