Winter Finally Arrived, but Flowers are Blooming Inside!

January 21st, 2012

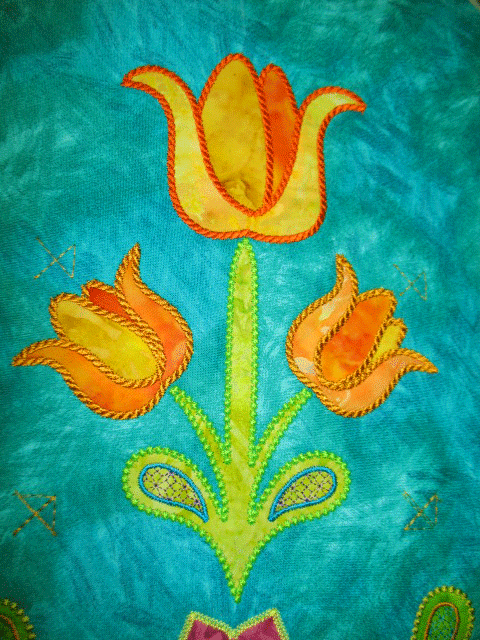
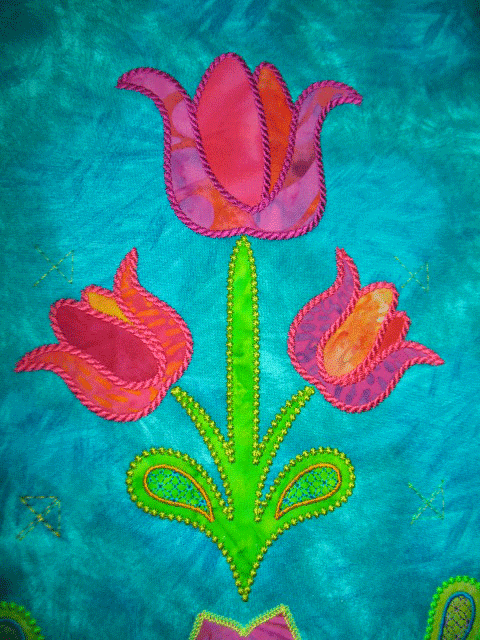
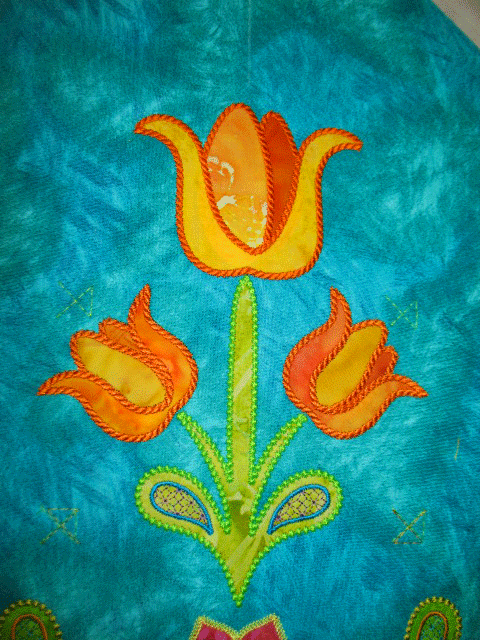
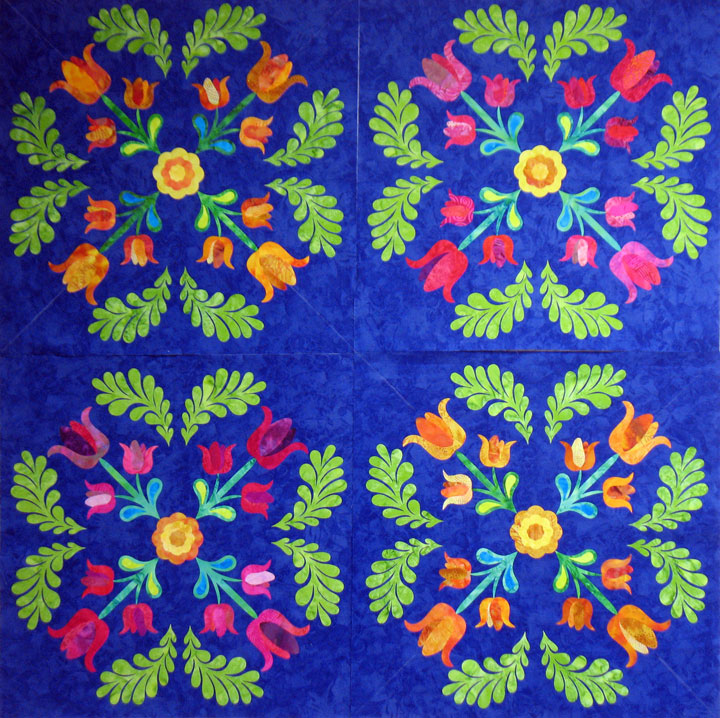
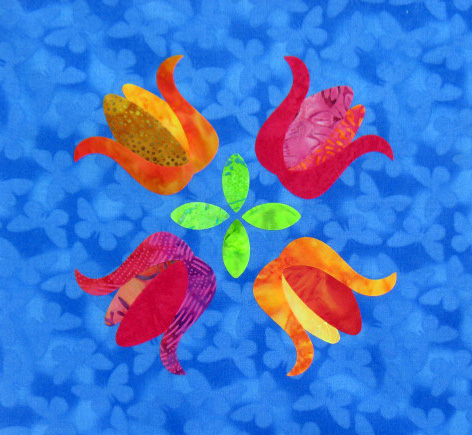
We finally got a real snowstorm yesterday, but it’s so uplifting to be stitching bright, colorful tulips in bloom! These sets are part of a large block I’m working on:

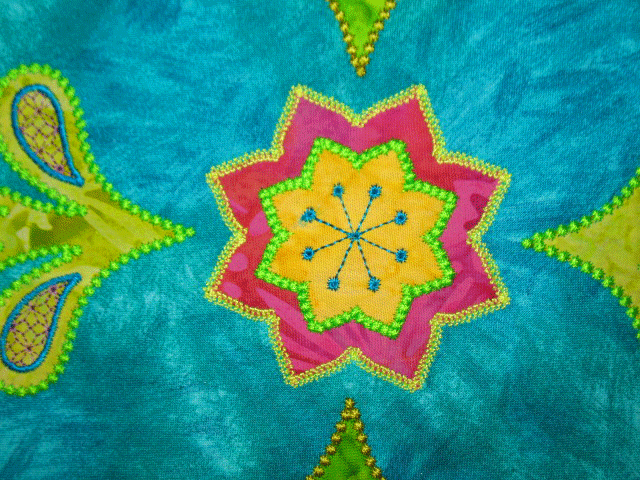
and they all kind of “spring forth” from the center flower area:

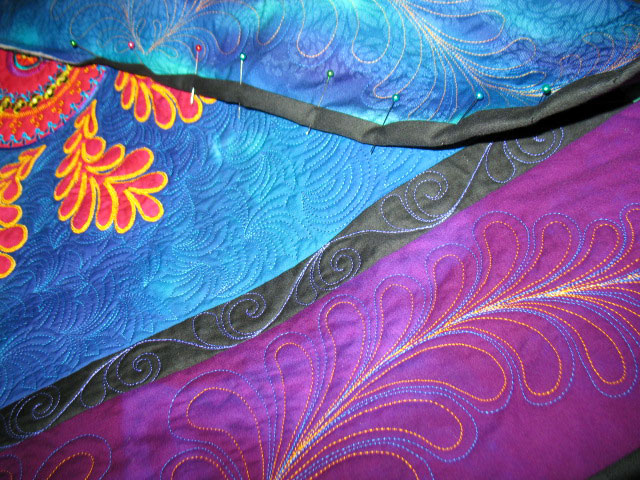
(Sorry; I cannot seem to capture the background fabric color at all.) Do you see all those crosshairs that are near all 4 tulip sets? I can’t remove them yet because they will ensure the correct placement of the feather pairs that will line all 4 sides of the block. Here’s what it looks like at this point:

Working with these sure makes negotiating all this snow more bearable! Happy wintering…(not!)

Thread Questions

December 18th, 2011

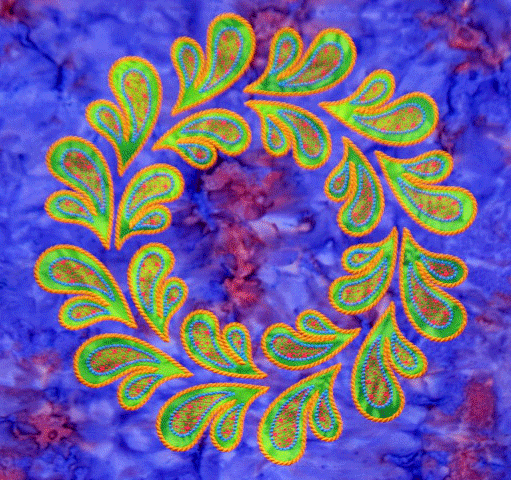
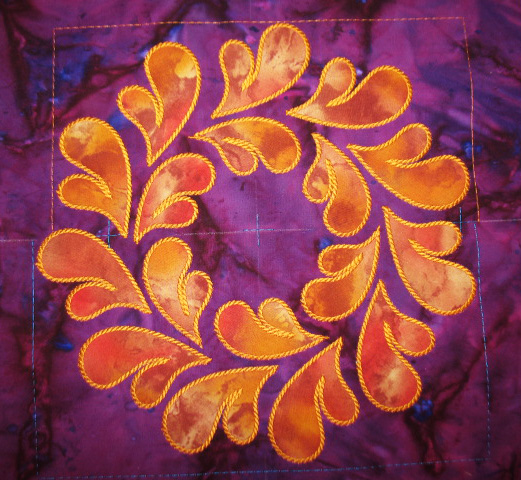
My last post generated many questions about how these thread effects were achieved, so I figured it would be good to answer those here.  A lot of people asked about the rope-like cabling stitches that finish the edges  of the plumes in these wreaths:
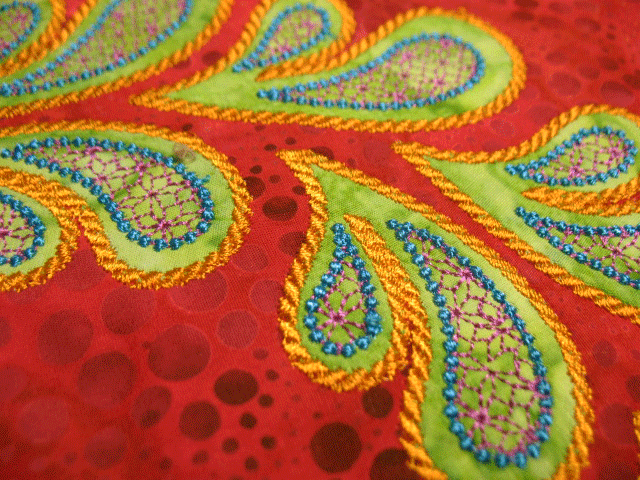
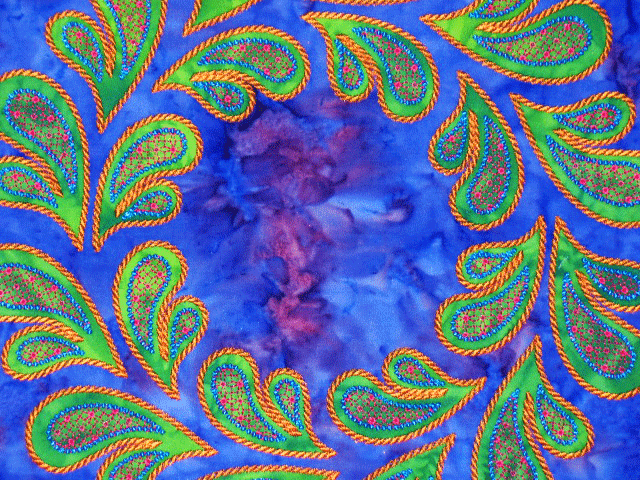
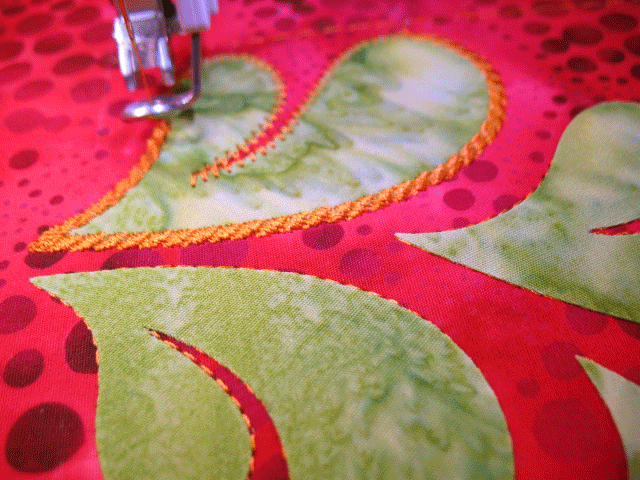
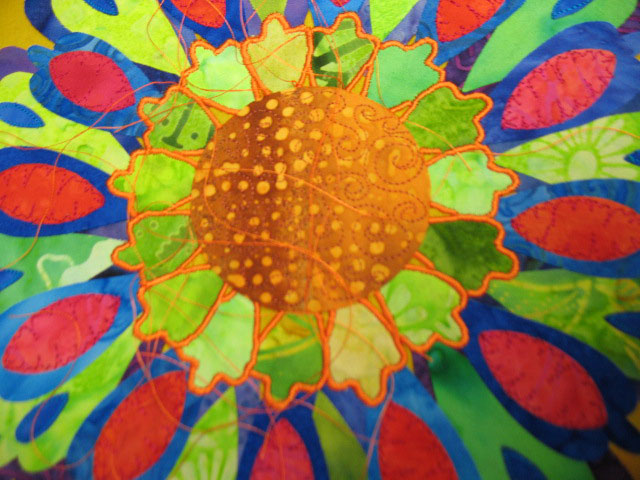
I wish I could claim credit for this cool looking stitching, but it is generated by the sewing machine.  If you look at this close-up shot, you’ll see that it’s really kind of a satin stitch that’s stitched repeatedly in short chains along a diagonal:
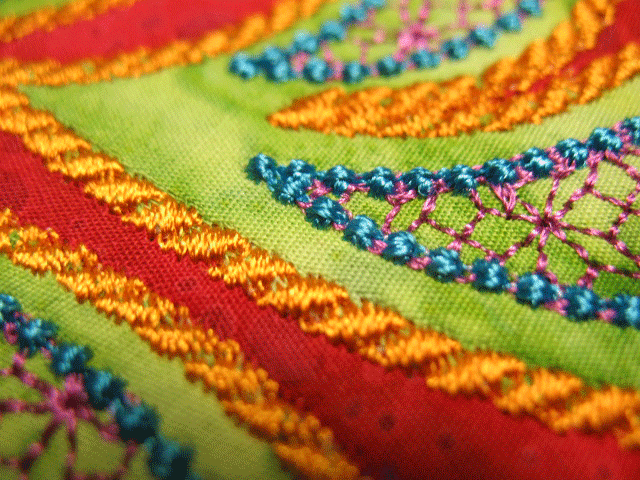
A lot of people wondered if this “roping” had been couched on and the reason it kind of appeared that way is the raised or “plumped up” look it has.  If you think back to how these machine embroidered appliques are created, you can see how this “plumping up” effect occurs.  In the first phase, the machine stitches placement outlines telling me exactly where I need to fuse my applique shapes so the stitching will line up perfectly:
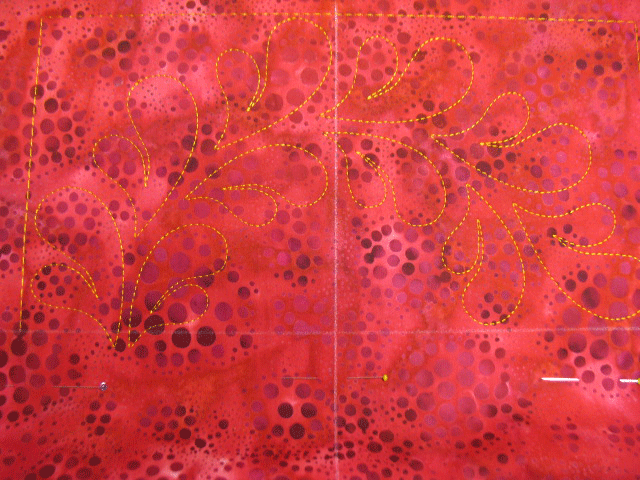
…and as long as these shapes are fused just inside the stitched lines, things will line up just right:
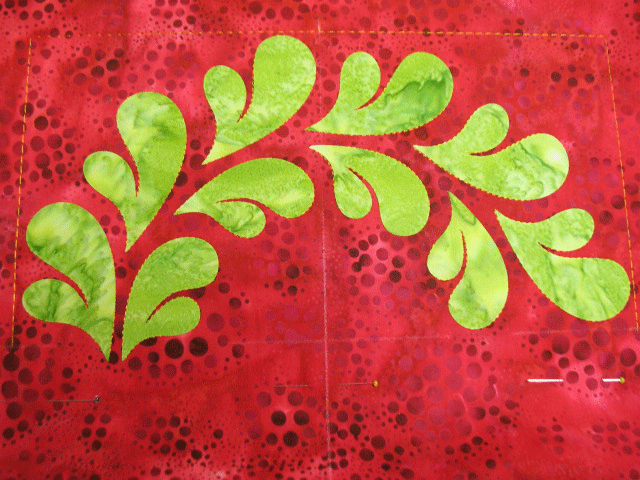
The next step is where the machine does a “tack-down stitch” along the edge of the applique shape:
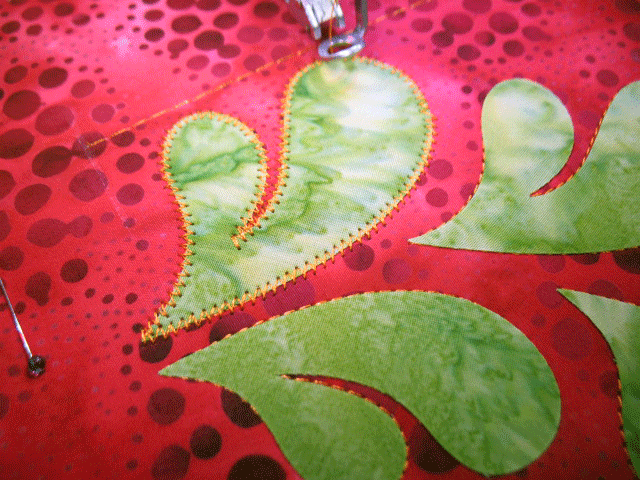
Now, that tack-down stitch is probably not really necessary here, since these applique shapes are fused into place, so they really shouldn’t move around.  BUT, those tack-down stitches do something cool here, because they create another layer of stitching beneath the decorative roping, and help to give us that cool “plumped up” effect:
Now, many people also asked about the blue “bead like” structures that line the outer edge of the internal plume designs.  That is also a programmed embroidery stitch called the candlwicking stitch.  Most sewing machines have it as one of the programmed embroidery stitches and it looks like a very dense star when you see a drawing of the stitch, but when you stitch it out, they look like raised beads:

You can alter the size of the star and also how close together the candlewicking designs are to one another when you stitch them in a line.  Here’s another example where they’re a bit larger:
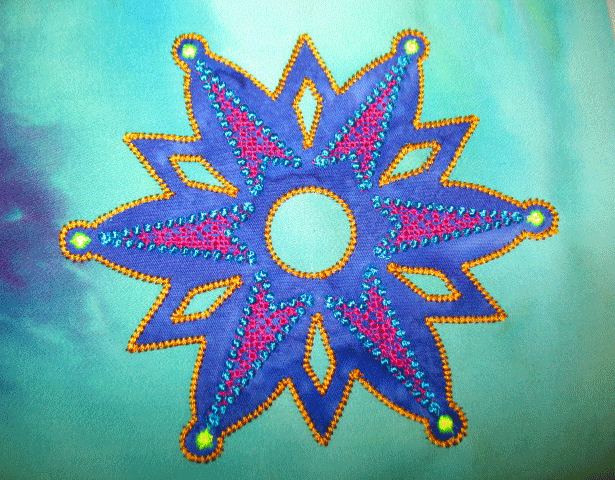
In this particular snowflake, those same candlewicking stitches are used in singlets and in a larger version at the tips of the snowflakes, as seen in the yellow here:
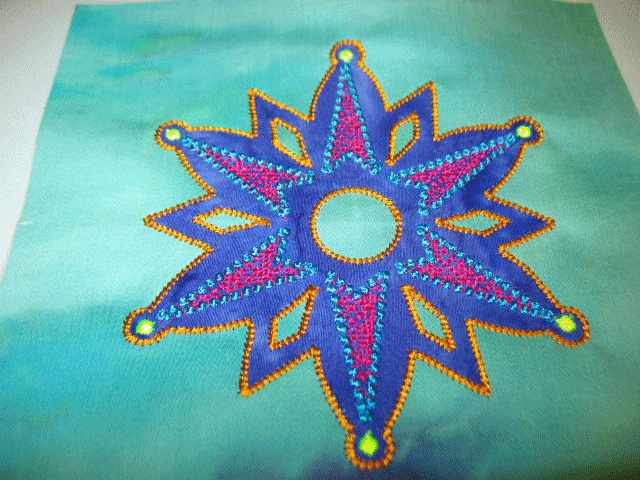
Both of the blocks shown here were stitched using Floriani Polyester embroidery thread in the top needle and Superior Threads Bottom Line thread in the bobbin.  I got a number of emails asking what size thread this is and it’s only a 40 wt thread, which is pretty average sized thread.  The lesson here is that the 3-dimensional nature of this kind of thread work is a function of the programmed embroidery stitches, not the thread weight or size.  The wonderful thing that this thread does offer here, though, is a great sheen.  I mean a really great sheen! I you’re thinking of trying out some Floriani thread, know that Kelly at I Have a Notion is having a great sale on Floriani thread during this holiday season and you can read about all her Floriani specials here.
Season’s Greetings!

December 14th, 2011

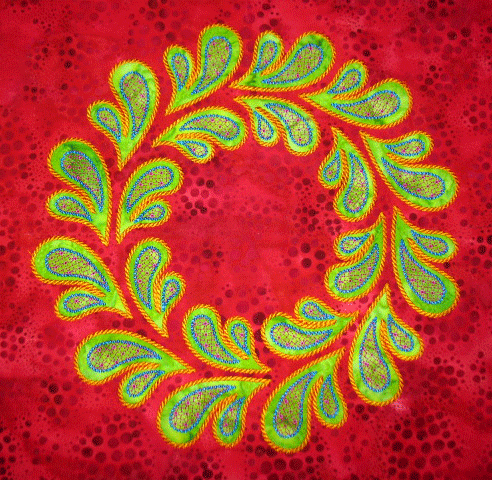
Gosh, I haven’t posted in ages!  It hasn’t been deliberate: I just haven’t made anything worth posting about.  But now I‘ve stitched up something worth posting about …don’t you love this feathered wreath?  It’s  a machine embroidered applique wreath made using the Plume Family die.  I used Floriani thread for the entire thing and I love how it came out.  Here’s a close up shot that shows off the pretty thread work better:


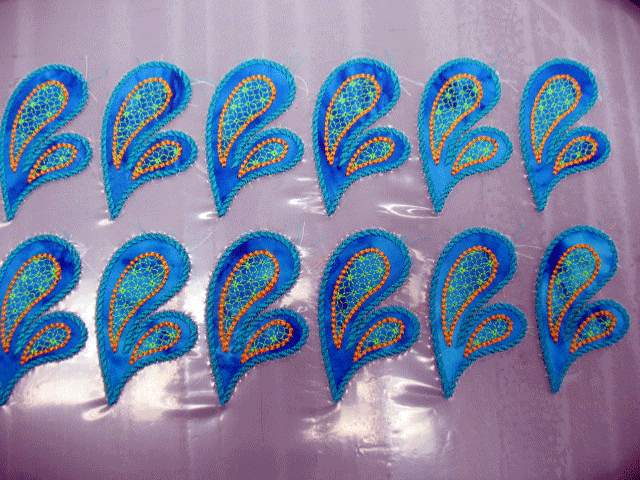
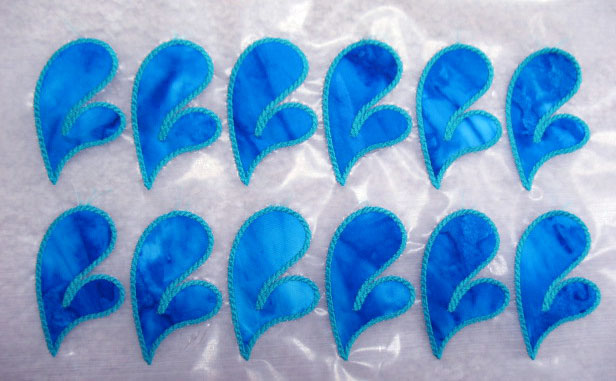
Floriani thread has more of a sheen than typical polyester embroidery threads do, so it kind of acts more like a rayon thread.  I’ve used it for quilting but I’ve just started using it for machine embroidery and I LOVE IT!!!!  This wreath was embroidered directly on the fabric block and here’s a sheet of these embroidered plume shapes on water dissolvable stabilizer:


These plume badges were embroidered with Isacord Polyester Thread.  I like how they came out as well and am mulling over what I’ll do with them. I just can’t get over how much thread work can add to a design!

I’ve barely done any Christmas shopping and plan to make some real headway tomorrow.  If you’re still looking for some great gifts, we’ve got a wonderful special in our online store now.  All products made by Patsy Thompson Designs are 20% off the normal retail price through 6:00 am eastern time on 12/19/11!  This means that any of our DVDs, books, stencils, Appli-K-Kutz dies, and patterns are 20% off!  To get the discount, enter “Holidays” (minus the quotes but with a capital H)  in the discount code box during checkout and the discount will be applied in the last stage of checkout.

I’ll close with a shot of a Christmas time sunset off our deck:


2 New Appli-K-Kutz Die Shapes & the Winner of the Beam ‘n Read Give Away Announced!

November 21st, 2011

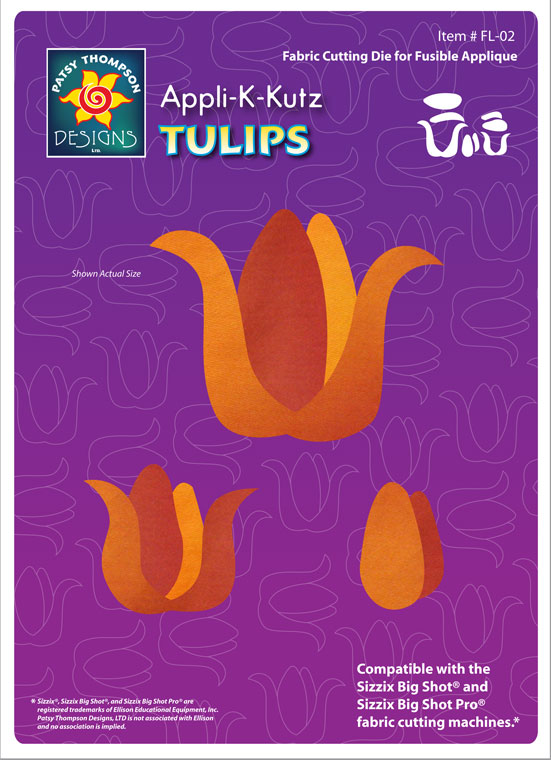
Remember these great quilt blocks that I used in the tulip quilt?  You’ve seen those feather shapes all over the place because I’ve used them in all kinds of quilts, but the blocks above also use 2 other die cut shapes that are really fun to work with, the Tulip die and the Stylized Stem die:

Each of these Appli-K-Kutz dies is now available at retail and wholesale levels and each of them can be used to make all kinds of blocks, from basic blocks to very complex blocks.  The Tulip die has shapes that can be combined to create 5 different tulips and the stylized stem die can be used to create 2 types of stems.  Here are just a few examples of ways I have used them:

There is no end to the fun you can have playing around with these shapes! These 2 dies are compatible with all makes of Sizzix machines and can also be used on the AccuQuilt Studio machine if a shim is placed underneath to raise the die (I use 4 Priority mail envelopes stacked on top of one another as my shim.) You can find these dies here.

And….drumroll please…the winner of the Beam ‘n Read Give Away is Jeanne Crowell. Congratulations, Jeanne!

It’s a Give-Away!

November 14th, 2011

****11/21/11 UPDATE:  THIS GIVE AWAY IS NOW CLOSED

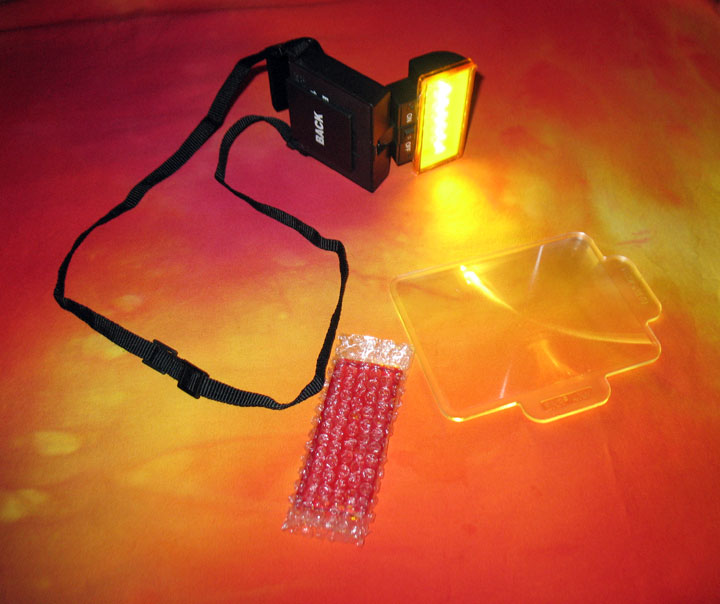
Starting today, we’re hosting a give-away for the Beam ‘n Read Light!  If you haven’t seen this product before, here’s a photo that shows you what it is:
The long black strap is an adjustable neck strap so that  you can wear it around your neck, enabling you to focus it directly on your work.  The base of the light is also adjustable, so it really is possible to find just the right angle to direct that wonderful beam of light!  Each light comes with a yellow and a red light cover, so you even have your choice of the type of light that’s emitted.  On top of all that, there is also the option of a magnifying lens that easily fits onto the light.  I haven’t gotten to the point that I need that feature yet, but the way my eyes are aging, it sure is nice to know that feature is ready for me!
Now maybe you don’t think this light sounds like your cup of tea.  I’ll tell you, I’m amazed at just how handy this product is.  If I think of just the last 5 days, here are some examples of hand work that I’ve used my Beam ‘n Read Light for:
First off is this embroidered quilt block that I stitched as a split design.  If you look closely, you’ll see registration cross hairs and basting lines that were stitched:
…and I used my Beam ‘n Read to help me remove all those extraneous stitches!  (And didn’t this block come out great?!)  Next up, I needed that light to help me separate this sheet of embroidered plumes that were embroidered onto water soluble stabilizer:
As you cut these out, you’ve got to be really careful not to accidentally cut into the stitches…
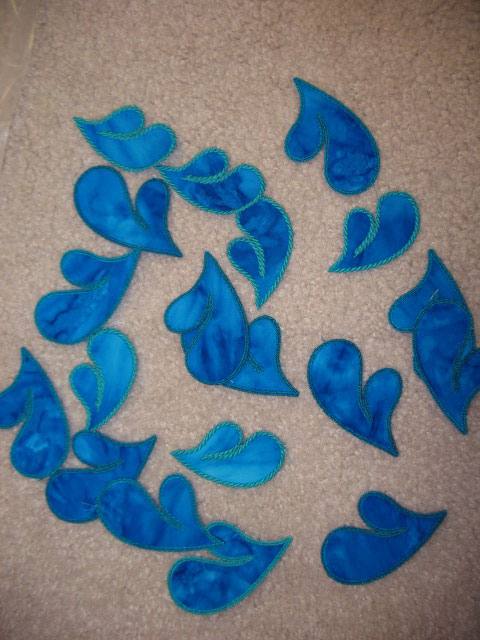
and the Beam ‘n Read light makes it a whole lot easier to see all those stitches!  Here are a bunch of these plumes in different sizes and different edge finishes, after they’ve had the stabilizer rinsed off:
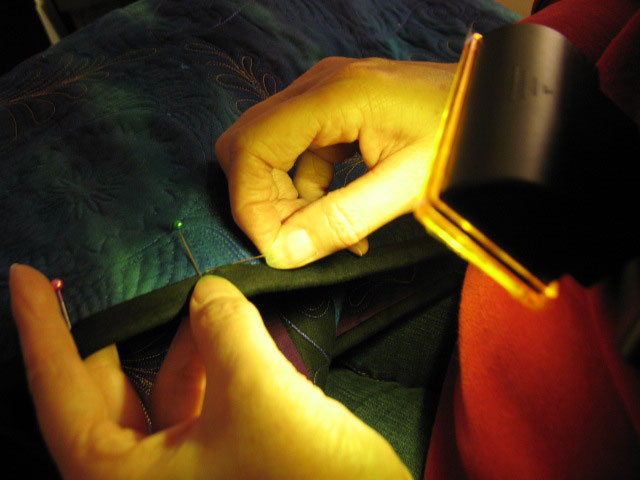
And of course, the Beam ‘n Read is great when you’re trying to sew the binding on a quilt:
And the light really helped me out the other night when I worked on this binding in a poorly lit hotel room:
Ugh!  And what about pulling all these thread tails to the backside of this top?
You guessed it-the Beam ‘n Read made it possible for me to actually SEE those thread tails to pull them through!  And last but not least, this light has been making it easier to remove the stabilizer from all my embroidered snowflake blocks:
Bottom line…this is one useful product! So, one of you lucky readers will own your own, courtesy of the Beam ‘n Read Folks!  If you’d like a chance to win one, it’s easy to enter the giveaway.  Just post a comment to this blog post that tells  me what you enjoy about reading my blog and you are entered!  Entries must be posted by 11:59 p.m.eastern time on Sunday, November 20, 2011.  And by the way, these lights, as well as all fabric, Isacord Thread, YLI Thread, Sulky Threads, and Quilters Dream Batting are 20% off in our online store until 9:00 am on Black Friday.  To get the discount, all you need to do is enter “2 weeks” (without the quotes) in the discount code box during checkout!
And to increase your chances of winning this great light, make sure you run over to my buddy Kelly Jackson’s blog at I Have a Notion, because she is also hosting a Beam ‘n Read Give-Away this week! And if you don’t win one of these lights during these blog hops this week, then check out the Sew I Quilt Blog between 11/21-11/30/11, because she’ll be hosting a give-away during those dates!