Back to the Swirly Flower Quilt

October 25th, 2011

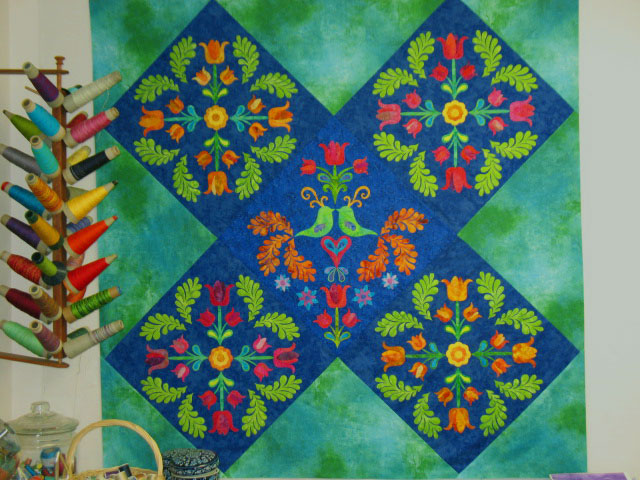
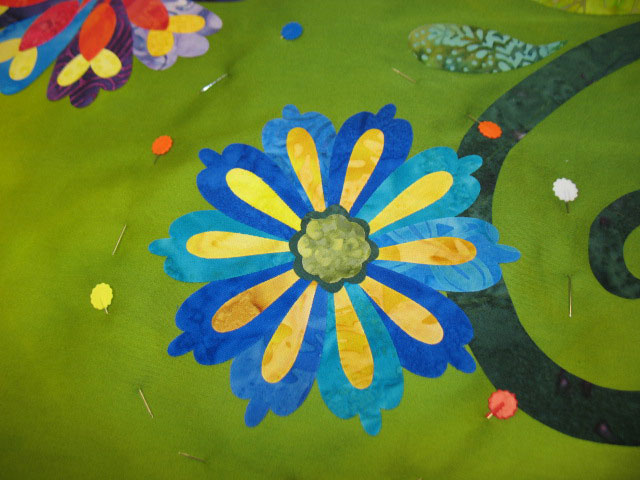
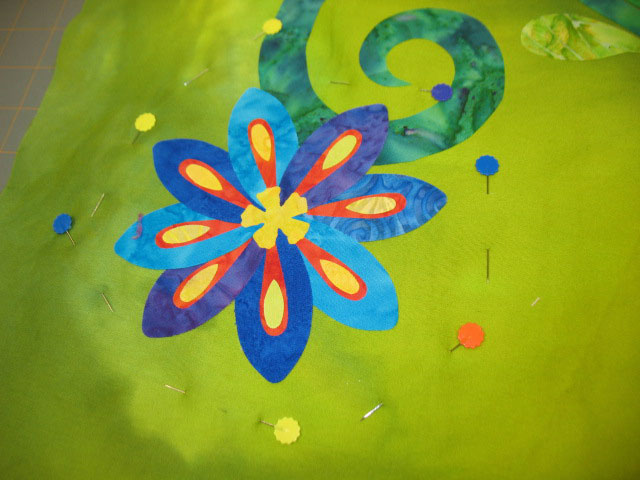
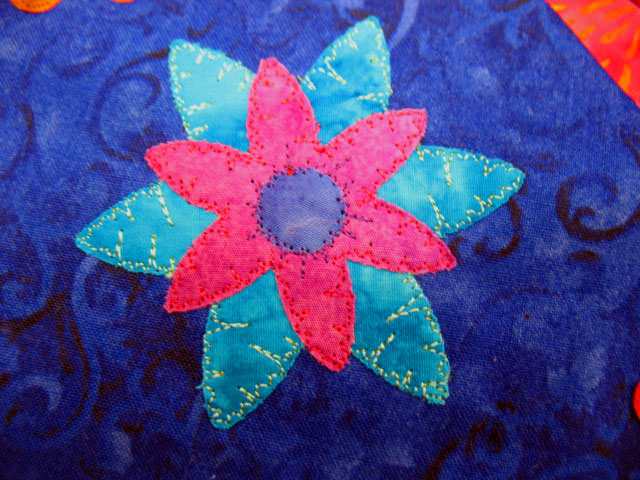
I haven’t had much time for any sewing lately, but I’ve gotten a fair amount of work done on the swirly flower quilt top.  I’d started on this flower below, but wasn’t happy with the outlining I did for the center:


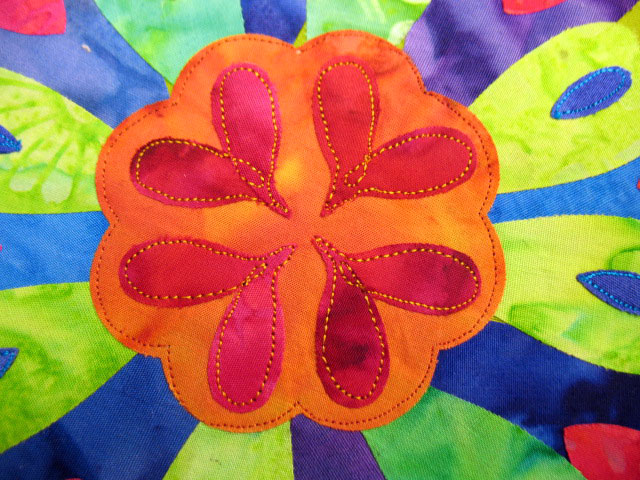
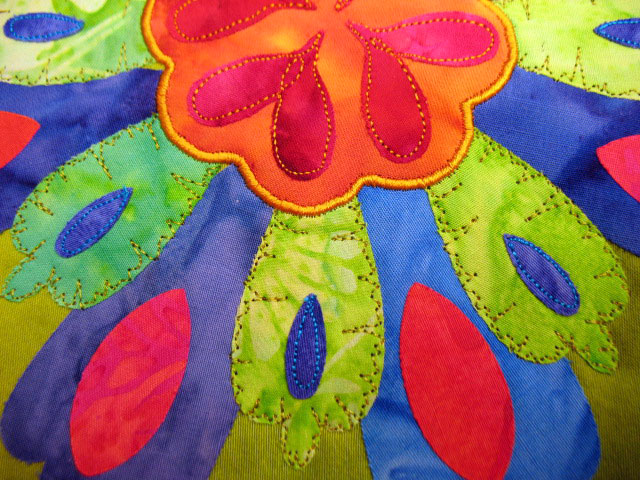
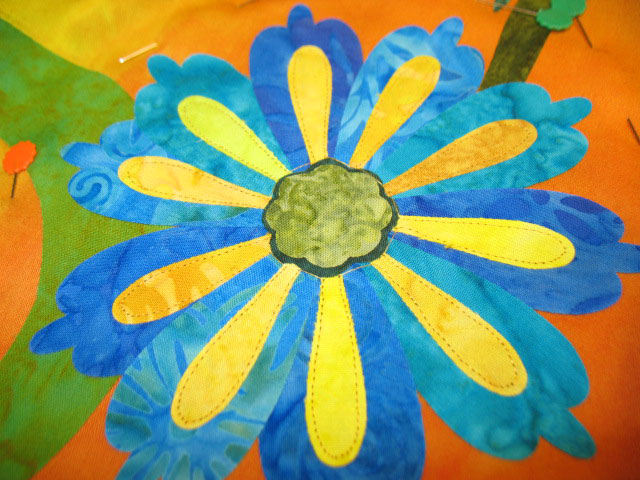
In this close-up shot, you can see how boring the inlining thread line is, and you can also tell that I need to do something to tack down the edges of the mirror image teardrop shapes that make the 4 “heart-like” shapes in the center:


This is still just a quilt top, so what I did here was free motion machine embroidery, and the stitching will be prominent once it’s in the final quilt sandwich.  I used a solid gold rayon thread (“24 Karat Gold” by Robison Anton) to outline the red teardrops and have them “loop” in the center of the heartshapes:


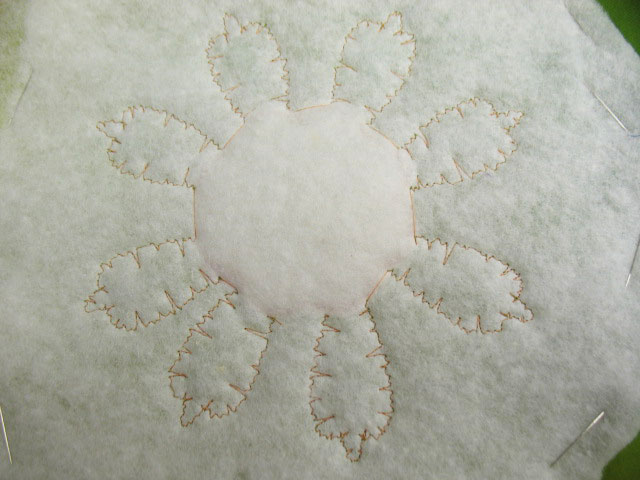
…and here’s what the backside looked like at this point:


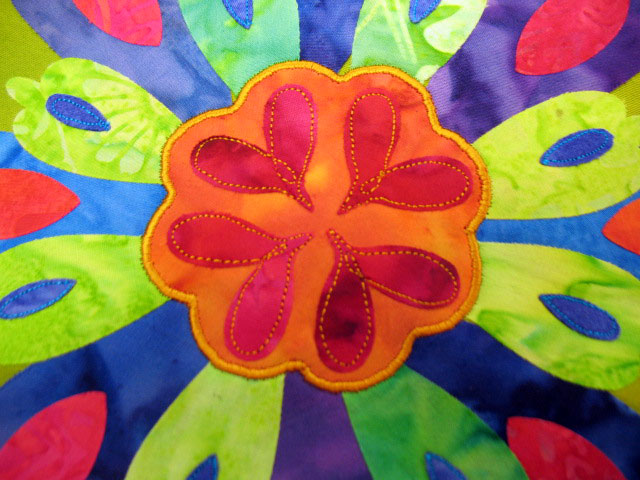
(I still get a thrill knowing I can get away with giant knots like that, since no one will ever see them or feel them!)  I wanted the center as a whole to be protruberant, so I threw a piece of scrap batting behind it and finished the edge of that center with a gold satin stitch that was wide enough to cover my original inlining:


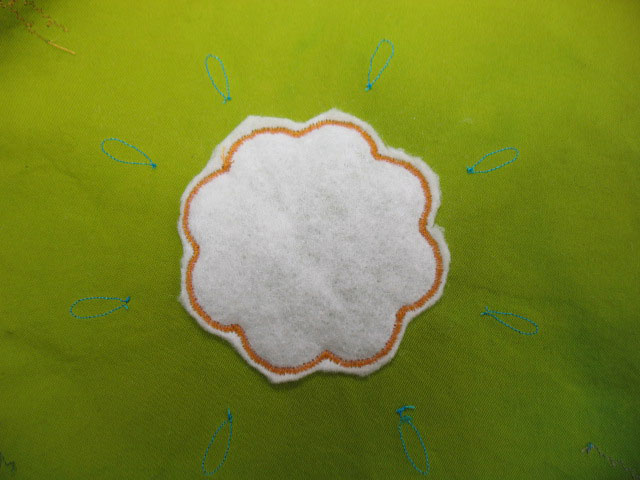
…and here’s what the backside looks like at this point:


Next, I placed a layer of scrap batting behind the entire flower.  This means that once the quilt is finished, the center will have 3 layers of batting and the rest of the flower  will have two layers.  I did the EKG edge finishing design in the row of green petals:


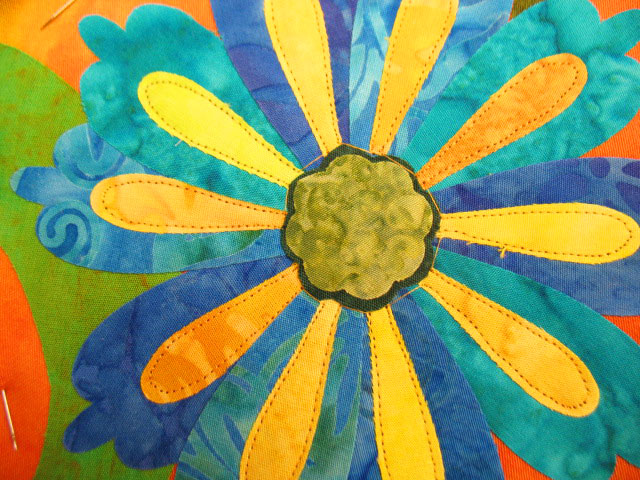
Here’s a closeup of some of the green petals that shows the stitching better:


…and here’s what the backside looks like at this point:


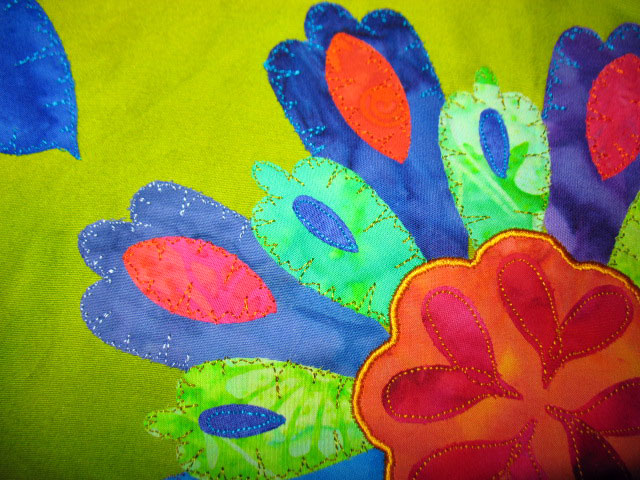
The last thing I did was to finish the edges of the red shapes and then the outermost petals:


…and here’s what the backside looks like at this point:


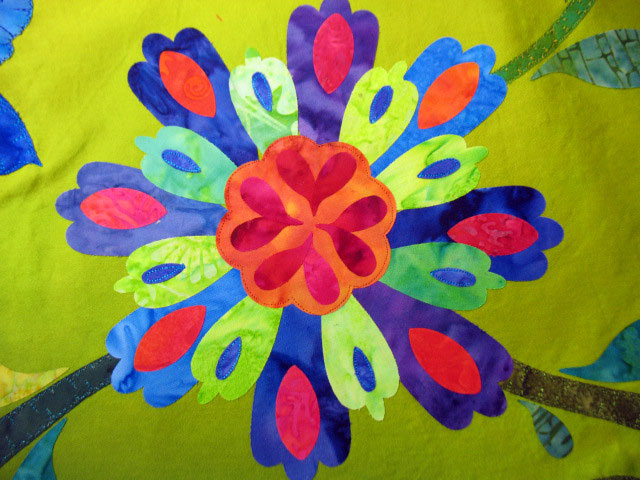
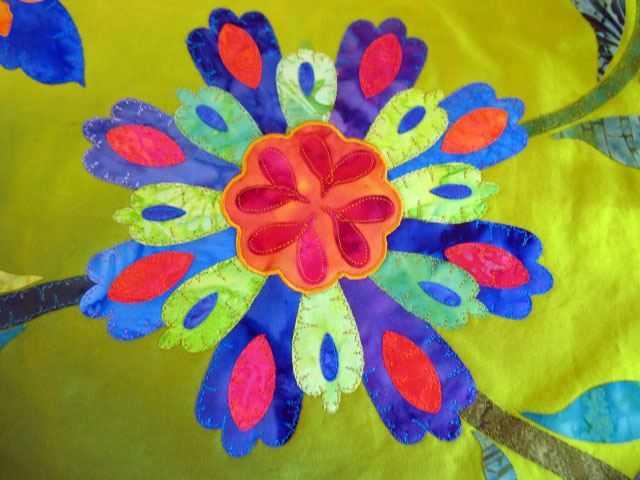
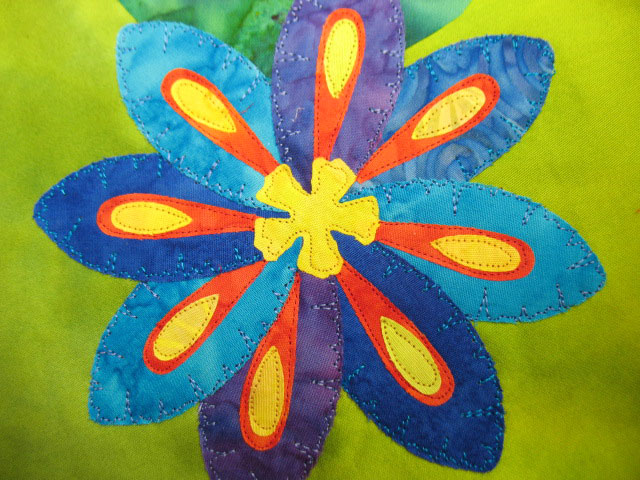
And here’s the final flower:


I’ve only got one more big flower to go on this top.  I’m still on the fence about how to handle this top.  A part of me wants to attach it to a larger background piece and another part of me wants to place it into a quilt sandwich once the embroidery and traputo are done.  Which side will win out?  Stay tuned!

Relief and Regret

September 11th, 2011

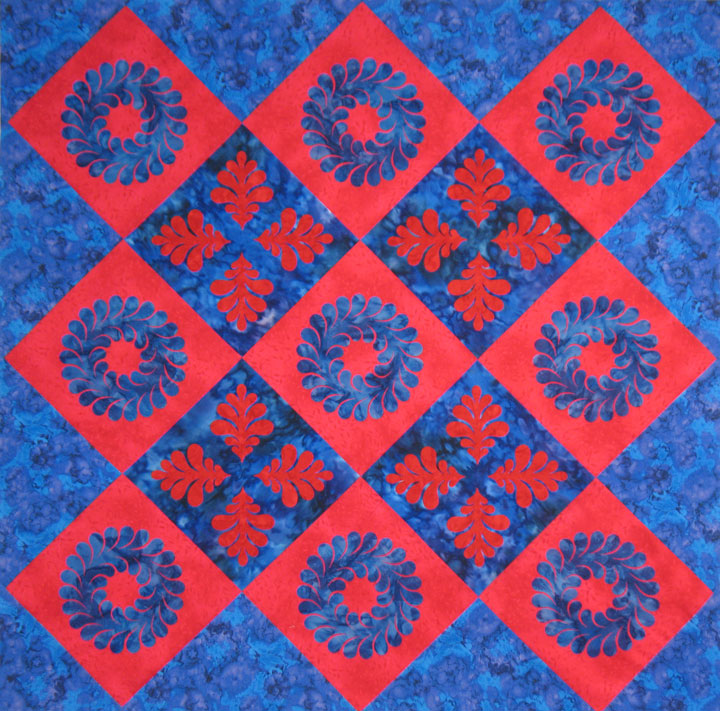
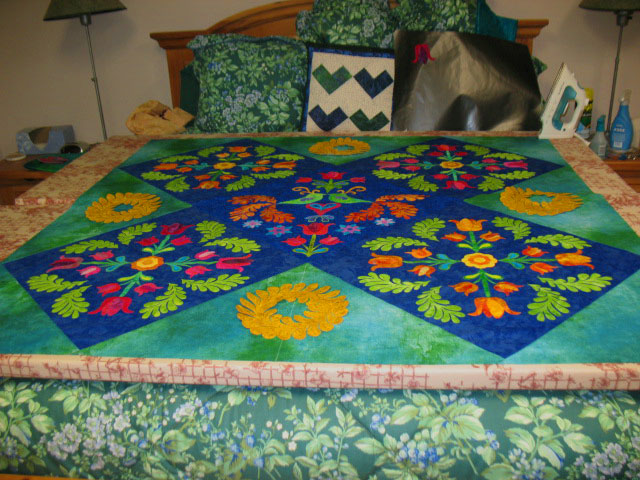
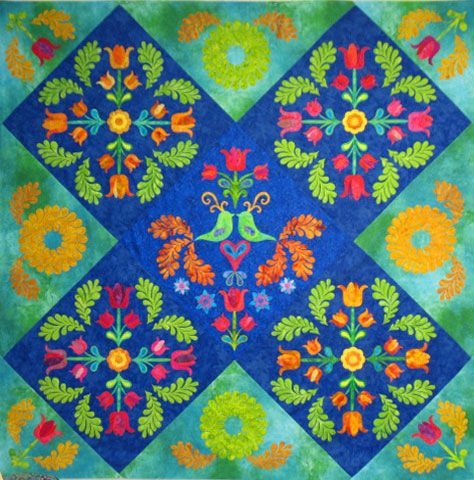
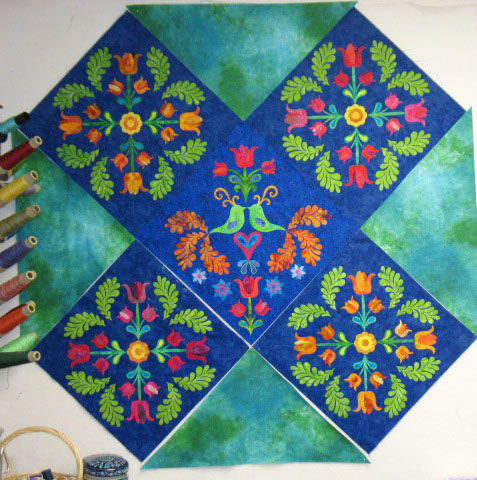
Sometimes, you just have to make decisions if you want to move a project along, and that’s where I was last weekend with my tulip quilt.  I am always caught in this cycle of travel, and because I only have a big fusing surface in NC, I needed to get the setting triangles attached and to figure out the applique designs for those triangles before I left for OH.  Here’s the quilt with the setting triangles attached:


You’re going to have to trust me here when I say that the colors here are not true.  The setting triangle fabric is much darker than it appears and it also reads much more as a green than a blue.  I laid it out on my “fusing bed” and started laying some appliques on it to get a sense of what to do.  I wasn’t wild about this first idea:


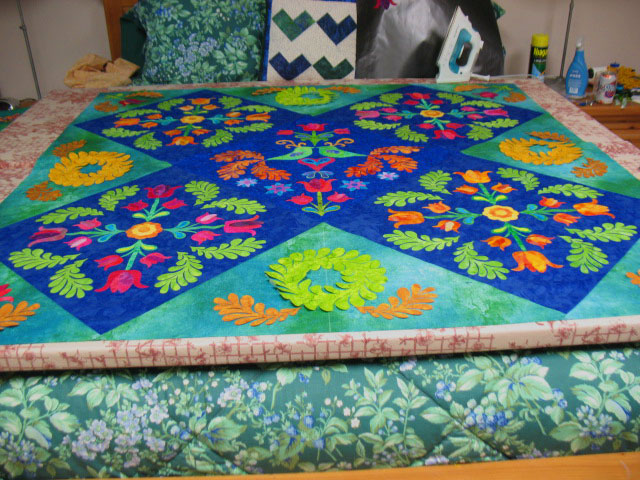
This bed is right by my Nordic track, so I like to gaze over what I’m working on as I’m getting a workout, and I kept jumping off the Nordic Track to swap out appliques!  I first changed the wreaths so every other wreath was green and I added a splay of feathers to each base:


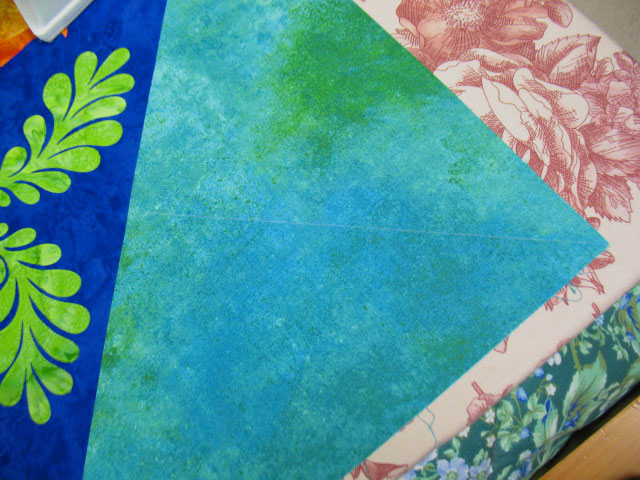
I had also drawn a soap line through the center of each corner setting triangle:


That line is a registration line…I placed a stem that was centered right on it, then added a tulip on top of the stem:


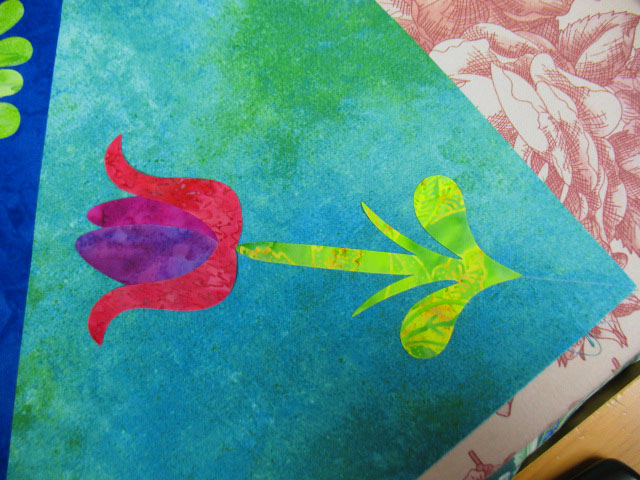
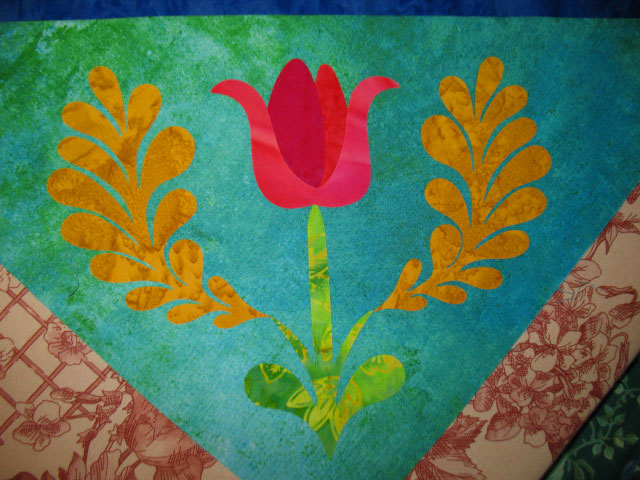
…and once those structures were fused into place, I added a pair of feathers to each corner:

This brings me to where this project stood when I left NC…here it is on my design wall:


I like that the corner designs are quieter and subservient to the block designs, but I’m feeling twinges of regret that I opted for such subdued contrast between the corner appliques and the background fabric colors.  Overall, I’m still loving this quilt, so I’m trying to squash down my doubts.  I’m keeping my fingers crossed on this one!


Beginning the Trapunto on My Swirly Flower Quilt

September 4th, 2011

Remember this swirly flower quilt?  Well, I was able to start working on some of the trapunto late last week.  There really is a ton of thread work that needs to be completed on this top before it can be placed in a  quilt sandwich (and actually, I may add a border later as well, but that’s another issue).  When I have a top like this, it’s easy to develop somewhat of a defeatist mindset because the work ahead seems so overwhelming…I can’t let myself even go there or I’ll never get it done!  What I do, instead, is approach it with tiny goals for any given session.  This allows me to get the work done and feel really positive about it at the same time.  Here’s how I do it…


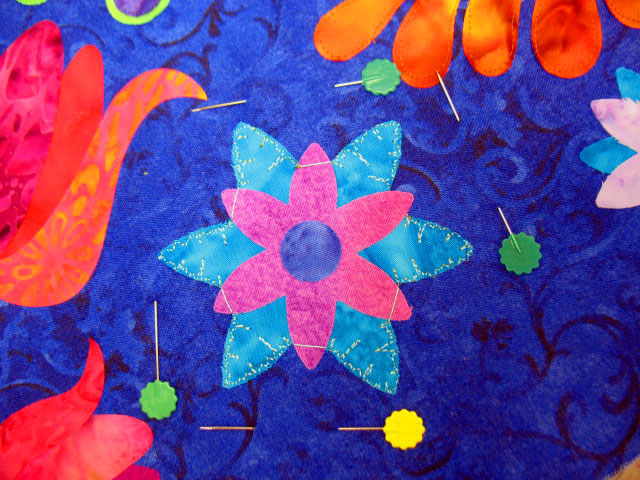
I pick 3 flowers that I’m going to embroider within a session and pin a scrap of batting behind each one, just like the flower above and this one below:


The third flower was similar to the first, just a different size, so I won’t post a photo of it.  But, what I do want you to notice is that these flowers have many colors in common.  (Actually, most of these flowers on this top have lots of colors in common, so it’s a bad example!)  My point is that if you had flowers that were more varied, you’d want to choose a few that had at least 2 colors in common to minimize your thread changes.

Next, I stitched just inside the perimeter of the long, skinny yellow applique highlights with yellow Invisifil thread.  Details like this are so fine that I would mess this applique up if I tried to do a satin stitch or any other edge finishing design, (but my new best friend Mr. Embroidery machine could do this!), so I’m just going in to stitch the edges down for functional, not decorative reasons.  I’m using that super lightweight Invisifil thread because I don’t want to draw any attention to this boring thread work, and once I finish the yellow appliques on the first flower, I stitch any yellow appliques on the others.  Here’s an example of what I just described:


Can you see the travel lines or jump lines at the base of each yellow applique?  If not, look at this closeup shot, and keep your eyes focused by the center section:

It saves time to just “jump” from one applique to the next rather than stopping the thread line, trimming, then starting a new thread line, so this is what it looks like once those yellow appliques have been in-lined. The only thing you’ve got to remember to do is to have some short, tiny stitches at the beginning and ending of each of those appliques.  You can see that I’ll also need to trim those jump lines before I do anything to the large blue petals, or I’ll leave a mess behind in my wake.


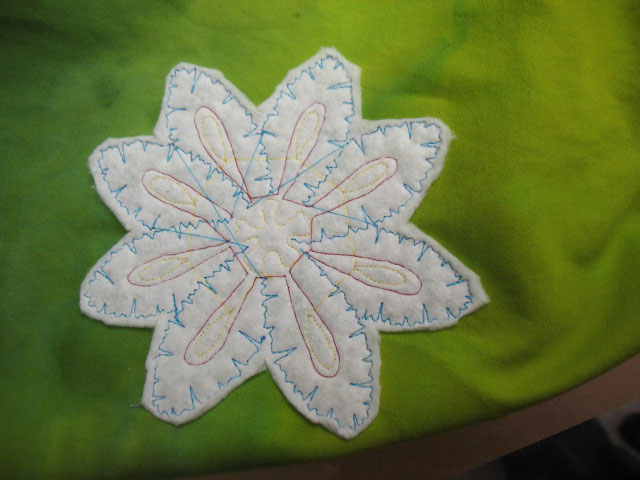
Once you finish all the thread work in one colorway for all 3 flowers, you flip to another thread color and begin all over again, moving from 1 flower to the next.  Here’s an example of a finished flower:

…and here’s an axample of what the backside looks like of  flower that’s done:

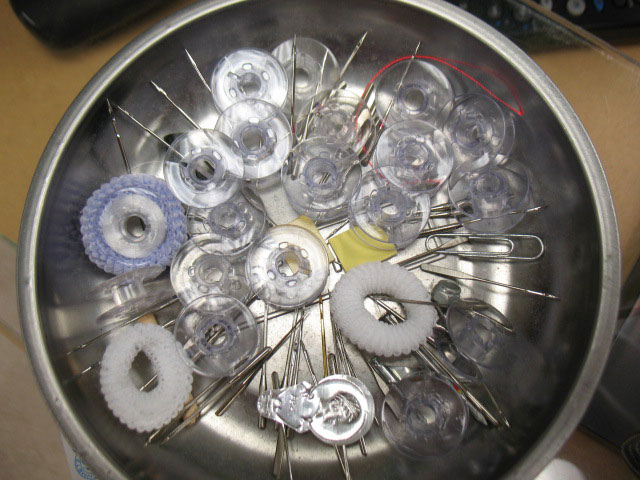
One of the best things about doing this kind of work is that it’s the perfect place to use up all those “short bobbins” where you have just a limited amount of thread left on a bobbin.  As I have been working on this top, I’ve also been working on the tulip quilt trapunto, so I’ve emptied out a ton of short bobbins.  This bowl had no empty bobbins when I started:


…and now I have a goldmine of bobbins, all ready to get back into the game!

Adventures in Machine Embroidery

August 30th, 2011

If the title of this post scared you, please don’t pick up your remote and switch channels on me! I am just starting out on an incredibly fun journey that will enrich my quilting life and I want to share the thrill of discovery with you. (Don’t worry, you’re going to see tons of plain old quilting posts all along the way, but I’m having so much fun with this that I want you to see it and perhaps you will become as enthralled as I now am.)

About 9 years ago, I won a Babylock Ellageo embroidery machine. At the time, this was a top of the line model and I had no idea what to do with it. Like all of us, I have a finite amount of time that I can spend sewing, and I love quilting so much that I couldn’t imagine giving up any of that time to learn embroidery. Hence, the machine sat in the box but I had every intention of learning how to use it once I could get a huge chunk of time. (Anyone who knows me will laugh at this, because time is my life issue and I always have this hope that a huge chunk of time is “just around the corner,” yet it never is.)

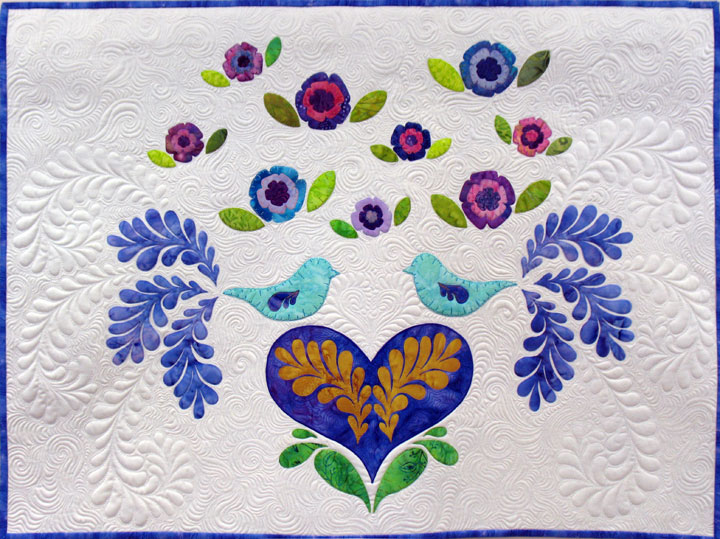
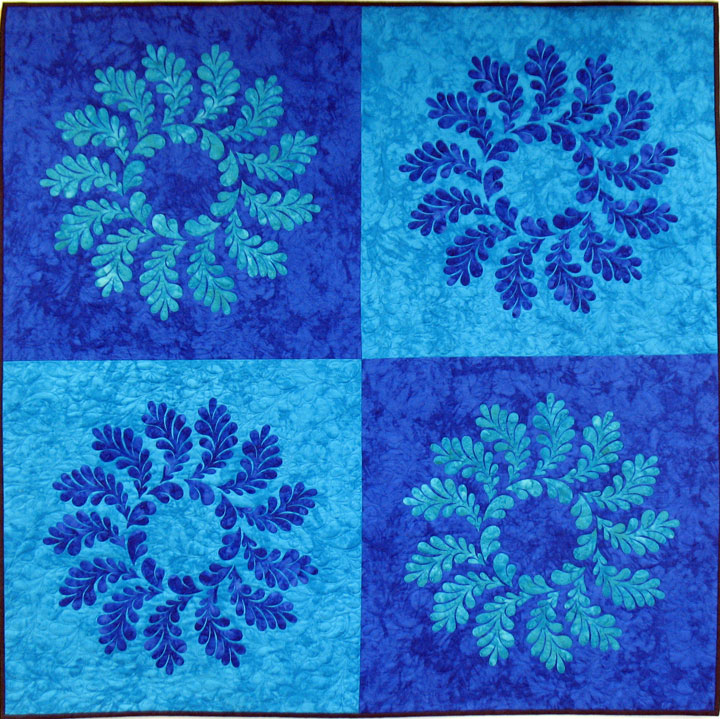
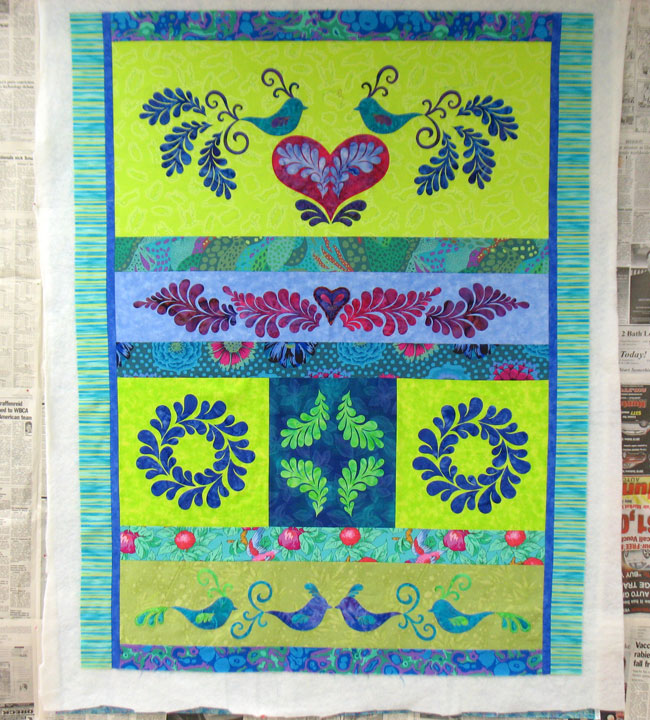
Fast forward to late last year. My New Year’s goal was to learn how to use my embroidery machine because I wanted to learn how to do machine embroidered applique. (If that term has no meaning to you, stick with me over the next few weeks, because you’ll be blown away by what’s out there!) My initial lesson was to be in January but then my left wrist developed severe problems to the point that I could not use my left arm. Then I had the honor of meeting Sarah Vedeler at Spring Quilt Market. If you do not know of her, you should, because she is the Queen of machine embroidered applique. At the same time, I had just developed a line of cutting dies for fusible applique and I was now creating quilts so quickly that I could not keep up with all the thread work that is required. Think of it, quilts like:

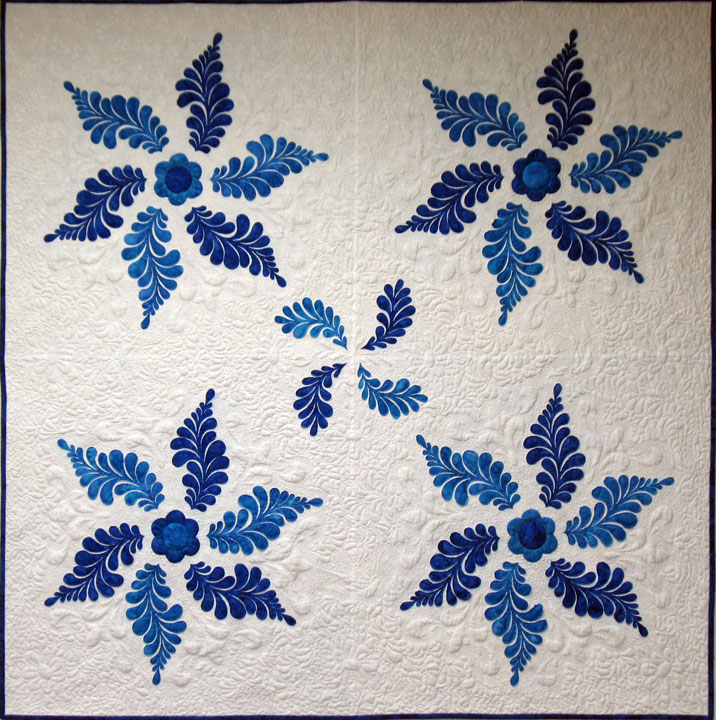
…all have intricate applique shapes that require some type of edge finishing, and sometimes, decorative edge finishing, and this takes lots of time. What I pictured above is a mere taste of quilts from earlier this year, and let’s not forget about the 2 that I’m freehand embroidering/trapuntoing now, each of which is taking hours and hours of thread work before they even make it into the final quilt sandwich stage:
and
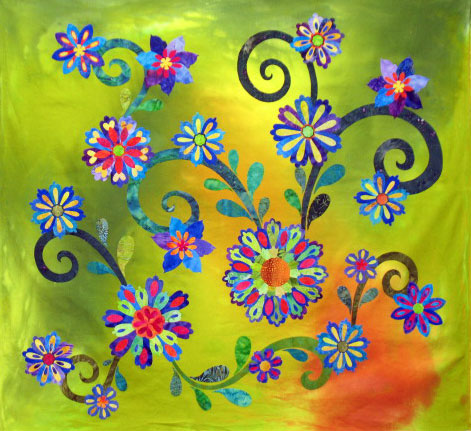
There are other tops that I haven’t even shown yet on my blog, and of course there are the thousands of quilts I have marinating in my head! What I’m trying to impress on you is the fact that I cannot keep up with my own work. This has weighed heavily on me for the last many months, yet I just could not find the time to learn machine embroidery. It’s not that I wanted to give up free motion embroidery, but if I could learn machine embroidered applique, I could have an embroidery machine working on one quilt while I was working on another quilt and maybe get my self caught up. Then, the straw that broke the camel’s back came when I read this blog post by Sew Cal Gal. (Again, this is another blog you should be reading, so bookmark it if you’re not already following her blog!) If you scroll through this post, you’ll see photos of some appliqued tulips that Darlene made with intricate embroidery inside them. She created these using Sarah Vedeler’s embroidery designs. I kept going back and looking at those photos, and frankly, the lovely detail kept me awake at night. I knew I just needed to make time to learn machine embroidered applique. This was the very beginning of my journey!

I got a 45 minute basic lesson on how to use my embroidery machine on a Friday afternoon, and began playing right away. My first attempt was to embroider this wreath, using a digital embroidery file that was installed on my machine:
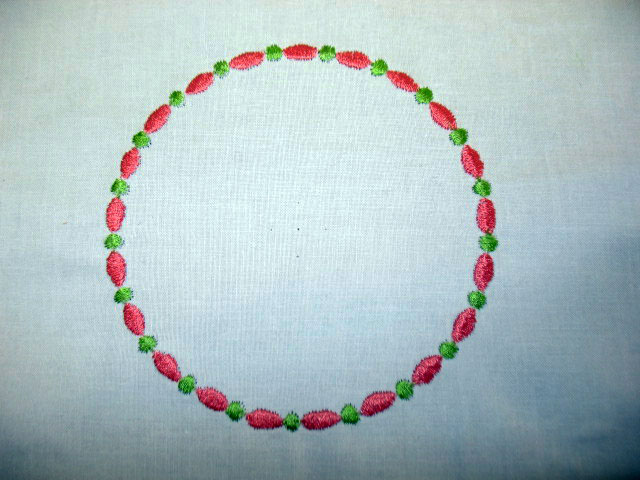
I couldn’t believe how easy it was to do, and I raced back to my dealer with this wreath in hand because I was so proud of myself…I think he thought I was nuts! Next up, I thought I’d really extend myself, and I embroidered this iris that had all of 3 different thread colors:
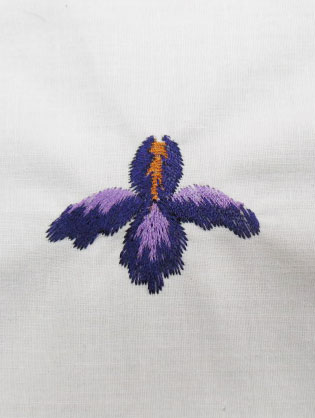
Whoa! I was really smokin’ now! I decided it was time to graduate and try a digital design file from a source outside my machine. I had also won an embroidery card with lots of designs on it, so I embroidered this pumpkin off of that card:

You can see there are some stabilizing issues in these and design-wise, they’re really not challenging if you know how to embroider, but they fueled my interest in learning and brought me closer to being able to start learning about machine embroidered applique. By now, I had ordered Sarah’s Hearts Quilt CD and it had arrived, but alas, I had to leave town for 2 weeks and that meant being away from my embroidery machine. Drat!! I spent those 2 weeks dreaming of what was to come next, and couldn’t wait to be reconnected with that machine! This is where it all began to fall apart, though. Although my machine was only 9 years old, technology has advanced so quickly that my machine was actually somewhat of a dinosaur. The only way digital design files could be transferred into my machine was either through an embroidery card (that holds a whooping 6 designs maximum!) through a transfer devise called “The Amazing Box” or though a floppy disk. You’re surely asking yourself, “Did she just say a floppy disk?” Yes, I did, and that was my reaction as I had given away all my floppy disks many years ago when they went the way of the dinosaur!

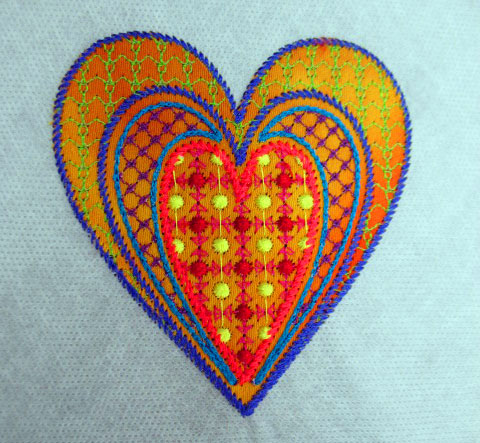
When I got back home, my husband and I spent about 30 hours installing/de-installing/re-installing/trying everything we could think of to get “The Amazing Box” to work, but the software is old and just would not work on my computer. It turns out my amazing box wasn’t so amazing after all! I was about to give up when I joined a Babylock yahoo chat group and learned that I could purchase a very inexpensive ($20) floppy disk drive and leave the amazing box out of the equation. Suddenly, the sun was shining once again! I spent this past weekend over-the-top excited as I had my first experiences playing with Sarah’s designs. Here is my first embroidered applique heart:
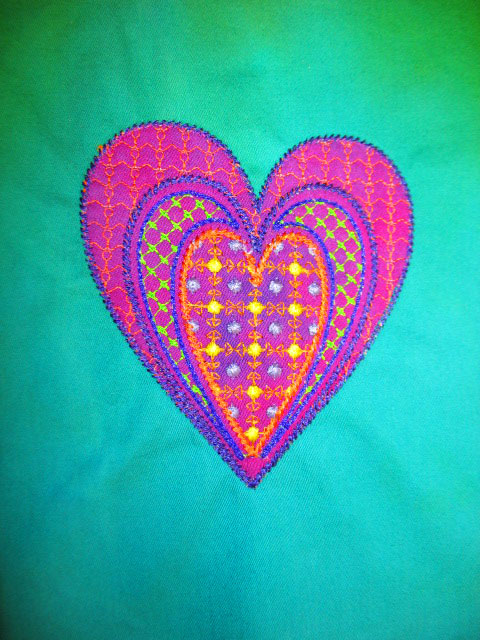
Now Sarah was very clear in her instructions about the importance of stabilizing, but I just had to see what I could get away with! I stabilized the background fabric with a layer of fusible interfacing but I did not stabilize the applique itself. Can you see there’s some puckering around the edges of the heart? Big “no-no,” so I learned to listen to what Sarah says! Next up is another applique heart I embroidered, but I followed the rules this time:
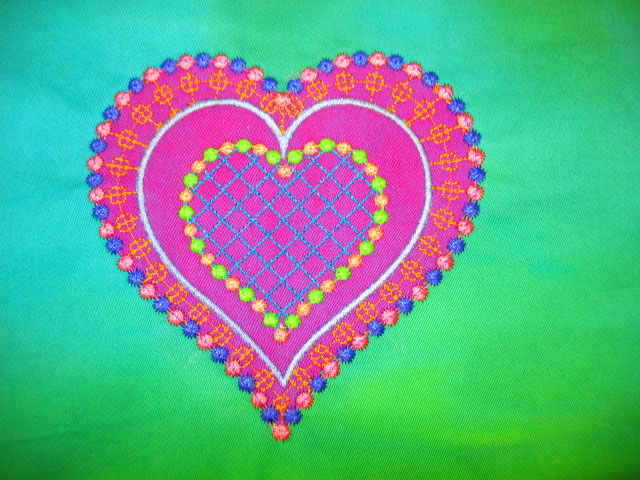
Can you see the difference?…no puckering this time! Next up, I wanted to try embroidering an applique badge. (Don’t I sound official using embroidery terms like “badge?!”) A badge is a free standing embroidery, in this case, a free standing embroidered applique that I can later applique to something else. If we go back to our first photo,

you’ll notice that it is not appliqued to fabric…that white background is 2 layers of dissolvable stabilizer. (That means that once it’s placed into water, the stabilizer disappears and all that’s left is that heart, but it won’t have been appliqued to anything yet.) If you’re new to this, here’s a hoop that holds one embroidered heart on stabilizer and the outline for where to place the next heart can be seen:

By placing the applique shape exactly within that outline, all the embroidery will line up perfectly…genius! The machine stitches a lot faster than I do, so you can make a lot of these pretty fast:

I think I’ve created a monster!

Scenes From a Quilt Block

August 28th, 2011

I’m about to finish all the free motion embroidery and trapunto on this center block, so I’m pretty close to being able to add the side and corner setting triangles that will return this quilt to its square shape. The center heart is fairly “poofy” with a layer of wool batting underneath. I also added some gold “highlights” by outlining shapes within it and I love that “bling” detail:

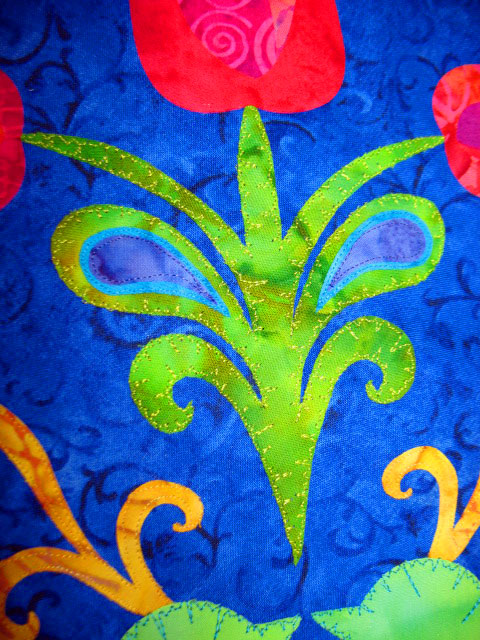
And here’s a shot of one of the more complex stems. Again, my goal with shapes like this is to use a shiny thread in a color that does not match the background for the “showy” areas but use a very lightweight and non-shiny thread for the internal teardrops, as I really don’t want to draw attention to that stitching:

The birds and feathers have a very thin polyester batting behind them, so they won’t “puff out” nearly as much as the tulips and central heart:

(Oops!  It looks like I need to trim that fraying fabric on the wing!)  Here’s my tip for saving time when you’re finishing the edges of a flower where there’s an “interruption” between the petals…I don’t end my stitching lines after each petal, but take some very short stitches at the extreme edge of the petal, then “skip” to the next petal:

All those travel lines of stitching need to be trimmed before the next row of petals can be stitched. Here’s one of those flowers in its finished state:

I can hardly wait to add the setting triangles so I can add some more fusible applique to fill those! In the meantime, this week will be heavy on sewing and quilting (yippee!!!) so expect some great posts! I am working on several different projects, each quite different from the others, and will post at least 4 more posts within the next 6-7 days. To whet your appetite, here’s just a taste of one of them: