January 29th, 2018
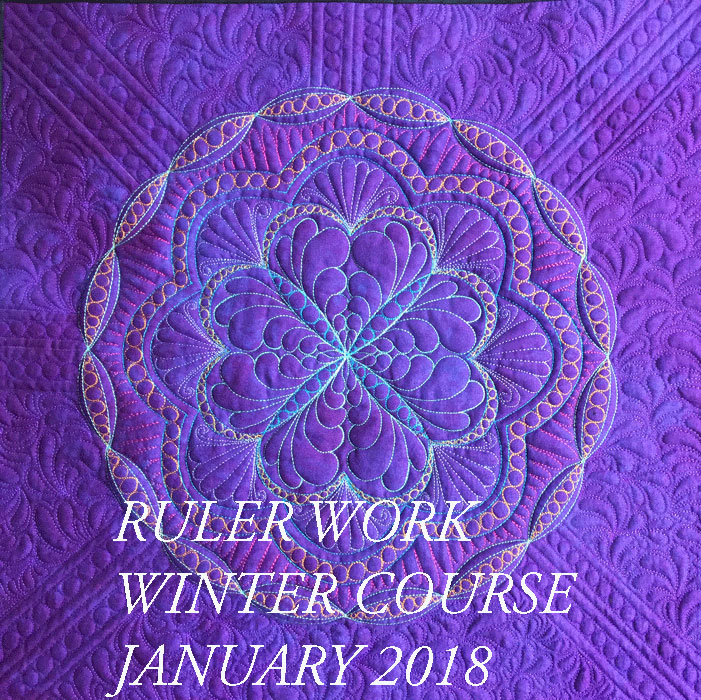
We’ve made it to our final ruler work lesson, kind of a bittersweet moment. I hope this has been a fun and educational experience for you! Learning to do ruler work has really breathed new life into my own free motion quilting and if I’ve infected you with this same enthusiasm, I’ve done my job.
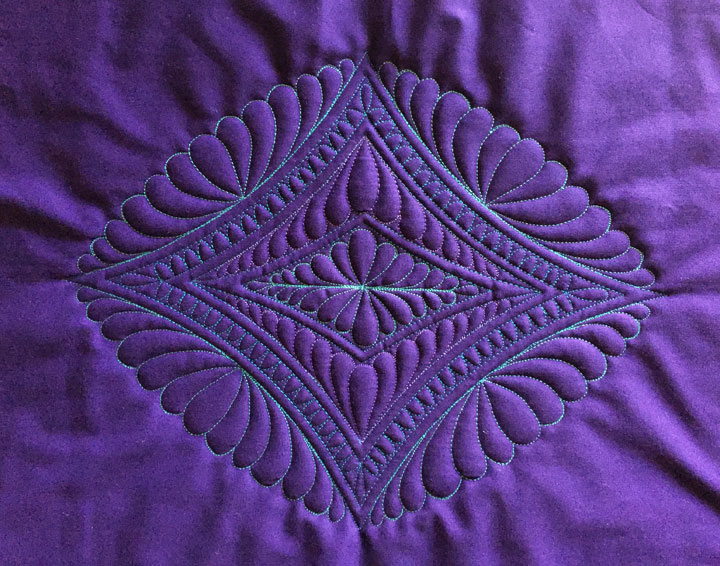
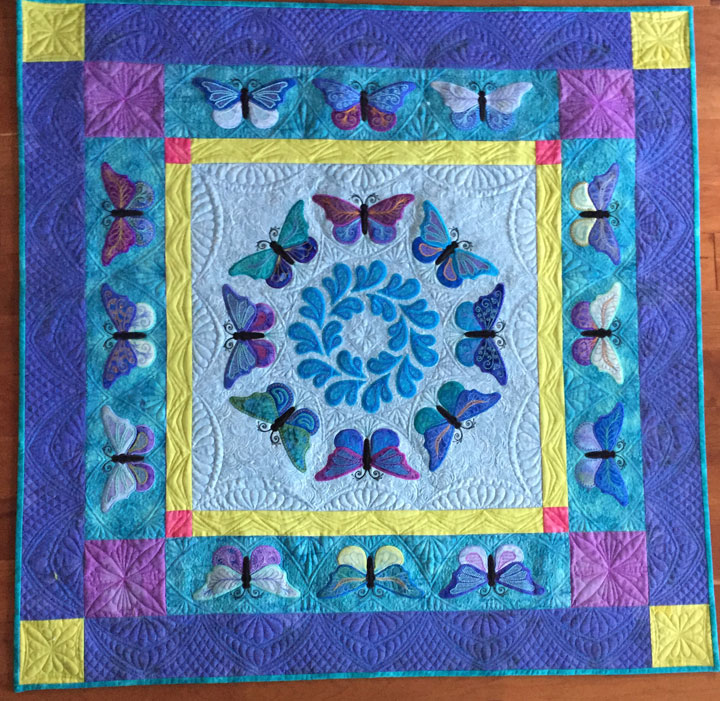
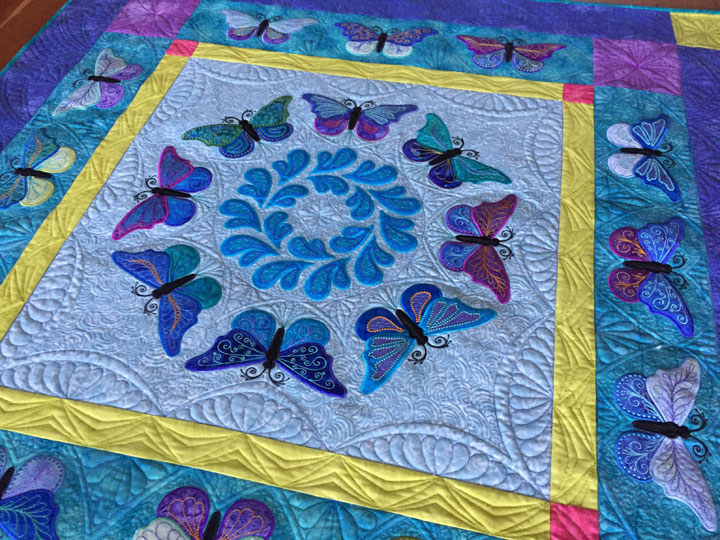
Today’s lesson will take your ruler work skills into the world of framing. Being able to frame a pieced/appliqued/or quilted motif is an important skill. You probably don’t realize it, but you actually learned one effective framing tool two lessons ago. I’m pointing this out because we didn’t use the technique for framing so you might not have noticed it. Remember when we learned to create a circle of crescents? Creating a circular framework is another nice way to frame an important motif. You would not “fill in” the center of the circle, (since the center area would actually be whatever you were framing), but if you had space, you could build your circle outward to create a more intricate framing design. In today’s framing lesson, we will be dealing with a different approach to framing, though. In this case, we will use the boundaries of the quilt block as the starting point and we will build our framework by working “inward.” Here is a shot of the finished quilt once the framing and fill-in work has been completed:
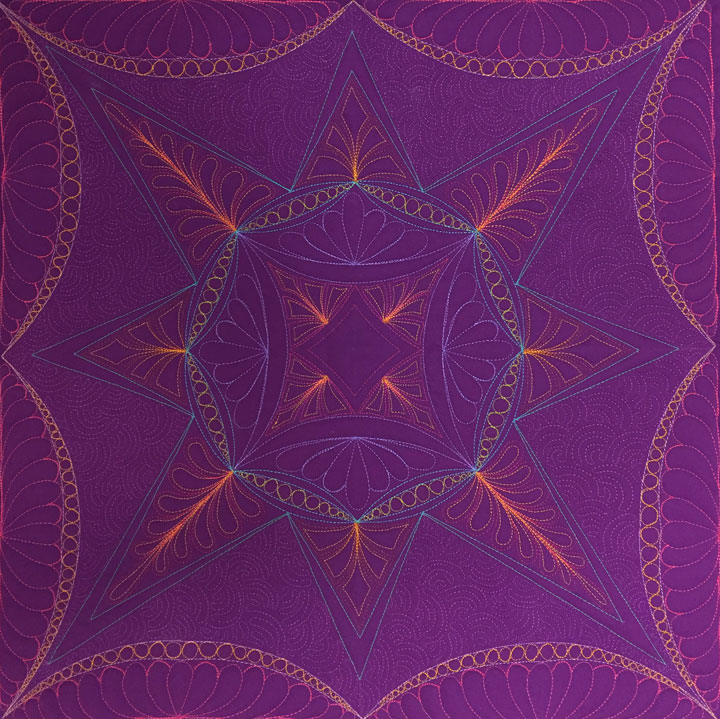
Before we begin, make sure that your temporary lines that fall 1/2 inch from all 4 edges of the quilt block are very obvious. (You do not see the “empty” 1/2 inch of fabric that surrounds the finished design in the shot above.) These previously marked soap lines mark the boundary of your framing design and serve to warn you that any stitching outside that boundary will fall into the seam allowance. It is heartbreaking to make a beautiful design and then have a portion of that design be “chopped off” visually because it fell within a seam. You only need to learn this lesson once when you have the misfortune to learn it “the hard way!”
Next, ensure that all your soap lines from the original 8 lines we marked at the very beginning of lesson #7 are still visible. If they’re not, darken them again as you’ll need to “play off those lines” in today’s lesson.
Finally, I want you to mark the midpoint between each corner and the midpoint line that you marked previously. Measure and draw a temporary vertical line that’s perpendicular to the marked boundary line at each of these “bisections.” These vertical lines that you’ve just marked will be the center of a series of arched swags that will run along the outer border of our design. Mark a tick mark 2 inches from the bottom marked line upward along each of these 8 short vertical lines. Your sandwich should now look like the photo below:

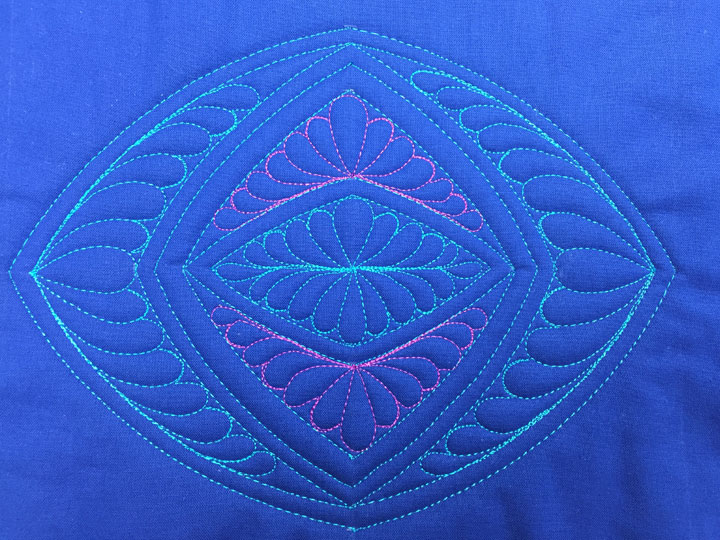
Before we move on with stitching, I want to jog your memory. Think back to lesson #4 when we made a border design and we marked our sandwich to create a series of “parent arched swags” and the marked area looked like the marked area in the photo below:
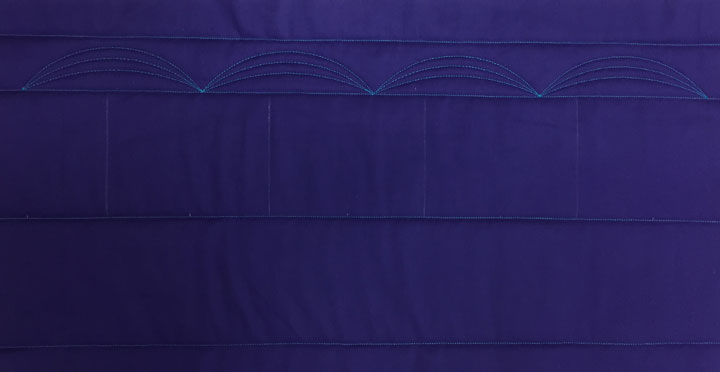
I bring this up because we are doing the same thing here. The marked sandwich looks a bit different because we’re working off a soap line base now and our arched swags are shallower and wider than what we made in lesson #4, but this is exactly what we did before. Remember, in ruler work, we are really doing the same things over and over again, but we are changing our starting and stopping points, and we are altering orientations, but we are essentially just creating parent shapes followed by channels. Understanding the simplicity in this will help give you the confidence to create beautiful and intricate ruler work designs going forward.
Now, let’s start stitching, shall we? I am using my PTD 12 arc for today’s lesson, but use any arc ruler that is long enough and also has a subtle, or relatively shallow curve. (*Important note: When I say you can use another arc ruler that has a shallow curve and is long enough, I am defining “long enough” as meaning that the expanse to be stitched must be less than 50% of the arc ruler’s length. If you look at the picture below, you can see that I have positioned the ruler to illustrate that 1/2 the length of the PTD arc ruler is just slightly greater than the distance o be stitched.) Pierce your needle in one of the corner intersections and align your ruler such that your stitched line will travel to the next tick mark. Here is a shot of my set up before I began stitching:

Go ahead and stitch this curve and once done, keep stitching until you meet back up with yourself where you originally began, then leave your needle down. Here is what your sandwich should look like at that point:
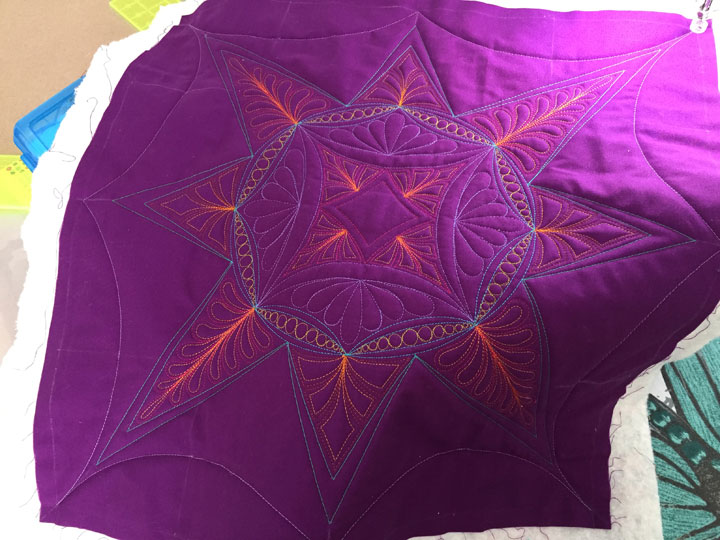
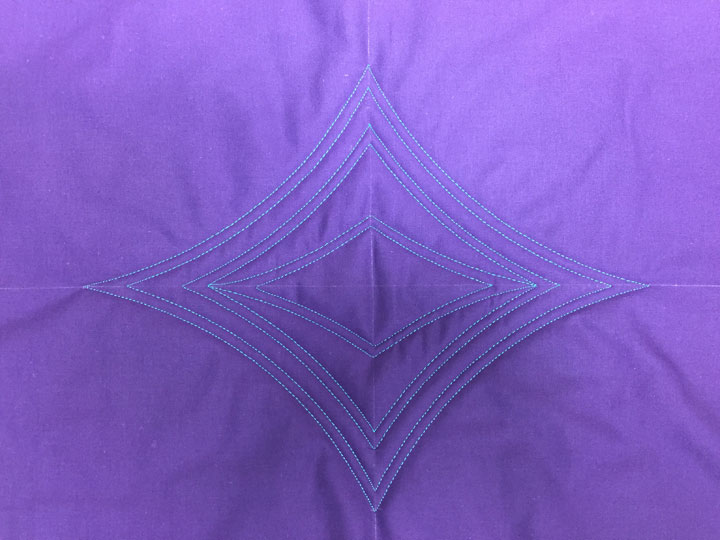
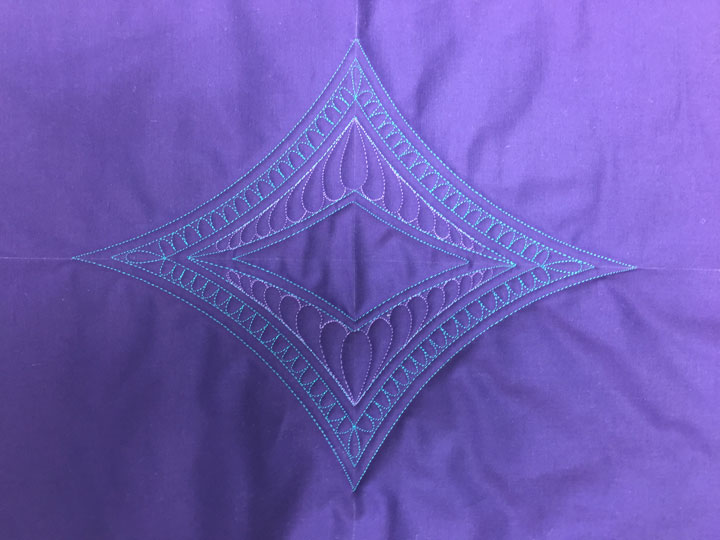
We’ll now throw in a tapered channel. To do this, place a tick mark 1/2 inch below the stitched line on all 8 of your short vertical lines that mark the midpoint of each swag. Your swag “bases” will be the pointed bases you’ve just stitched. Line up your arc ruler as I have below and start stitching:

…and once you meet back up with the place you began stitching, end your thread line and your sandwich should look something like the photo below:
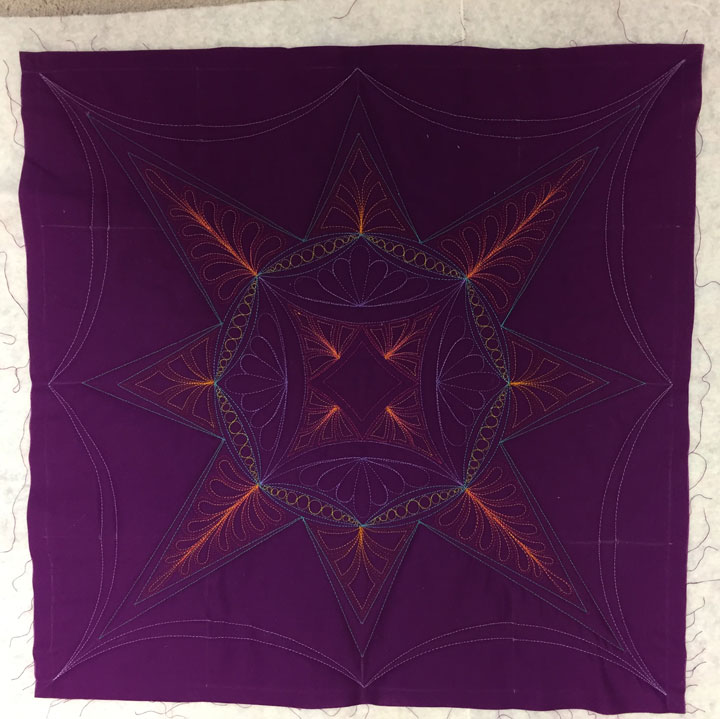
Before we move on, I need to point out something important. These arched swags that frame our center design are very long, and we have really maxed out the length of the PTD12 arc ruler to create them. You know because if you look at the photo above, you can see that the centers of each arched swag aren’t quite as “smooth” as what we want them to be. (In truth, the “wonkiness” of this is accentuated in the photo because there are small chalk lines at each center point that make things look worse.) This won’t be so noticeable once I’ve erased the chalk lines and filled in the tapered channel, but I don’t want to pass up this opportunity to let you know about this phenomenon. What do you do when you want to frame something but the longest arc ruler you own is actually too short to create the framing above? The answer is actually pretty easy…create a framing design that involves more than 2 sections! In other words, subdivide this expanse into more subdivisions as each subdivision would then require a much shorter expanse of an arc ruler. I didn’t do that here because this is your very first framing experience so I wanted to keep it simple, but know that there is almost always a work around to accommodate the rulers you have at hand. When those options don’t seem as aesthetically pleasing to you, that’s when you break down and buy more rulers! This kind of gets back to what I said when we first started playing with arc rulers; these are very, very versatile “design makers,” so it really pays off to accumulate as many different arc rulers as possible. One manufacturer’s 12 arc is different from another manufacturer’s 12 arc ruler, etc., etc, so it’s easy to accumulate a large variety of curves over time.
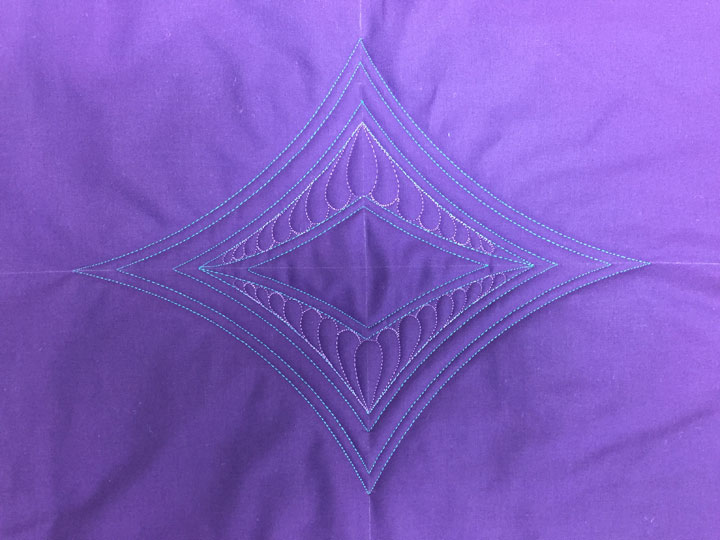
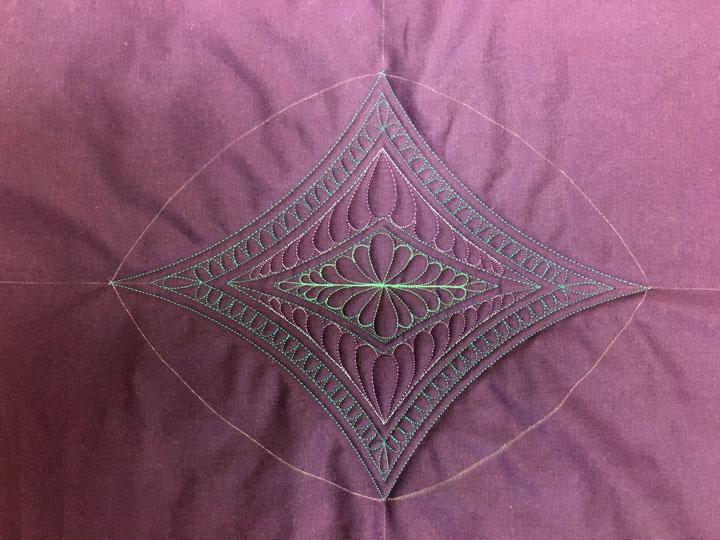
Now we’re ready to begin fill-in quilting. I used my soap lines that denote the center of each swag and added a featherette inside of each arched swag. Remember that your goal in stitching featherettes is to completely fill the “empty space,” and this is how you end up with symmetric appearing featherettes. Here is what my sandwich looked like once the featherettes had been added:
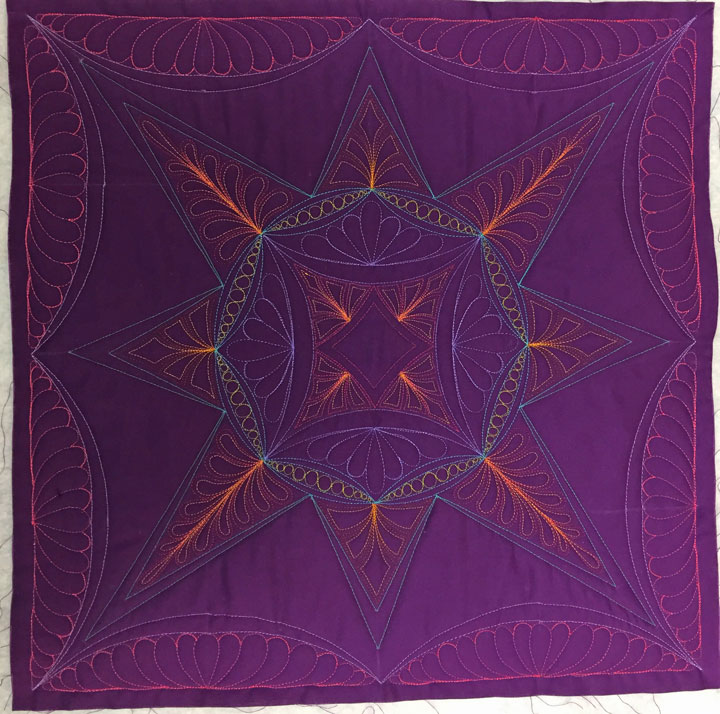
There isn’t much “empty space” left on this quilt, but the un-quilted sections really need to be quilted to help the quilt lie flat. My goal here is really just to create a texture, not to quilt a fancy design that will compete with the star or the frame. I am using a polyester thread whose color closely resembles the background fabric and quilting the background fill design called”igloos” in the remaining empty space. This next shot shows some quilted sections next to un-quilted sections and it gives you a sense of how much this quilting will add to the finished piece:

…and this next shot shows what the quilt looked like once the background quilting was complete:
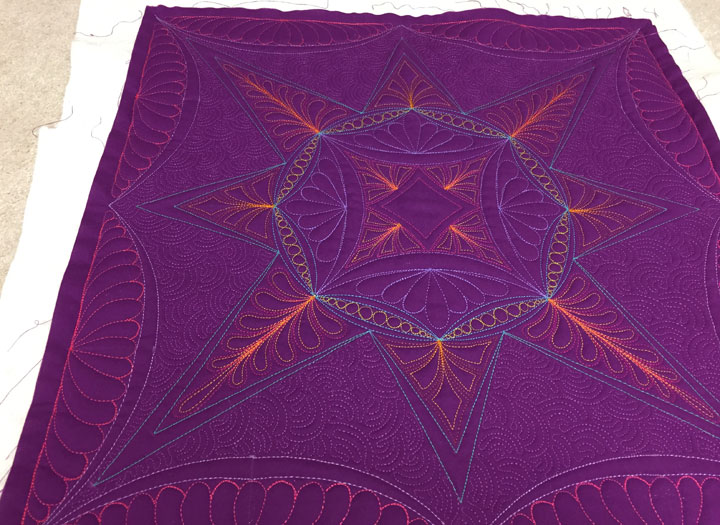
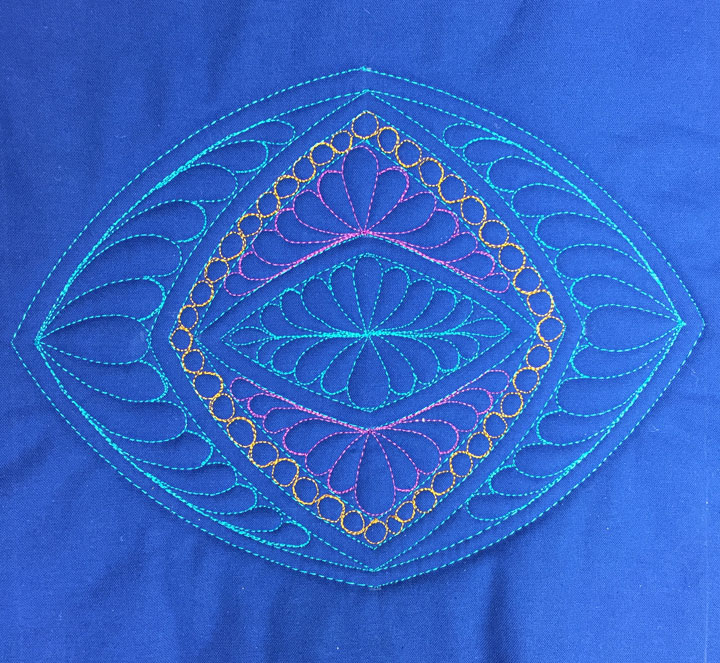
The last step was adding a row of pearls inside the narrow tapered channels of the arched swags. Besides adding another detail and a different color to highlight the frame, notice that the single row of pearls draws the viewer’s eye around the frame. There is something about that single row of pearls that makes the frame more definitive, so it’s a powerful design choice:

This marks the end of our ruler work journey. These lessons are an effort to pass along some of the concepts and skills that guide my own ruler work designs. These lessons are meant to be much more than a few specific design lessons, so don’t fall into the trap of seeing them as just that. Know that if you can allow yourself the freedom to dream about using these basic concepts in other layouts, there will be no end to what you’ll be able to quilt with rulers. If you don’t believe me, scroll backwards in my blog to view old posts about how I’ve been quilting more complex designs and you will probably now understand how I do most everything I create! If you are ever stumped about how to make something, come back and re-read lessons 1-6 as these really are the concepts from which everything I create evolves. If you’re looking for even more inspiration, be on the lookout for our new DVD called “Ruler Work for the Sit-Down Quilter Volume 2,” which will hopefully be available in late winter.
I hope you’ll stop by my blog regularly. Although I won’t be posting a series of coordinated lessons, I have always (and will continue) to use this blog as a place where I post details about what I’m making and how I’m doing it. It has been a real pleasure to hear from so many people all over the world who are sharing the same love of ruler work that I have. I’ve been scratching my head, wondering why it took us home machine quilters so long to figure out how to enjoy the ruler work that long arm quilters have been using for decades! I guess it doesn’t matter now that we know how to do it, but it gives me hope that someone out there is probably on the verge of discovering the next fun thing we quilters can do with our sewing machines! Have a great day and stay in touch!
Filed under
Free Motion Quilting, ruler work on a HDSM.


