Subtle Quilting for a Sweet Quilt

March 31st, 2011

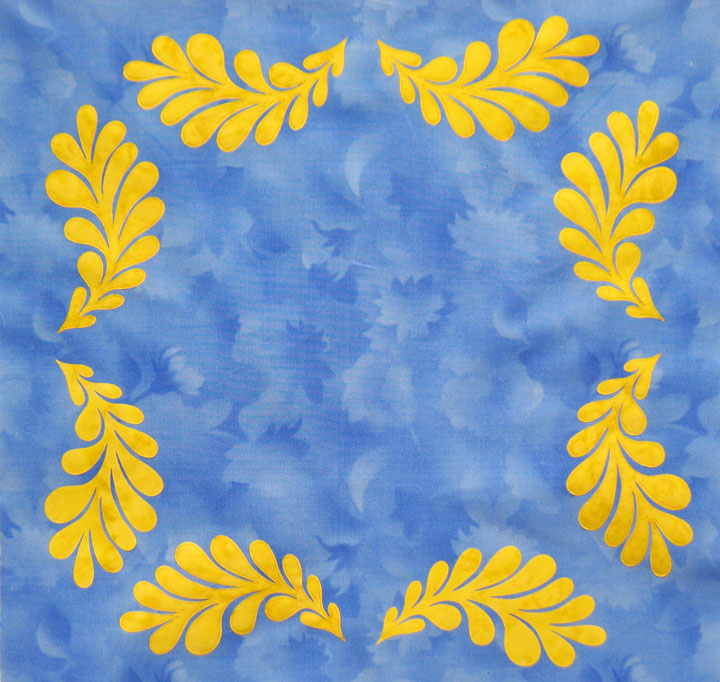
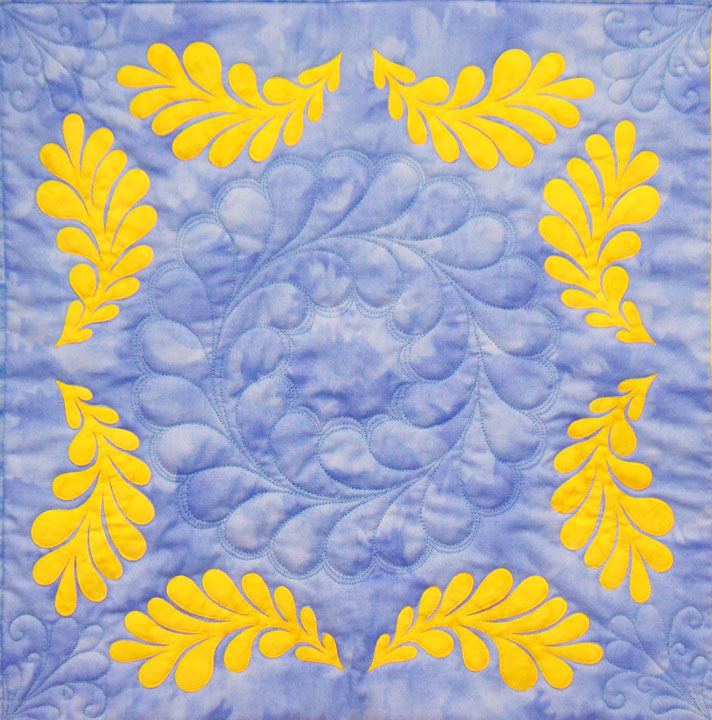
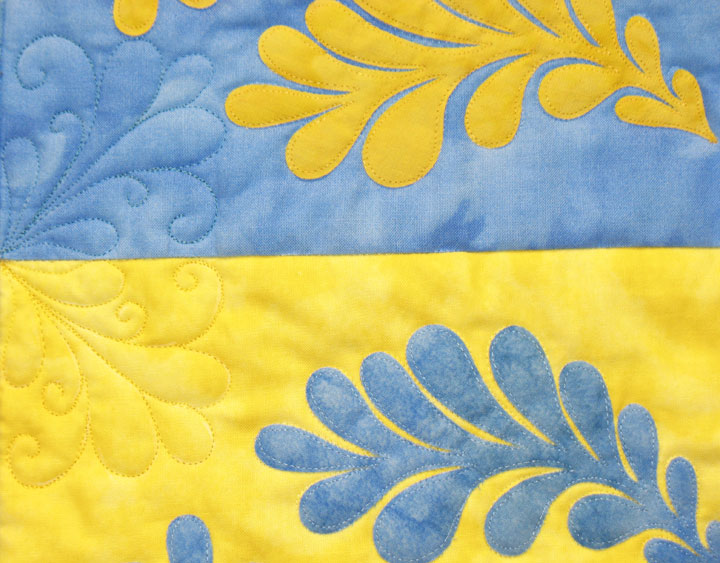
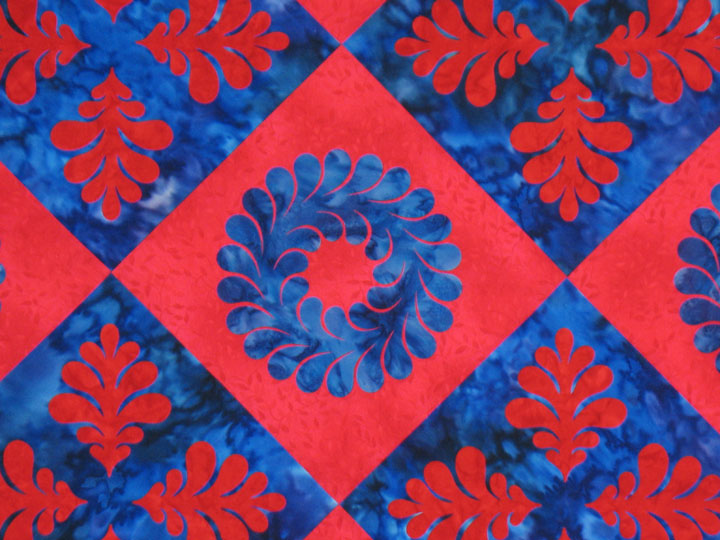
These 2 blocks are the basis for the quilt I’ve been stitching on the last couple of days. I’m not sure why, but there is something so sweet about blue and yellow quilts! That combo just hits a home run every time! For me, the drama or interesting part of this quilt is all about how those appliqued feathers interact with one another. Because of that, my whole goal with the quilting was to echo the feather motifs and to do it in a very understated way.  I guess I didn’t really want the quilting to be consciously noticed, and that is not usually my goal.

The easiest part was quilting the blue blocks, because the “empty space” in the center was just right for a feathered wreath.  Again, because it’s stitched in a matching solid color rayon thread, you hardly even see the wreath:

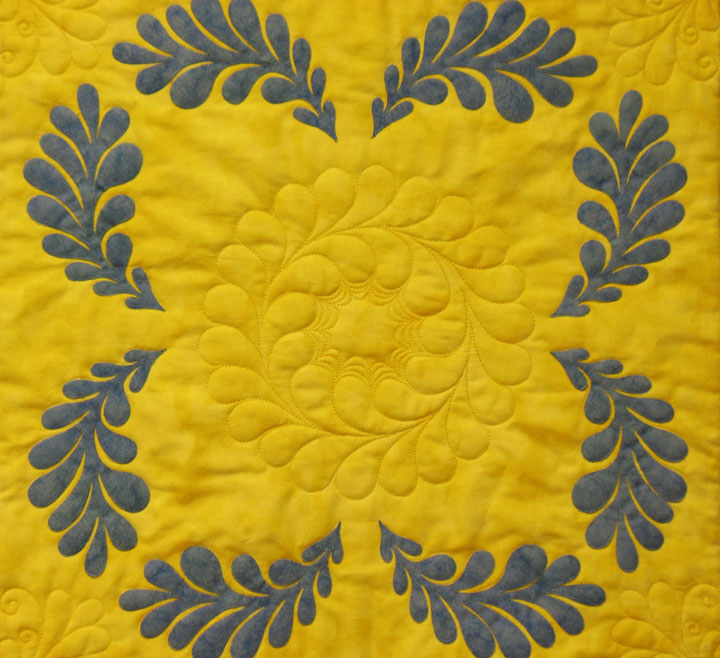
(Sorry about the lousy color there!) The yellow block was a bit more challenging because that “empty space” was a very different shape. I started off with a smaller feathered wreath in the center:

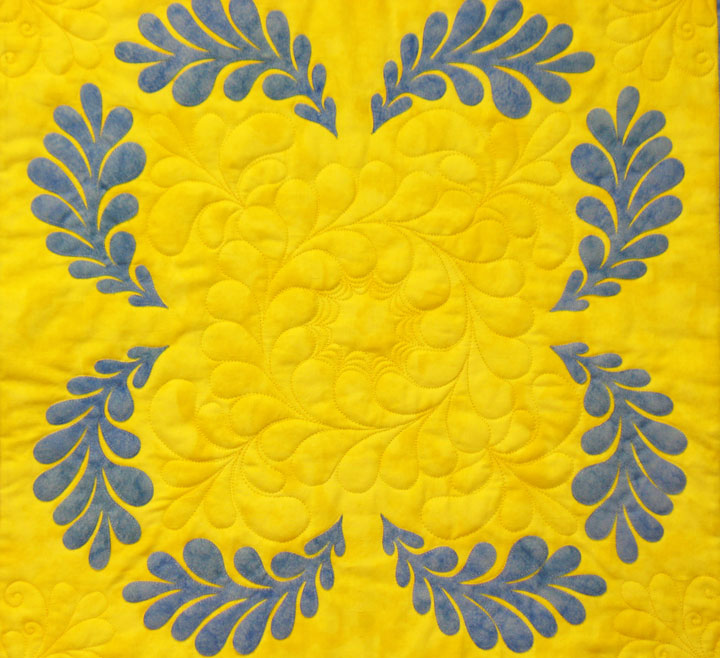
I then drew diagonal lines from opposing corners and that gave me 4 straight “spine guidelines” so that I could stitch 4 straight free-form feathers to fill the 4 “corners of that “empty space:”

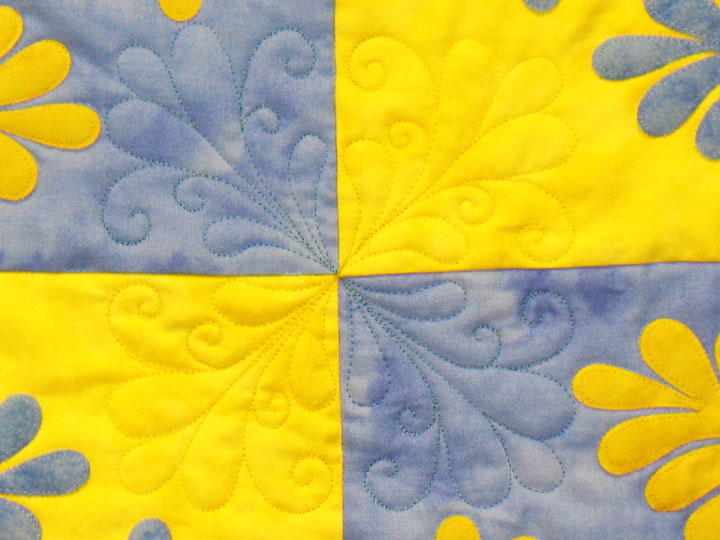
In order to fill some small unquilted spaces, I stitched 4 small feathers in each of the block inside corners using part of one of our stencils. Here’s what they look like when seen in 2 adjoining blocks:

…but they look much better when you see that same motif where 4 blocks join:

Once I’ve got the binding on, I’ll show some final pictures, but this was a fun one to quilt!

Something Different

March 27th, 2011

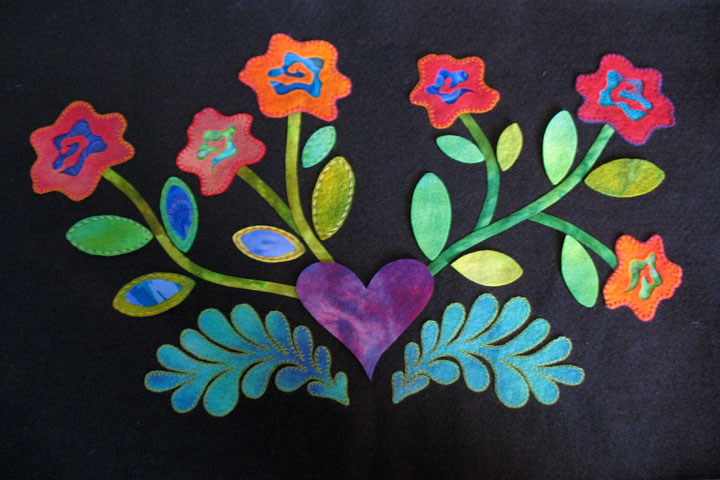
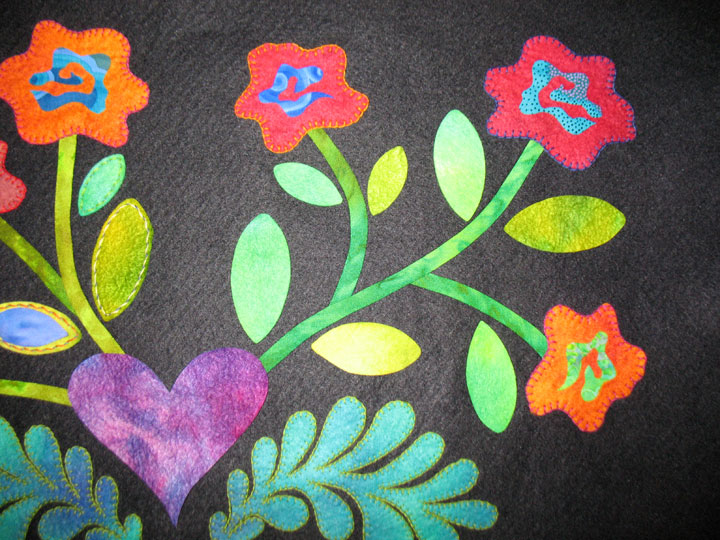
I really enjoy having some handwork to do. The repetition of it brings me peace of mind and makes me feel like I’m moving a project along while I’m doing something else at the same time, like sitting with my husband or watching TV. I enjoy doing hand applique but now I’m trying my hand at something different, some wool applique. Here’s where my project stands now:

I’m using a wool/rayon blend felt for my background and the feathers and flowers are all hand dyed wools and wool blends and also a rayon/bamboo blended felt. I cut out all the applique shapes on my Sizzix machine. What I like the best about it are all the textures. This closeup of one flower gives you an idea of the different dimensions/textures on the piece:

I used regular quilting cottons for the stems and made the bias tape using my Clover 1/4 inch bias tape maker. I love that little gadget! I also used commercial cotton fabrics behind the flowers and as “overlaid” appliques on the wool leaves. (You can see that I’ve got a long way to go yet on those.) I’ve been using a wool/acrylic blend thread for the handwork so far, but there are all kinds of threads that would work great here. As you can see from this shot, I’m only adding new wool applique shapes as I go along; it helps cut back on the bulk:

Do you see that heart at the base? It’s not even attached; I just place it there when I’m going to add more leaves so I know what kind of “blank space” is still available to me. To add a new leaf, I just put 2 of the teeny-tiniest drops of Roxanne’s Glue Baste-It on the backside of a leaf:

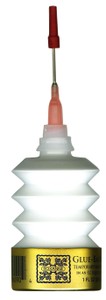
Those 2 little drops are enough to hold it into place but it doesn’t add any “hardness” to the appliques. I’ve fallen in love with the new accordion-style bottle for Roxanne’s glue; you never have to wash out the tip anymore. Here’s what the new bottle looks like:

…and here’s the right side of my piece with my leaves waiting to be appliqued:

Bird Building

March 23rd, 2011

I finally finished the very last panel on my sampler quilt and it features 4 birds:

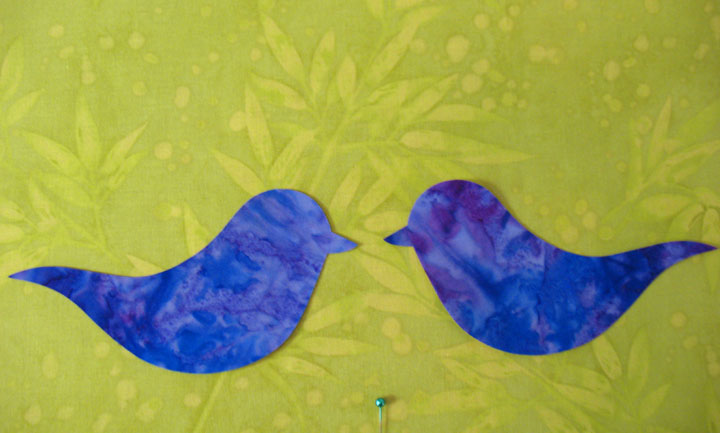
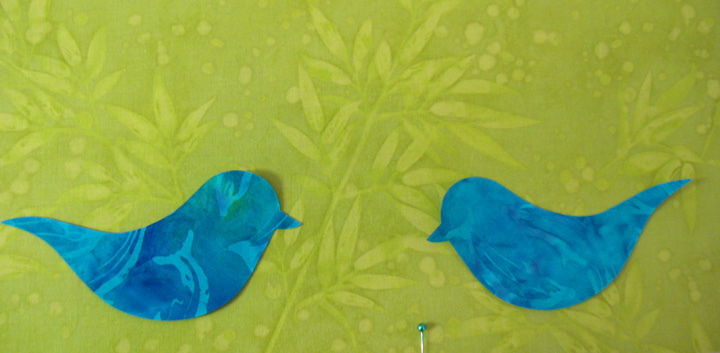
I really like the way it came out and can’t wait to attach it to the rest of the quilt. But first, I wanted to show the steps in basic bird building. Excuse the colors in the photos that follow; I had a lot of trouble replicating the actual quilt colors and the photo above comes the closest (but it isn’t quite right, either.)   You start off with the basic bird shape:

(Note that nothing is fused until all 4 birds are completed.)
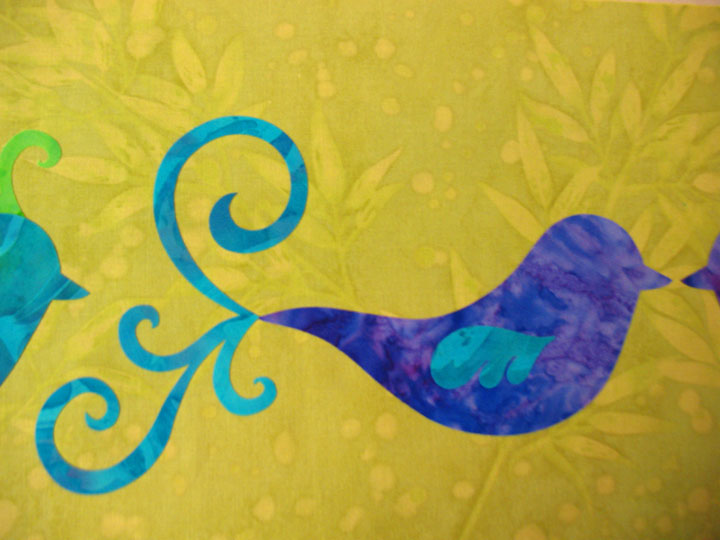
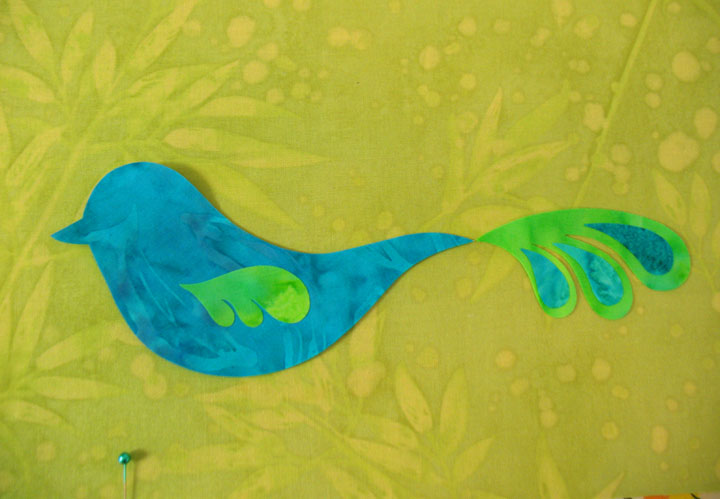
Next, we add the internal wing and the tail swirl, which I adore:


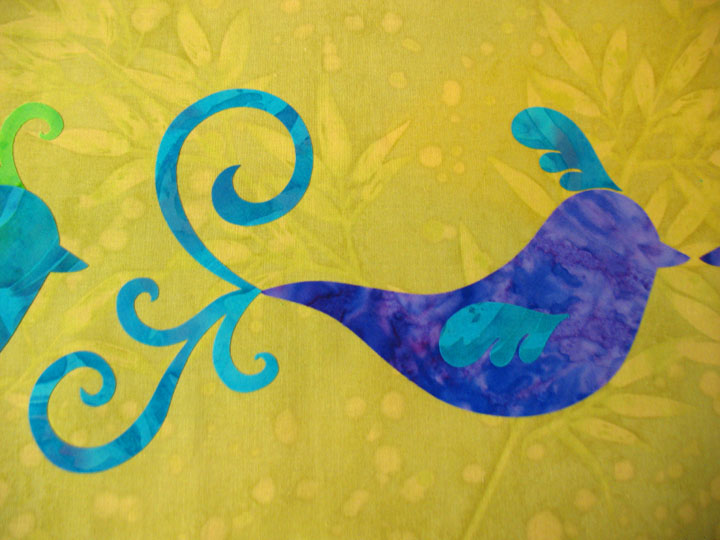
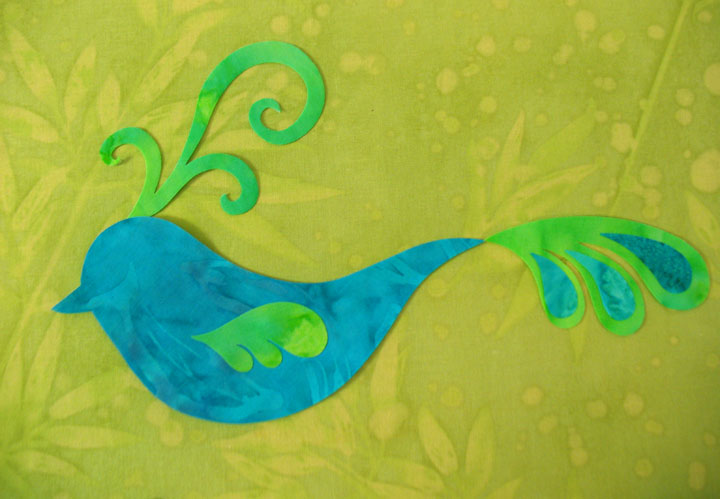
…and just because I cannot leave well enough alone, I added a headdress.  In this case, the headdress is the same shape as the internal wing; I’ve just played with its position:


And that takes care of the two birds that will “kiss” in the center of the panel.  It’s amazing to me just how much of a “wow factor” something as simple as a swirl can add to an applique motif!  And now we move on to the second pair of birds. These are simpler birds, but cool nonetheless.  To start, we have a basic bird in blue:


…and then we add the internal wing and tail feather:


Nice…but we need more, don’t we?!  Let’s start by adding some internal teardrops into the tail feather area:


And now let’s make this bird into something kind of swish by adding an intricate headdress.  This headdress is simple to make because all you do is cut the tail swirl from the first bird and then snip off one portion:


Ooh-la-la…now I’m happy!  These birds are singin’ my song!  And now that I’ve got my layout just right, I can fuse them all down and get ready for some stitching:

So much fun, and so gratifying! The die to cut these birds will be available soon!

More Teasing

March 16th, 2011

Not much time to post, but here are a couple pictures of what I’ve been working on in the last week or so:

This is a closeup of a super quick quilt that honestly took very little time to piece together. I keep hearing that quilters only want easy-peasy quilting projects, so I figured I would try to come up with a couple. Here’s what the whole top looks like (before quilting):

I’m hoping to get some time this weekend to baste it and start quilting it. And here’s what that “bird block” from a few weeks ago is looking like as it sits on the floor with 2 other blocks and some audition fabrics:

(Excuse all the mess that surrounds it!) I just love that quilt…it’s so happy and uplifting and it makes me think of spring! I can’t wait to get it pieced and quilted!

And we have a new pattern in the store…it’s called The Textured Flower Wall Hanging and it uses Texture Magic to add dimension to the flower centers, just like in our Texture Magic video. I owe many thanks to Celine Perkins of Perkins Dry Goods because she wrote the pattern instructions for me! Thank you, Celine!

Such a Tease…

March 13th, 2011

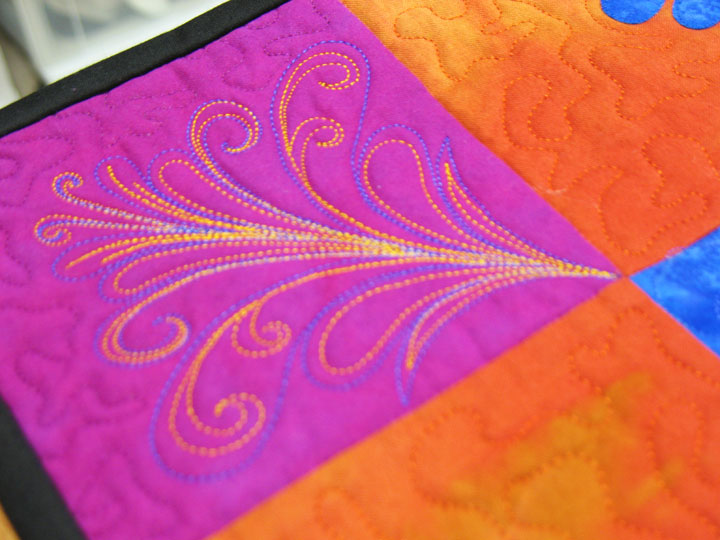
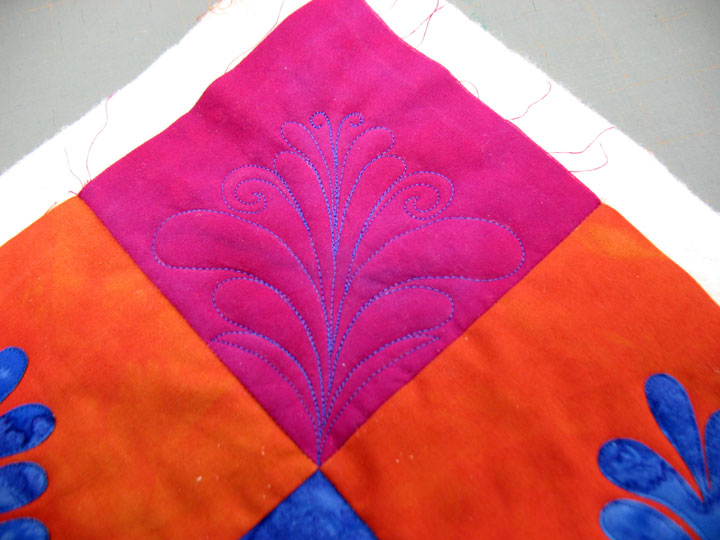
I’m going to be a real tease here and just show you some partial pictures of a quilt I just finished. Here’s a shot of that same corner block before it was hyperquilted:

Doesn’t it look much better after adding that gold thread? It’s times like this that I’m reminded of the power of thread! Here’s a shot of a different part of the quilt:

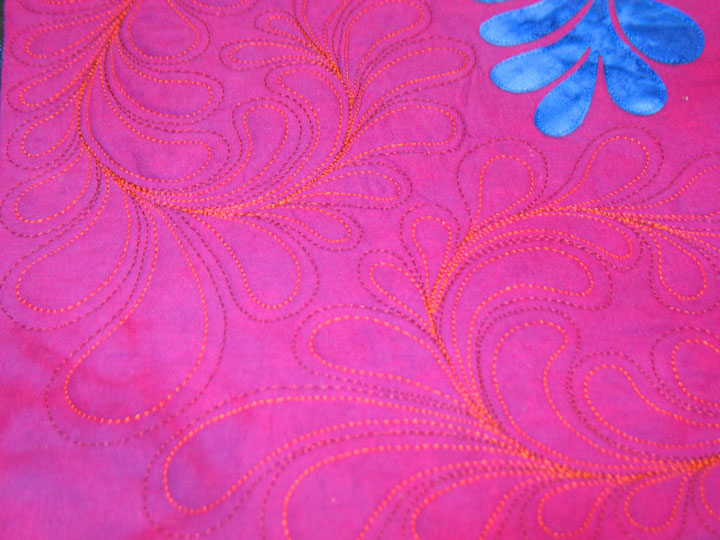
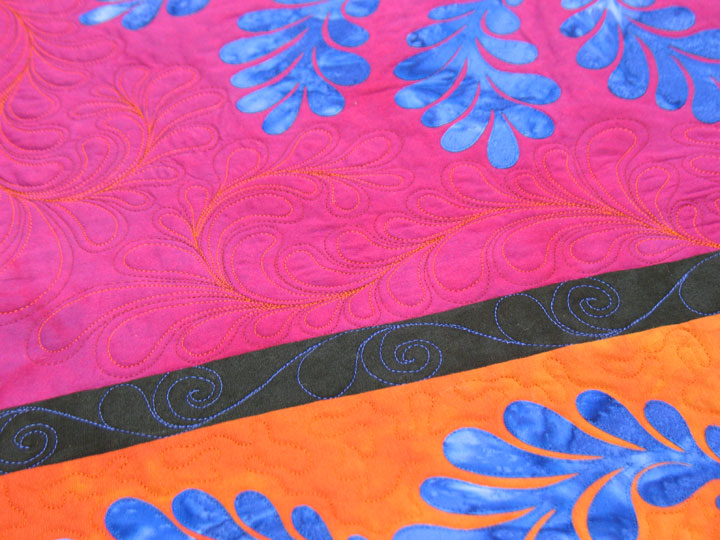
I tried to repeat the color of the appliques by using it to quilt the narrow border and I tried to repeat the color of the outer border by hyperquilting feathers in the center block in that same color. Whew…that was a mouthful! The above shot shows how the feathers take off, in a mirror image kind of pattern, in the center of that block. Here’s a closeup shot of the corner of the center block where the the feathers kiss:

All the drama in designs like these occurs where feathers take off and where feathers kiss. Here’s a shot a bit farther out where you can see some of the border applique:

When I have applique shapes that appear this delicate, I want to minimize thread work on them as it can appear heavy and “junkie.” Because of that, those appliques have inlining just inside their edge lines with Invisifil thread. It’s an ultralight 100 wt thread that’s really great for this application. (Bottom Line-60 wt- also works great here.) You have to really look closely to see that stitching, and that’s the goal! I’ll post full pictures of the quilt down the road. It’s going to be a pattern so I’ll wait until the pattern’s available.