Quilted Border Designs

December 31st, 2012

Earlier this month, I had the honor of being the December instructor for SewCalGal’s 2012 Free Motion Quilting Challenge.  My post was about machine quilted border designs, and you can read it here and also watch a free video tutorial about a certain type of feathered border design on the same page.    One part of this process that’s been an unexpected thrill for me is to get to see what different quilters have done as they’ve played with my border challenge.  Holy smokes, I am blown away!  I never dreamed that people would find the time to play with borders much this month since there are so many other distractions vying for attention.  There are so many samples of great mini quilts that have linked up that I can’t post them all, so I’m going to link to just two.  Check out Terry Whyte’s blog post about her mini quilt and you’ll see what I mean.  The textures she’s created with her borders almost form areas of relief and I just want to reach out and touch her quilt!  If you’re not totally blown away by that quilt, then check out Martha Briese’s blog here.  OMG!!  Her diamond border is gorgeous and look how cool her asymmetric border is!  Really, I am blown away by what people are coming up with!  If you haven’t taken advantage of all the wonderful tutorials in the 2012 Free Motion Quilting Challenge, don’t waste anymore time.  You can access all of them on SewCalGal’s blog here.

Don’t know about you, but I’m kind of going through withdrawal because it’s been so long since I’ve sewn anything due to the holidays.  Expect some photos of works in progress in the next couple days as my fingers are itching to get back to some stitching!

philadelphia lasix

Making the Holidays a Little Bit Greener

December 25th, 2012

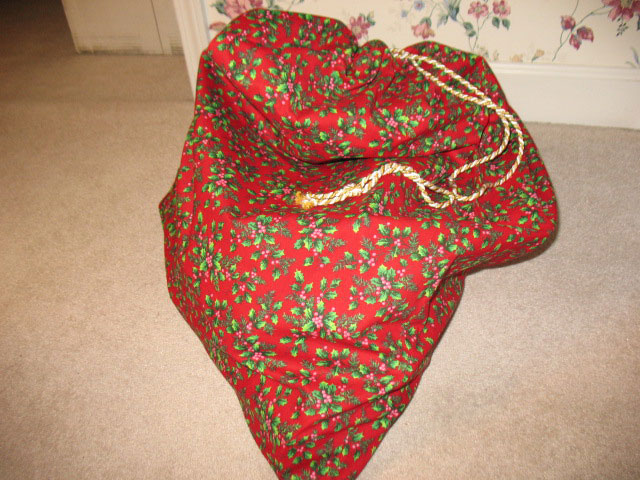
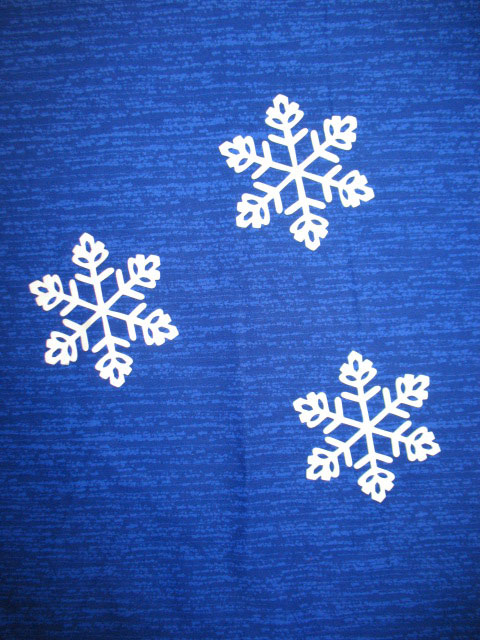
Many years ago, I threw together a couple of large Santa bags because I couldn’t figure out how to wrap 2 large, unusually shaped presents.  Over the years, I’ve made several others in a  variety of sizes, and my husband and I kind of got to the point of fighting over them because it’s a quick way to get a gift wrapped and under the tree.  The last 2 Christmases, though, I’ve really been on a mission about it.  I’d gotten to the point of really being bothered by all the paper waste around the holidays, so we decided that we’d go totally green with our gift wrapping.  This year, the goal was to only wrap in Santa bags or recycled decorated bags, and we made it!  The key is waiting until the after Christmas sales when Christmas fabrics are 75% off or better.  Stock up on a  large variety of fabric prints and also buy up lots of decorative roping/cording to run though the casing at the top of each bag.  Most of our bags are just Christmas prints with cording at the top, but this year, I had a bit more time and decided to make a few nicer ones with Christmas appliques on them.  For example, this was the center portion of one bag and these are die cut snowflakes using a Sizzix die:

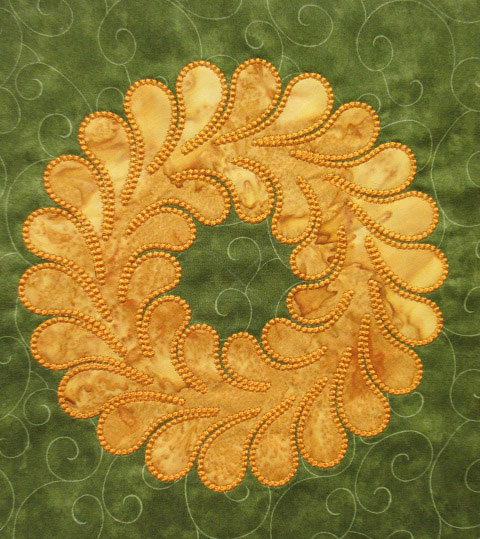
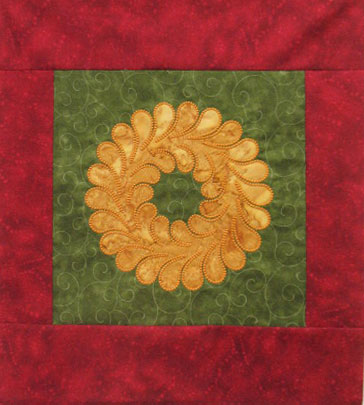
(For applique shapes this delicate, I just stitch around the inside perimeter with Invisifil thread by Wonderfil.  Because it’s so lightweight, it won’t really draw attention to itself but it will hold down the edges of that applique very well.)  Here’s another one that was cut from the Appli-K-Kutz 8 1/2 inch diameter feathered wreath and the wreath is finished with the candlewicking stitch:

I added some red borders to give it a little bit of a patchwork look:

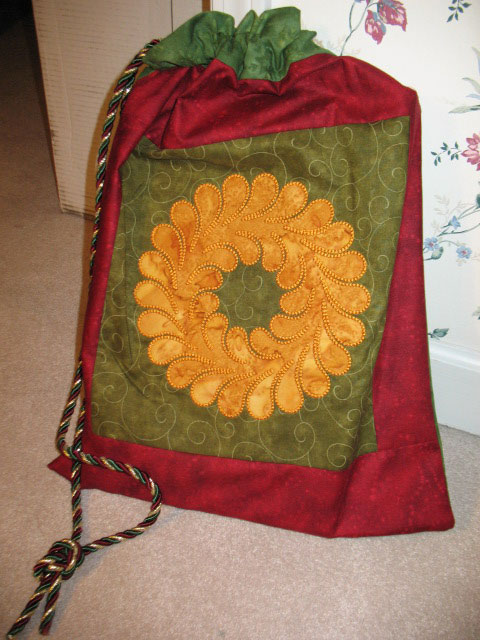
…and then I added another green fabric at the top to hold the casing.  Here it is with a recycled gift box inside it, holding something special for Ernie:

Here’s hoping that all of you have a wonderful Christmas with your families!

kamagra gel cheap

Making a Quilted Card

December 17th, 2012

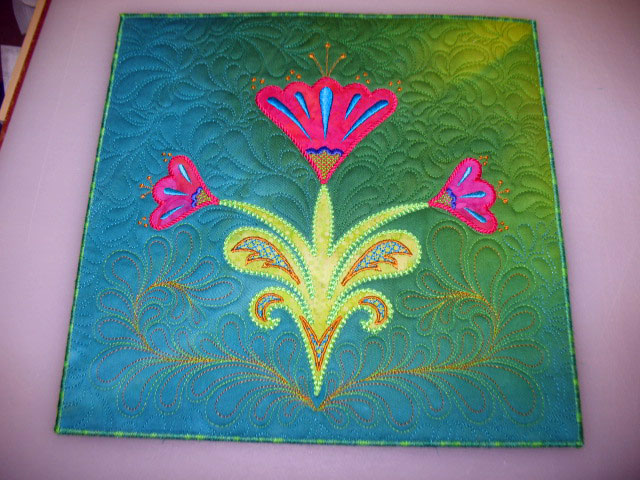
A friend of mine at work lost her dad last week.  My dad died almost 5 years ago and had been sick for a few years before that.  Even though his death  was expected and honestly, was kind of a blessing for him, I felt really broken inside for awhile when he died.  I thought it might lift my friend’s spirits if I sent a quilted card with some nice color her way.  Normally, I make these quilted cards roughly 8 inches x 11 inches but this one finished around 11 x 11 and you can really make them whatever size you’d like.  I’ve changed my method of construction over the years, so here’s how I made this one.

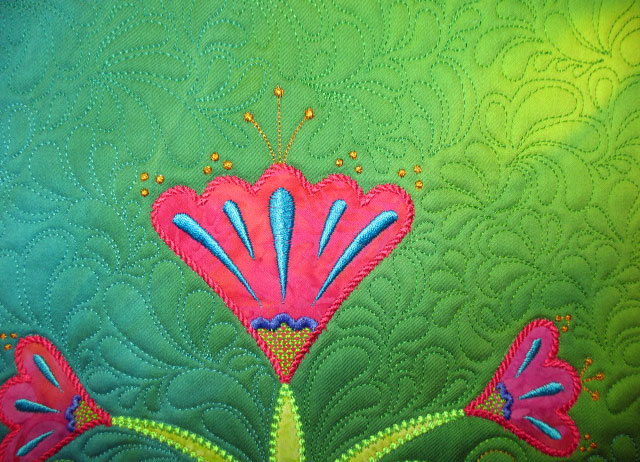
I started by embroidering this flower onto a piece of hand dyed cotton sateen fabric.  Nothing is as striking as hand dyed colors and the cotton sateen always throws off nice shadows once it’s been quilted.  Here was my initial “substrate:”

When I first started making quilted cards, I would next fuse this to a piece of Peltex or Timtex.  (These are very firm stabilizers that are about 1/8 inch thick.)  I don’t do that at this stage anymore, because when you quilt onto Peltex/Timtex, the quilting looks fairly flat and you lose that wonderful texture that quilting imparts.  So, my work-around is to throw a piece of scrap batting behind it at this stage and start quilting.  For this one, I used an ultra thin polyester batting and began by outlining all the applique shapes with invisible thread (Monopoly by Superior Threads), and then by quilting mirror image feathers that splayed open at the base of the flower:
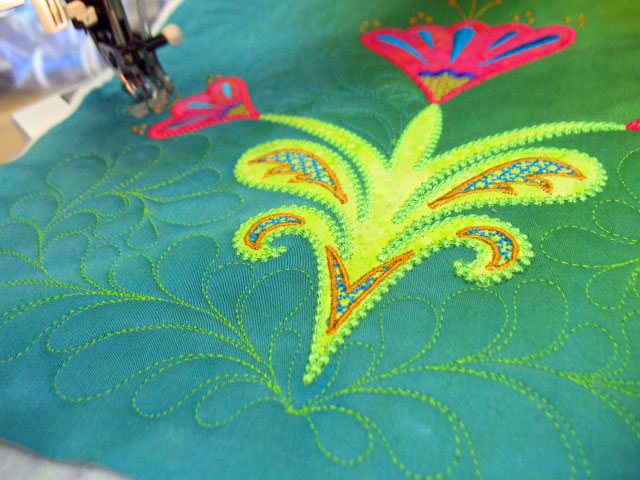
Once the feathers were quilted, I started on my background quilting using that rudimentary “Plumify-It” design:
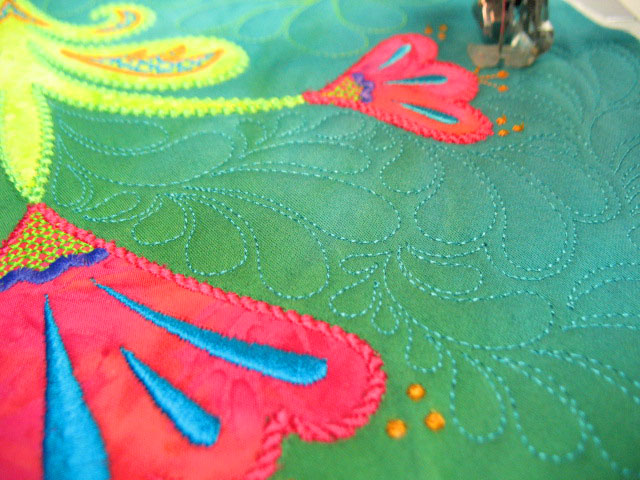

I felt like it could be a little “juicier,” so I went back in with gold rayon thread (24 karat gold by Robison Anton) and hyperquilted the feathers:


Every thread I used for quilting was a thread with a sheen.  (i.e. rayons, polyesters, trilobal polyesters.)  Because the cotton sateen has a slight sheen or luster to it, if you quilt with cotton (matte finish), it will stick out like a sore thumb.  As I worked my way around this piece with background quilting, I changed my thread color so that it kind of coordinated with the background color:

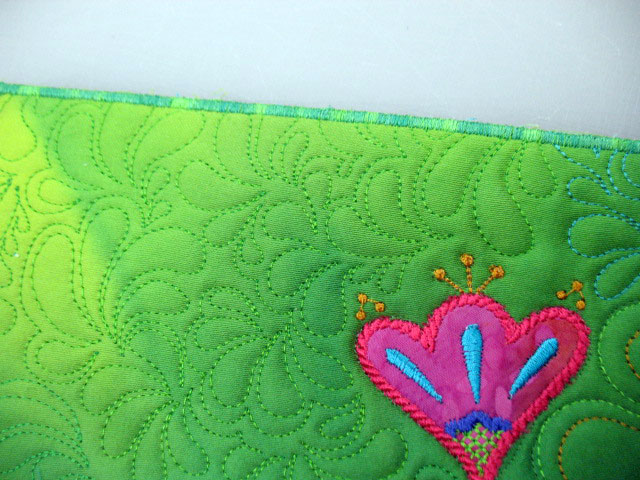
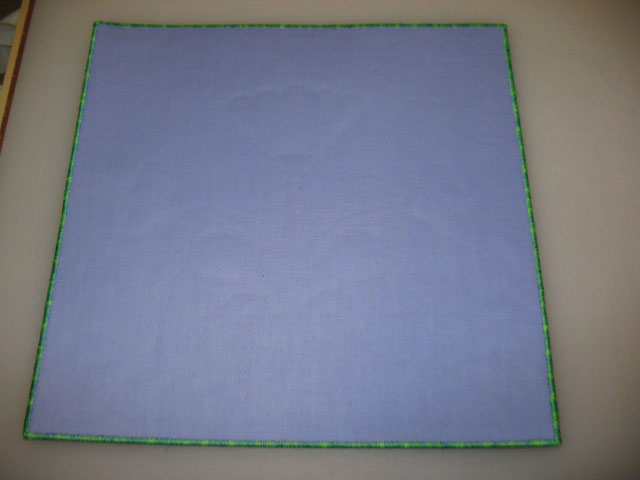
Once all the quilting was done, I trimmed it a bit and then spray basted it to a piece of Peltex.  I then went back in with invisible thread and re-outlined each applique shape and also stitched just outside my quilted line for the feathers.  This is redundant, but I did it because it’s a way to make those important motifs protrude out a bit more.  (If you make a quilted card, this part is not necessary…this is my overkill style!)  I then fused a piece of solid violet fabric to the backside of the card.  (You want this to be a solid or gently mottled fabric because this is where you’ll write your note.)    I finished the edges with a variegated trilobal polyester thread (“Grass,” one of the YLI Variations line) and here’s what the edge looked like:

…and here’s what the backside looked like before the note was written:

It’s so nice to make small projects that can be completely finished in a reasonable period of time!


bupropion england

Trials and Tribulations of Mini Irons

December 15th, 2012

When you are working with machine embroidered applique using precut/prefused applique shapes, you really have to use a mini iron to fuse the shapes inside placement outlines.  If you’re dealing with intricate shapes, you need a mini-iron that can deal with delicate appendages because there is simply no room for error in getting those applique shapes inside the placement outlines.  Here’s an example of some placement outlines that need to be filled accurately:

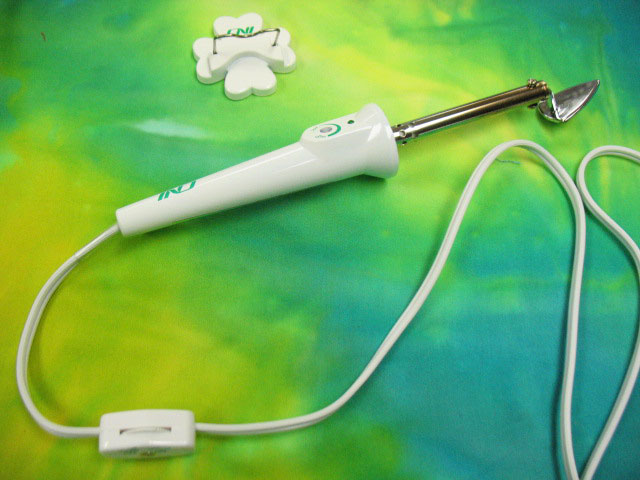
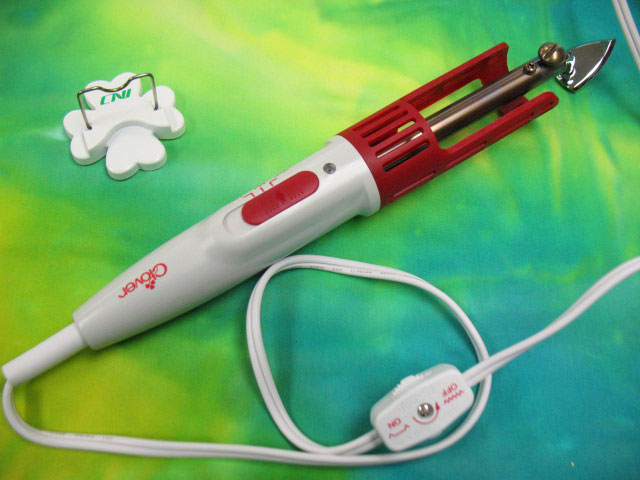
Years ago, I bought  a Clover Mini Iron (I can’t recall what I was going to use it for at the time), and here’s a shot of what my first mini iron looked like:

This version was not a very good mini iron.  First, the little dial on the handle where you chose which level of heat is desired simply fell off the second time I used the iron…not a good sign!  Second, the little iron rest (shown above the iron in this photo) is not only worthless, but it’s dangerous.  I say this because it’s so lightweight that the metal part of the rest easily changes its position and the iron can fall out of it very easily.  The long metal shaft gets very, very hot and it’s easy to burn one’s self, and lastly, the on/off switch that is on the cord itself has some wiring issues.  I know that because over the course of a couple of years, I owned 2 of this version of the Clover mini iron and both of them repeatedly gave me small shocks as I was holding the iron.  The problem, however, is that the concept of the iron and what it’s able to do were very good and also necessary for a number of quilt-related tasks, so I couldn’t just not use the mini iron.  This led me to replace my original mini irons with a somewhat updated version, shown below:

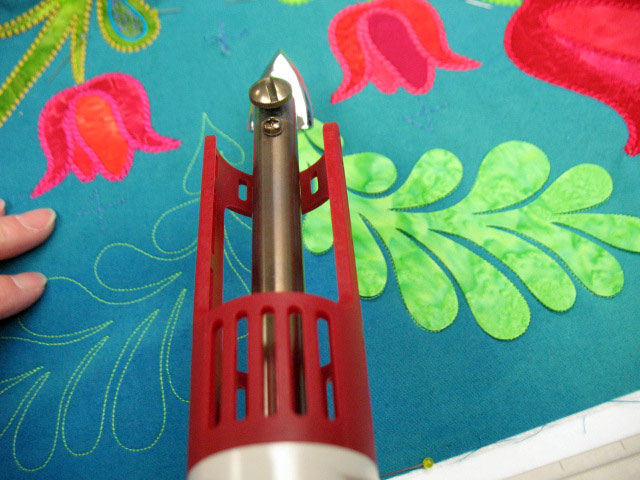
This one had an updated switch on the handle to choose the desired heat setting (great) as well as a protective shield around the shaft to minimize the risk of getting burned.  It still has a poorly designed rest and I don’t trust the on/off switch on the cord to last indefinitely, although I haven’t felt any shocks using it.  But, I’ve barely used this version because the protective cover on the shaft obstructs my view so I can’t see placement outlines into which I need to fuse an applique shape.  Here’s what I mean:

This is my view as I’m trying to fuse inside placement outlines.  So, although that shield really is a safety improvement, it’s created a an obstacle in my visual field, so I haven’t used this iron in ages and it’s going to a friend who can use it for something else.  Fortunately, I then found another version of the Clover mini iron that I really love:

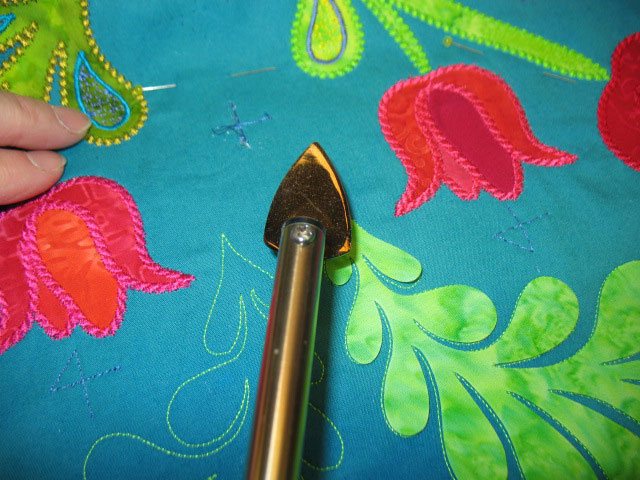
This version has the on/off switch and the level of heat all built into the handle-excellent!  The protective rim around the shaft is gone so I can see again!  (I have simply learned never to touch that shaft, I guess much in the same way that a child learns to never touch a burner on the stove.)  I can easily view details of the placement outline and the applique edges as below:

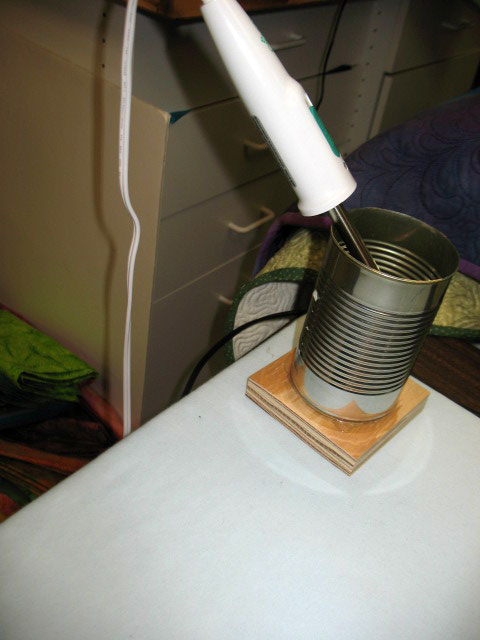
All of these irons have the same problem with the rest, so I’ve found you just need to devise your own work-around.  Mine is an easy rest to make and it allows me to work quickly and not have to put a lot of time/thought/effort into placing my iron into the rest or taking it out.  You can see my rest at the end of my ironing station that sits next to the embroidery machine.  (My ironing station is a piece of scrap plywood covered with1 layer of warm and natural batting covered with 1 layer of cotton sateen; all staple-gunned to the backside.)

You can see that my iron rest is very low-tech, but it works great and can be made from recycled objects.  The square base is cut from scrap plywood.  It needs to be square as this makes it very hard to topple the rest (as compared to having a round bottom.)  The can is an old olive can and it’s  screwed to the wood base from inside the can (I originally hot glued them together but that only held up for a few months), and I filled about the lower 1/3 of the can with pea gravel from outside.  This gives the rest some weight and also allows the very hit tip to sit in something that won’t be problematic if it heats up. ( You could also use something like sand, though.)  Bottom line is I LOVE my mini-iron setup and have been using this version for a year now and couldn’t be happier.  If you bought one of the earlier versions, know that there’s a better version out there and it’s worth giving it a try.  And here’s a shot of that 22 inch block all embroidered, thanks to my Clover Mini Iron:

This block may be familar to you from last year, but I needed to test it out again because I wanted to switch out the edge stitching on the feathers:

order furosemide

On the Design Wall

December 7th, 2012

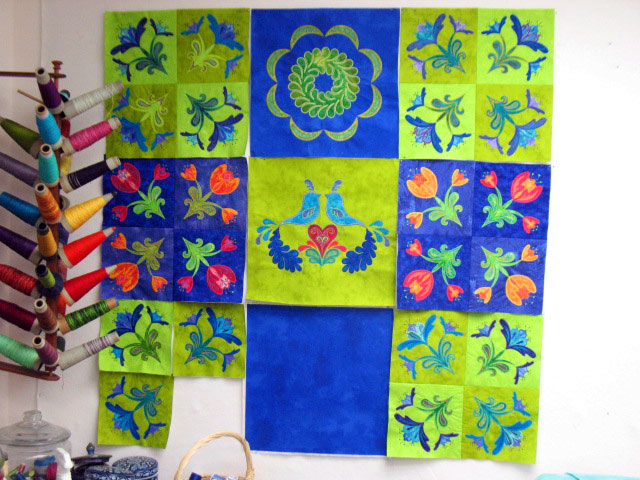
This looks a little disjointed, but it will be the center section of a quilt I’m working on and this center section will be roughly 54 inches square.  I’m still designing a  border design that will wrap around it, but there’s a lot I want to do before I even piece this center section together.  These are all machine embroidered applique shapes that were cut from Appli-K-Kutz dies using my Sizzix machine.  Die cutting has completely spoiled me and I wonder what I did for all those years before I knew about it!

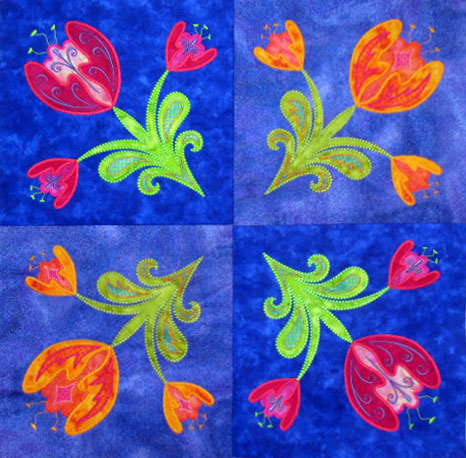
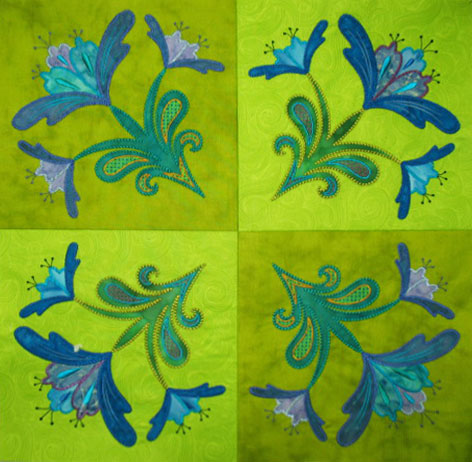
There are 2 types of flower blocks in this section.  First up is a 4-patch block of what I’m calling “Flower C:”


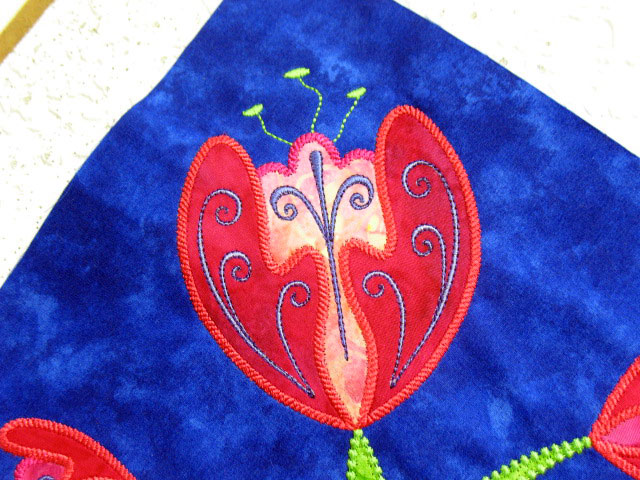
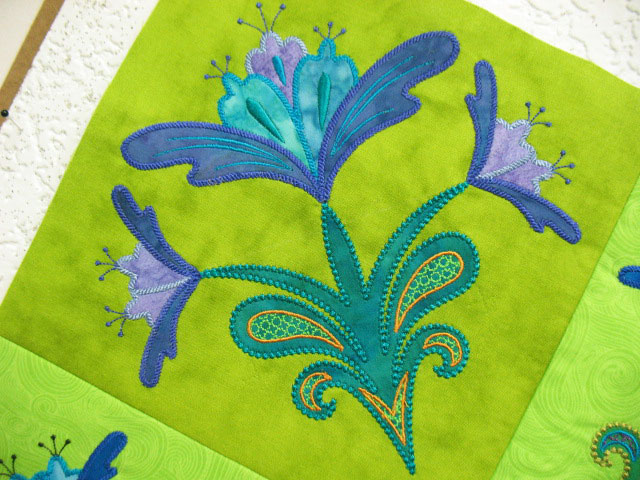
There are actually 2 different versions of Flower C.  The shape of the flower and stem are the same, but the way they’re embroidered is different.  Here is Flower C1:  (Don’t you love how creatively I’m naming things?!)


The insides of the petals here have swirls and although my closeup doesn’t show the stem portion, it has some pretty teardrop leaf shapes for internal embroideries.  This is in contrast to Flower C2 below:

You can see that the petals are embroidered differently and you get a tiny glimpse of the stem structure, and it has a different internal embroidery design as well.  Next up is another 4-patch flower block that’s composed of smaller Flower A blocks:


This is a simple flower but I am in love with it’s splayed curviness:


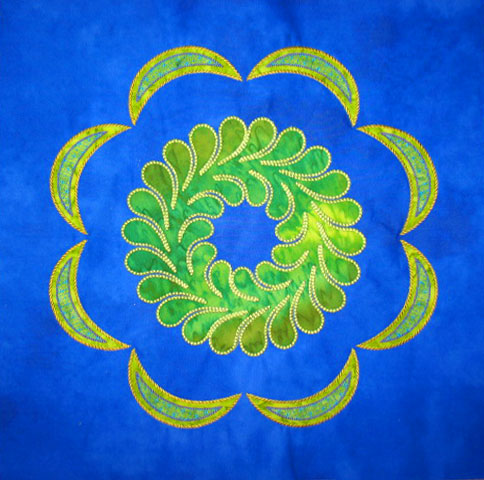
The other 2 block types are not flower-related.  This next block is a new type of wreath block:


I made this block by first stitching out the original swag wreath block that’s used in the “Christmas is Coming Table Topper:”


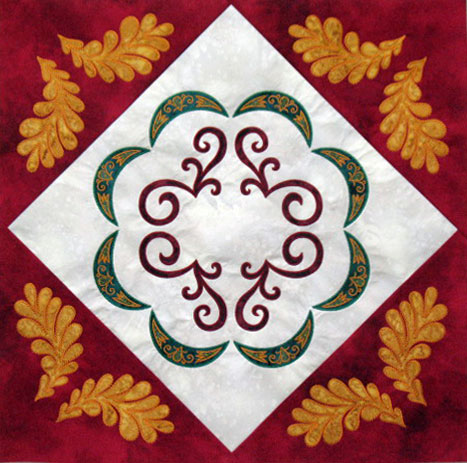
…but I skipped all the stitching sequences for the swirls, so this left me with a circle composed of swags with an empty center.  I then re-hooped and stitched the 8 1/2 inch diameter feathered wreath inside.  I still have to make 1 more block of this for the bottom center row but this block stitches up pretty quickly.  My last block is the very center block, and there’s only 1 like it in this quilt:


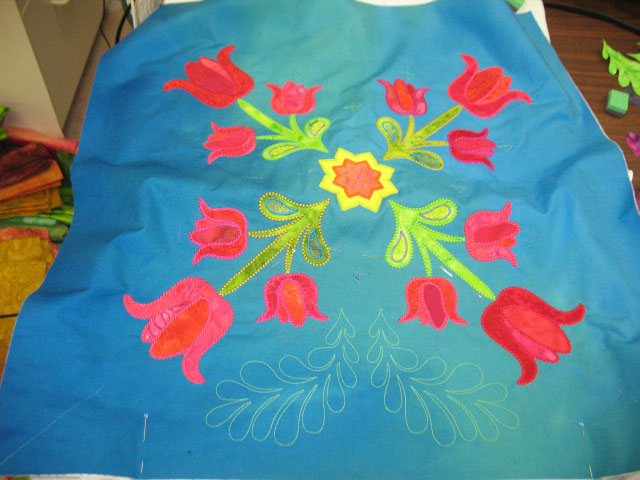
And here’s a closeup of the center embroidered appliques:


My plan is to do some trapuntoed quilting on each of these blocks before they are even pieced together and I’m hoping to start this next week.  Stay tuned…

real viagra without prescription